How was everyone’s weekend? Hopefully you’re all rested up and found some good sewing time!
We’re continuing with the Air Raid Suit sewing using the Air Raid Suit pattern that’s available on my website. We’re getting to the trickier parts, so hopefully these posts will help you with construction.
The Air Raid Suit has a drop seat. We don’t think of these a lot today, except for funny “onesies”, or gag costumes. Well, this had one. I don’t know why, but it’s there. Maybe if it was really cold and you were in an air raid shelter and “nature called”, dropping your seat would keep you warmer and more discreet than dropping the whole suit?
Anyways, on with the sewing!
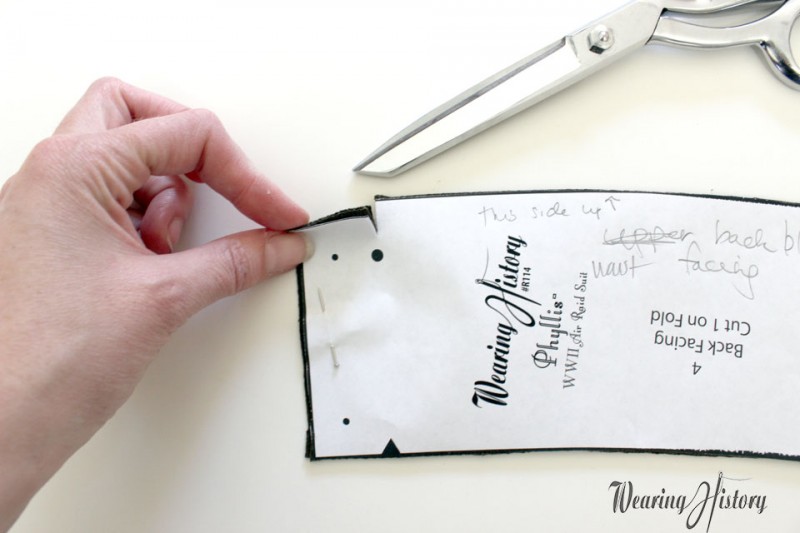
Grab your Lower Back Blouse Facing piece. Clip close to the large dot. Please ignore my scribbles on my piece- I was testing the pattern at the same time as I was photographing this tutorial ;)
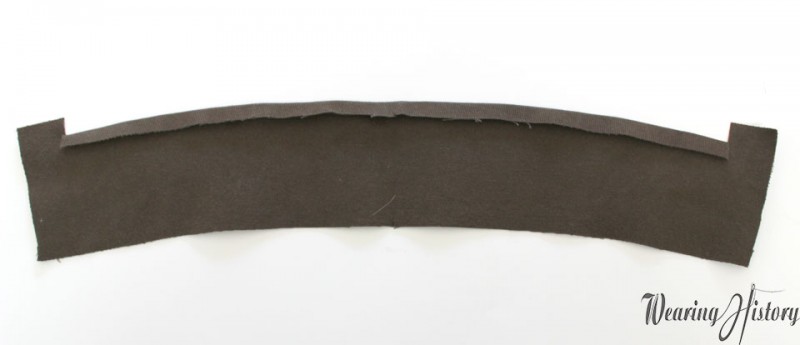
Now you’re going to press down your seam allowance to about 1/2″.
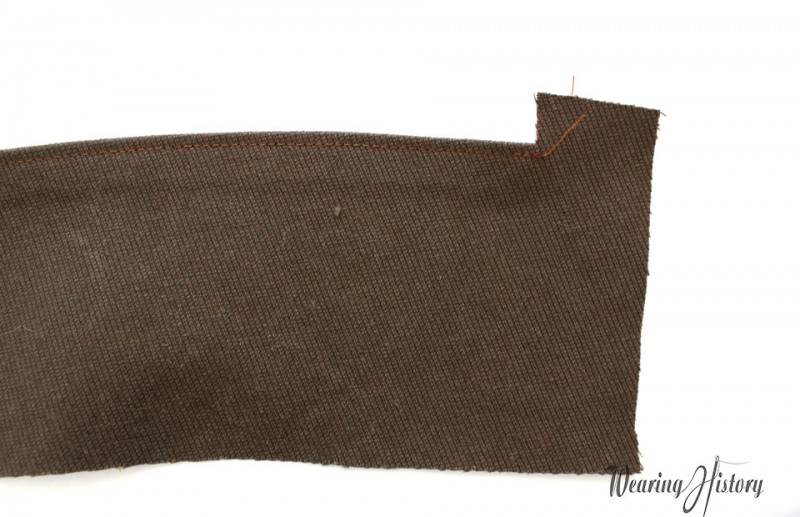
Topstitch close to that folded edge.
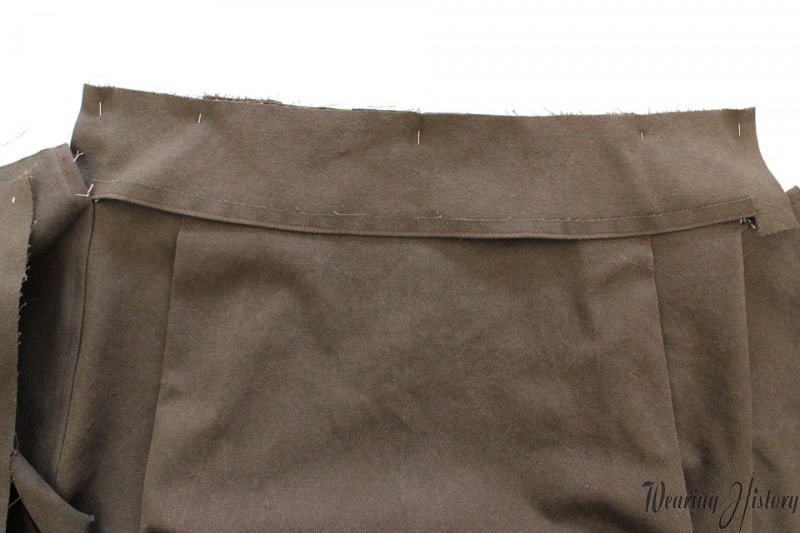
Now, pin the bottom blouse facing to the bottom blouse, right sides together, matching your notches.
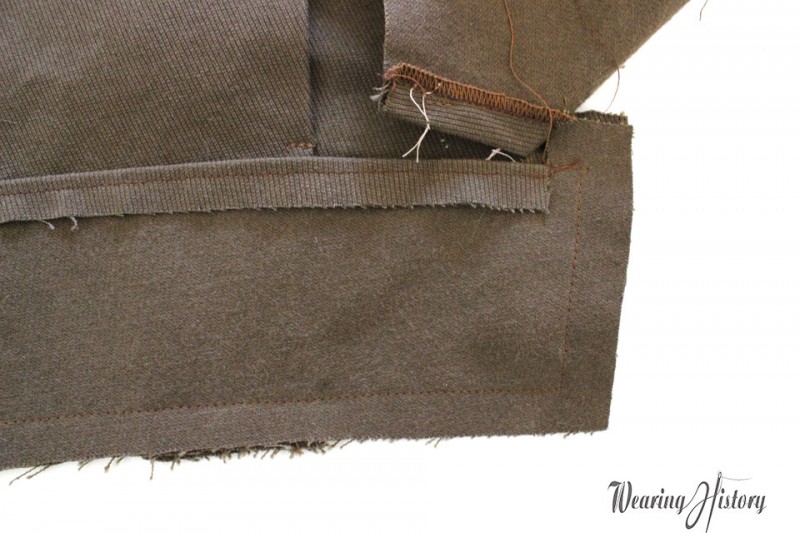
Stitch all the way around the sides and bottom edge. Pay extra attention to that little extension at the top- I stitched OUT from where we clipped our facing piece, matching the extension of the back blouse, turned on the corner, down the side, turned the corner, and then across the bottom edge, and up the same on the other side. Leave the top edge that was folded down in the first step free, so you can turn it right side out.
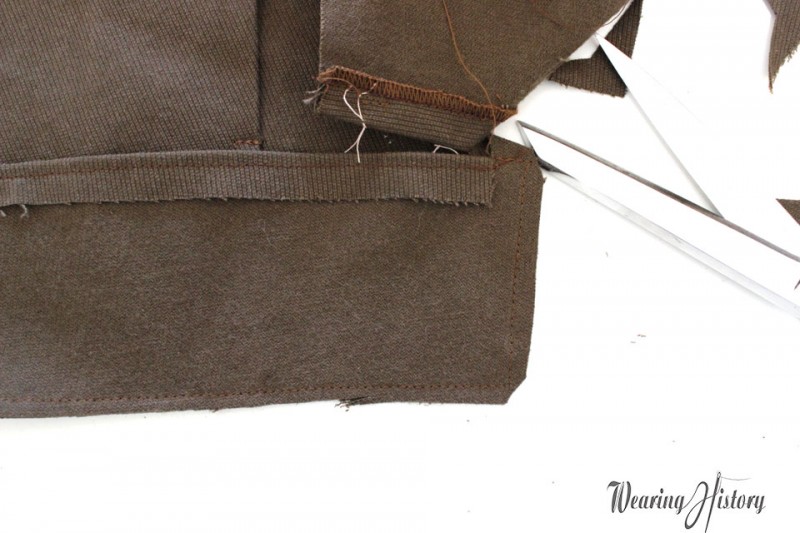
Now clip all your corners and trim the seam allowance down to about 1/4″. Don’t get too close to the stitching or it will fray when washed.
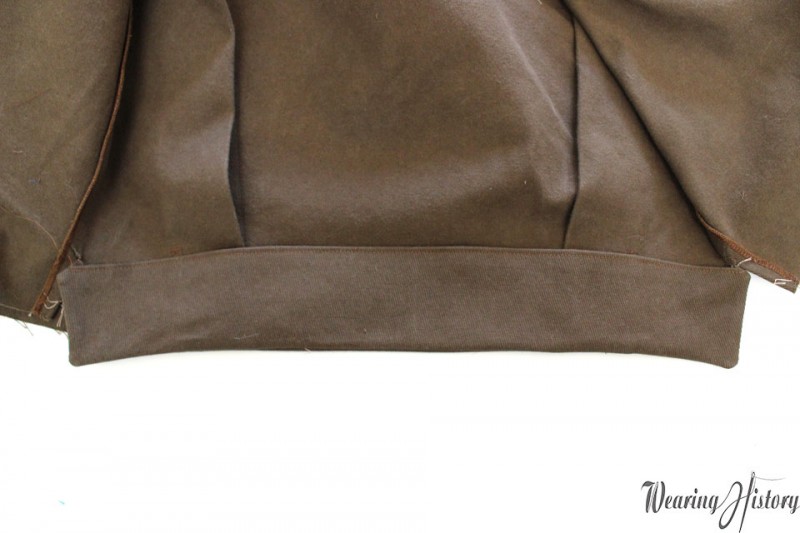
Flip it right side out, and get a nice point to your corners. Give it a press.
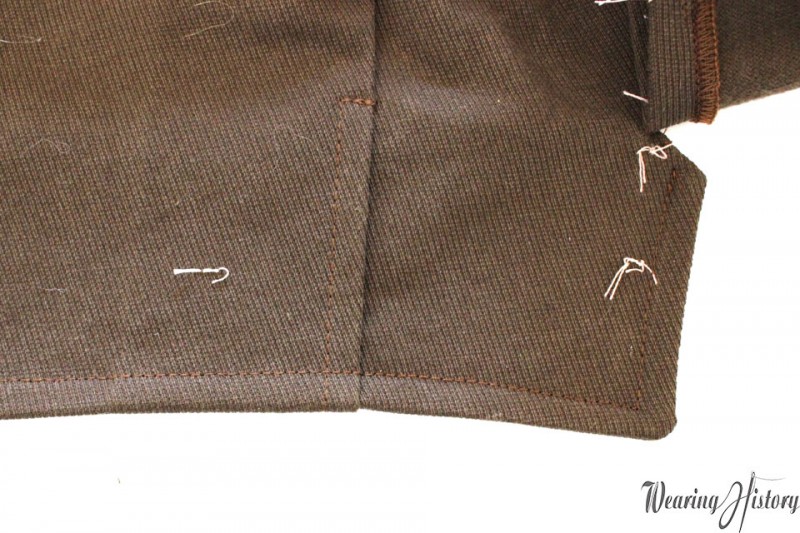
Now you’re going to topstitch all around the outside edge, 1/4″ from the side and bottom.
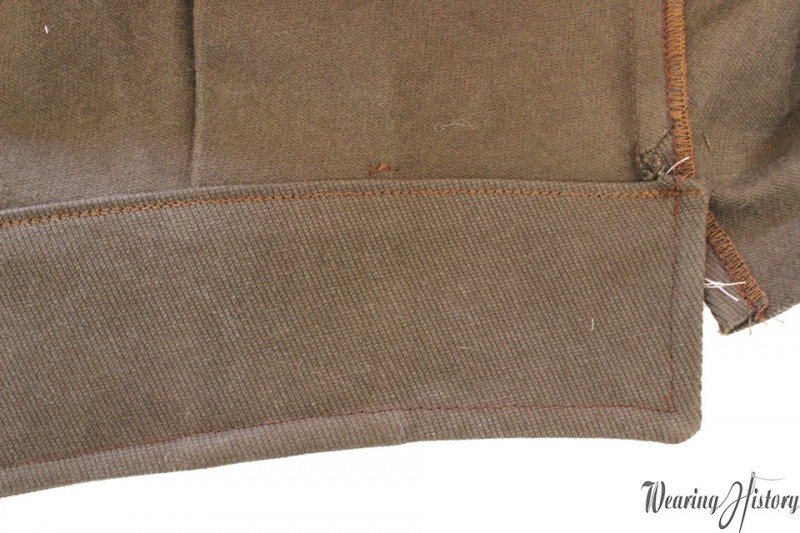
Flip it over so you’re now looking at the inside. Now top stitch right on top of that original topstitching of the facing, going through all layers and attaching the back facing to the back bodice at the top. Make sure you smooth this all out and pin it well before you sew, so you don’t get any funny wrinkling after its stitched.
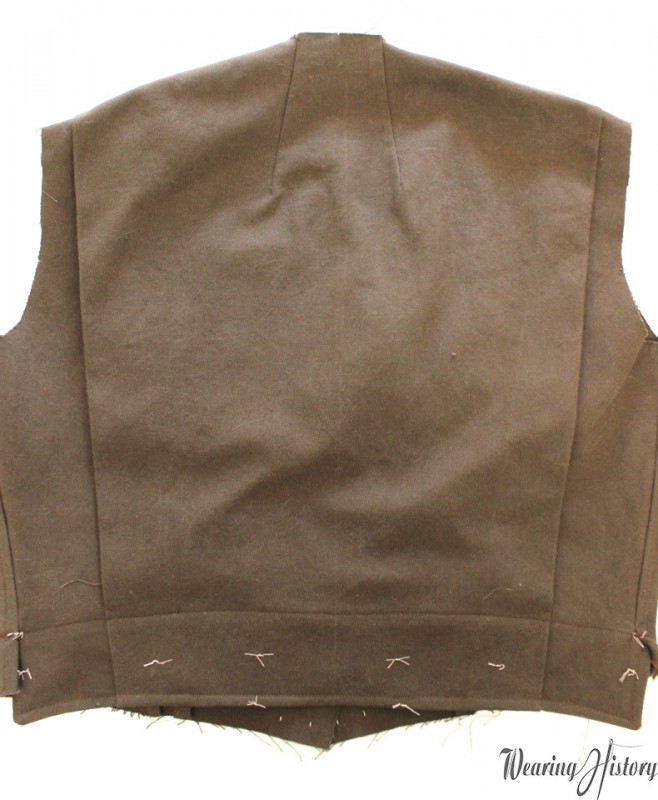
Give it a final press, and it should look like this from the right side. Pretty snazzy, huh?
We’ll continue with more sewing next time. Hope these tutorials have been helping :)

Deb Harris
April 15, 2015 at 2:11 pm (10 years ago)I love vintage websites of all kinds. I’ve been looking through yours & really like it. I was very happy to find the newsletter signup but after I put in my email & hit subscribe nothing seemed to happen I probably hit it multiple times but it didn’t seem to go through. I’d really like to sign up. I hope you know how to get it signed up. Thanks for anything you can do.