
In this post we’ll do the bodice side seams on the Air Raid Suit pattern.
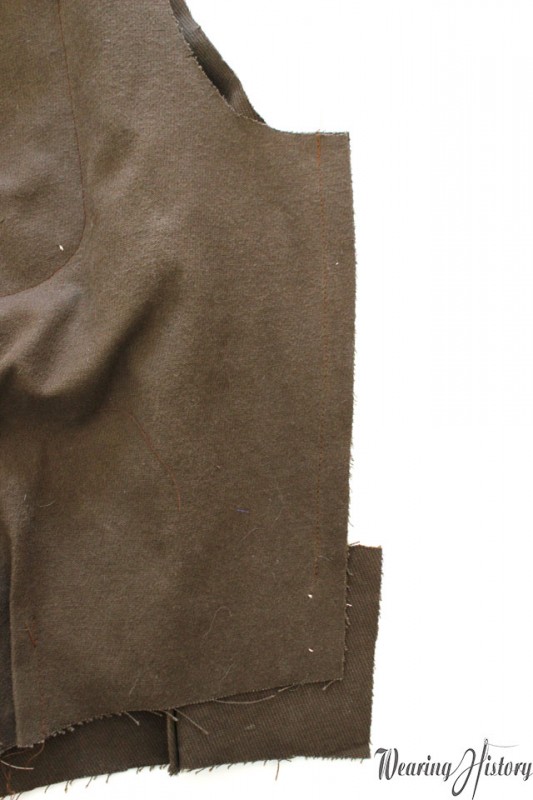
First thing to do is join the side seam to the top dot. Don’t worry, the back is supposed to be longer than the front!
That little sticky-outy bit on the side is going to be our back extension, and the longer length at the bottom back b
odice will be for buttons to attach to for our drop seat. It this doesn’t make sense to you, don’t worry. It will all make sense later.
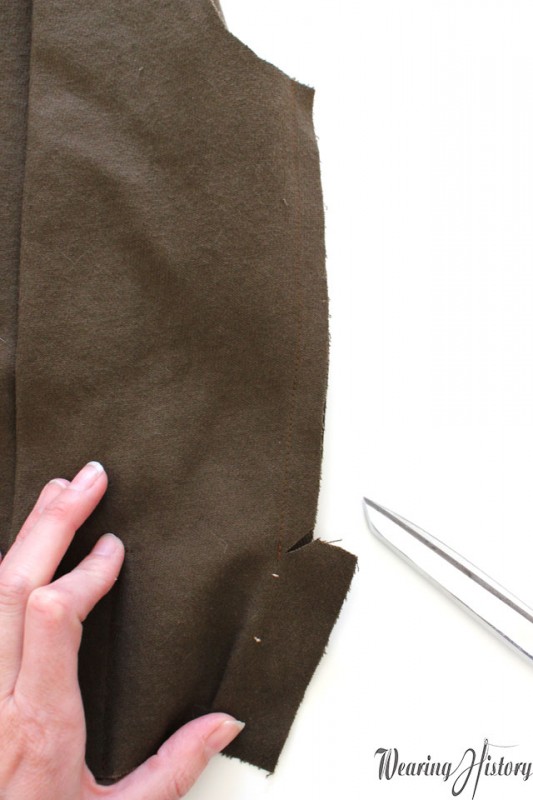
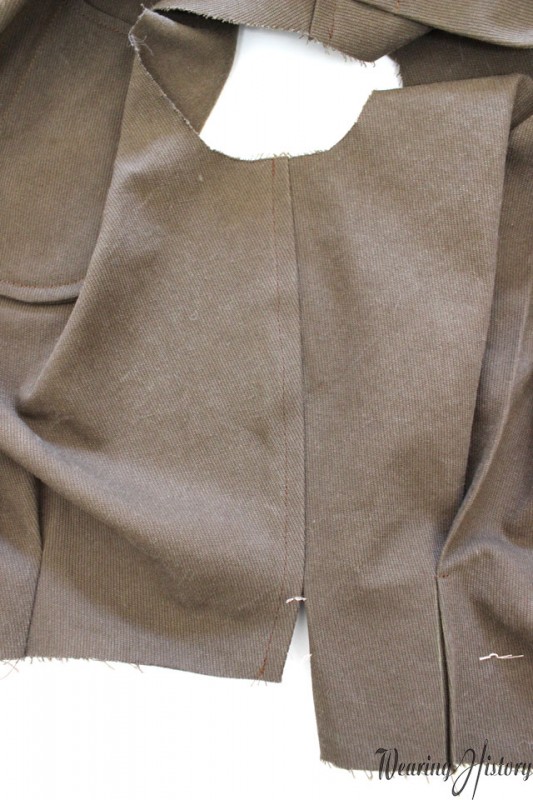
Next you’re going to do a diagonal clip to the dot on the BACK BODICE seam allowance ONLY. Don’t clip super close or else it will not be stable, but don’t cut too little or it will be hard to do the extension later.
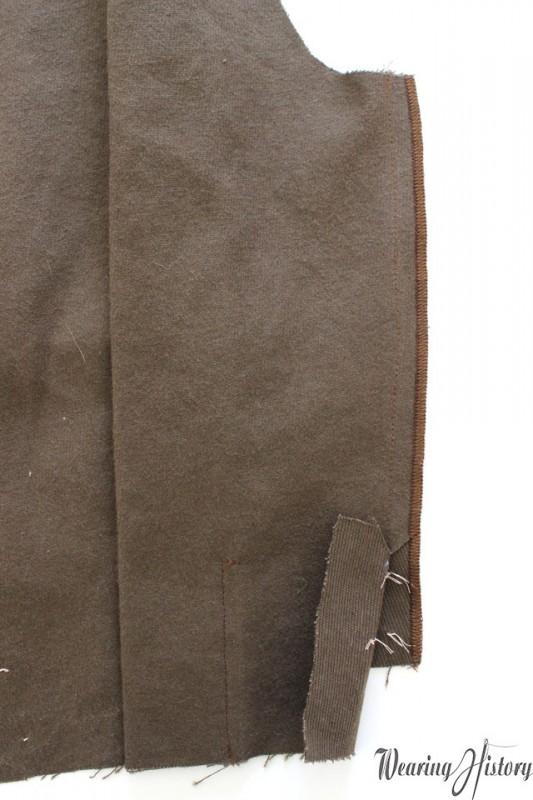
Now you’re either going to flat fell your seam or serge it (for fakey flat felled seams), leaving the extension free. These seams face towards the BODICE FRONT.
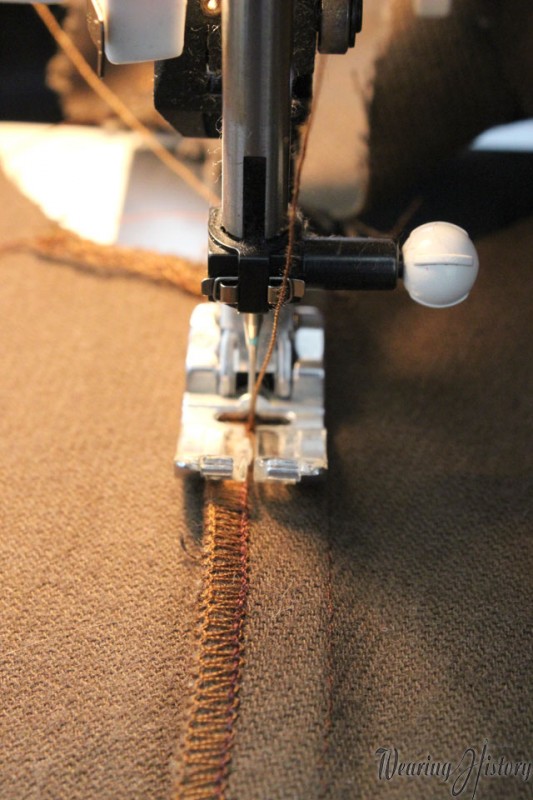
Stichy, stitchy!
And right side out it should look like this. If you’re doing a flat felled seam, you should do a little rolled hem at the bottom of the front bodice (the fold of the flat felled seam will want you to continue it anyways). If you’re doing a serged, fakey method, I just stitched right on top of my serging all the way down and didn’t bother turning it under since the serge finishes the edge. If you’re anticipating heavy wear, you might want to do flat felled seams for real instead of my cheater method.
That’s it! Do the same to both sides. Now it feels like we’re moving right along, doesn’t it?