
This tutorial was made for AC131- Circa 1920 Side-Tied Blouse Pattern, but it can be used for any pattern that uses similar techniques.
Preface- if you’re unfamiliar with sewing bias facing or bias binding, please check out these prior blog posts. Although they are for an apron pattern, they go over how to do both bias binding and bias facing using store-bought binding.
I’m using self-made bias facing for this tutorial. I do not have a tutorial yet for how to make it, but there are many tutorials online for making your own! I used 1/2″ finished bias facing width for my blouse (cut size 1″).
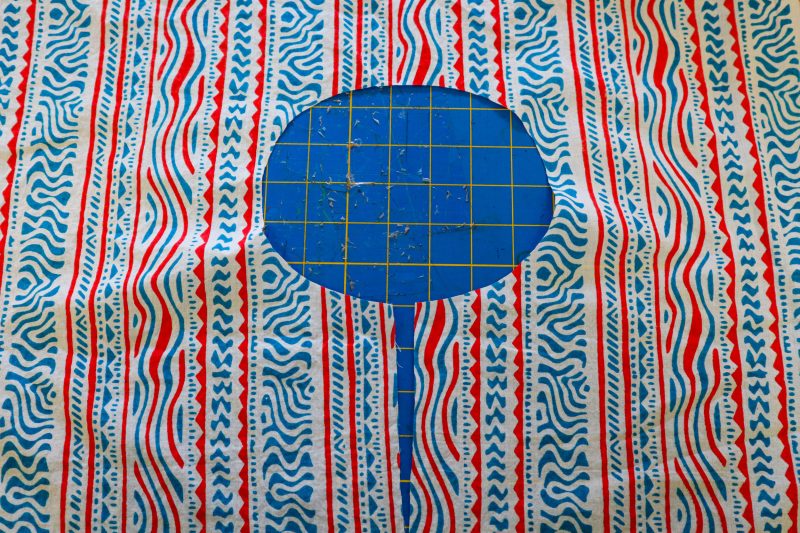
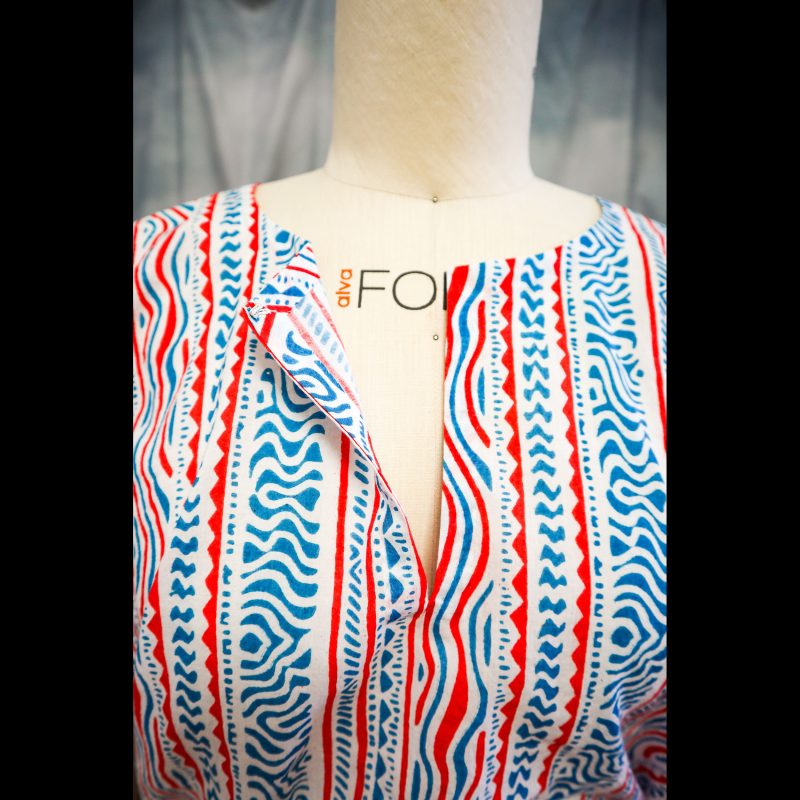
The first thing to do cut your blouse and cut the neckline. Also slit down center front to the dot marking for your size. Here’s what mine looked like after cutting and slitting.
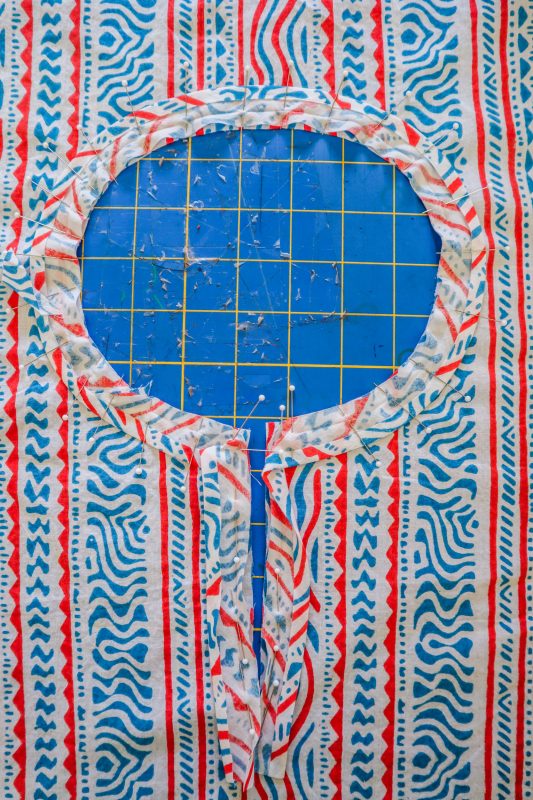
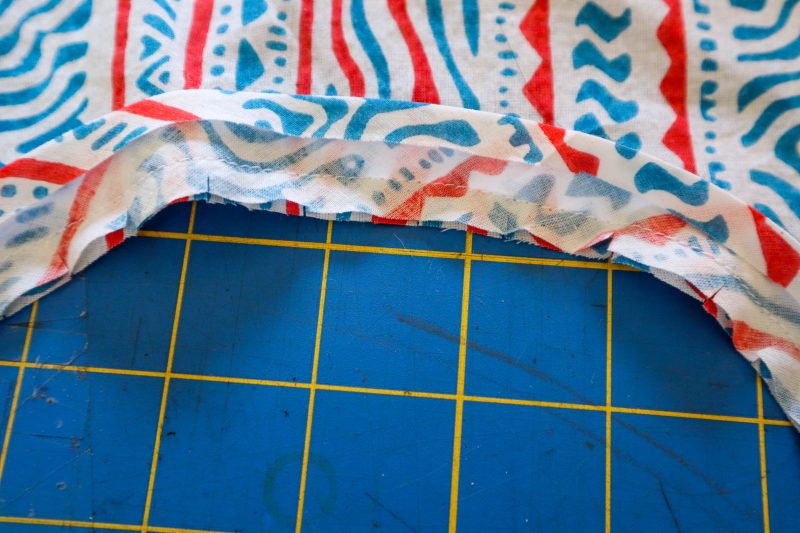
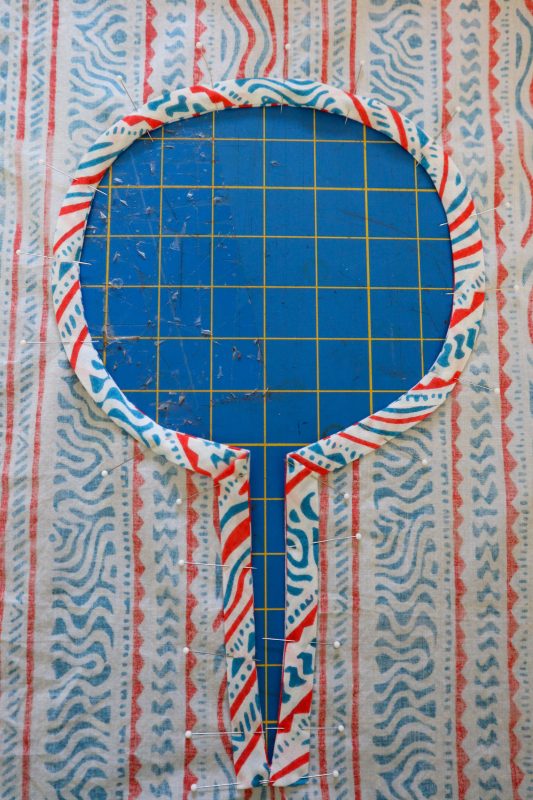
Next, carefully pin your bias facing to the opening of the blouse and the neckline. Give yourself about 1/2″ extra length before the slit to allow a turnover edge. Start at the slit, matching the fold of the bias to just inside the end of the cut slit (the stitch line is where the fold is pressed after using a bias tape maker). You do not want to start exactly on the slit itself or the finished garment will fray when laundered. Start just on the inside, leaving enough weave to attach the bias to.
Miter the corners at the top of the neck opening. Then carefully ease the bias around the neck opening, making sure not to pull tightly. Allowing extra ease will help let the bias facing lay nice and flush at the neckline.
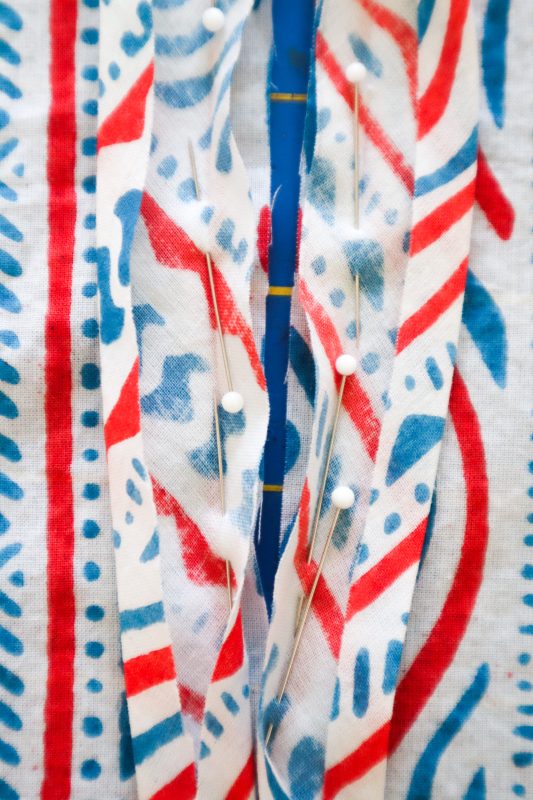
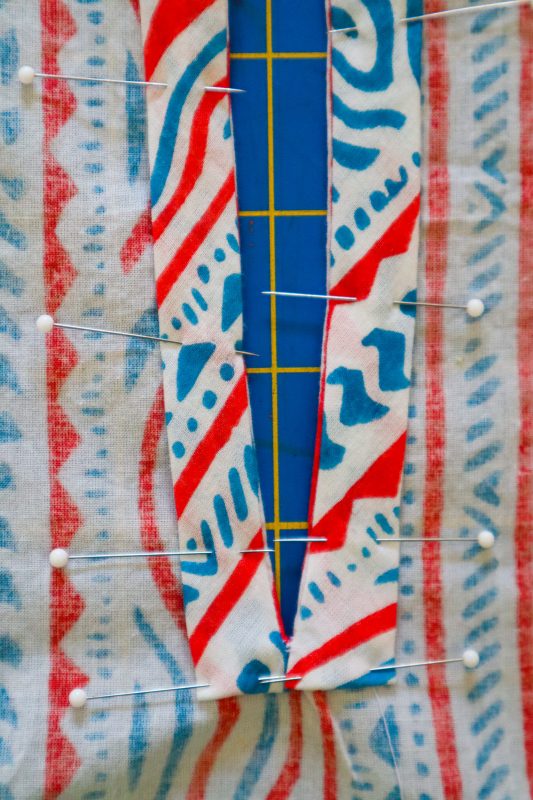
Close up of it pinned at the slit. See how the stitch line tapers down to (nearly) nothing at the bottom of the slit opening. As you move up the opening the seam allowance matches between the bodice of the blouse and the bias tape.
It’s worth noting that bias tape *usually* has 1/4″ turn under or seam allowance), and this pattern has 3/8″ seam allowance, so you may want to trim 1/8″ off your neck edge before you apply bias binding. I didn’t find it made much of a difference with my version, since the neckline is cut quite open and not tight up to the neck.
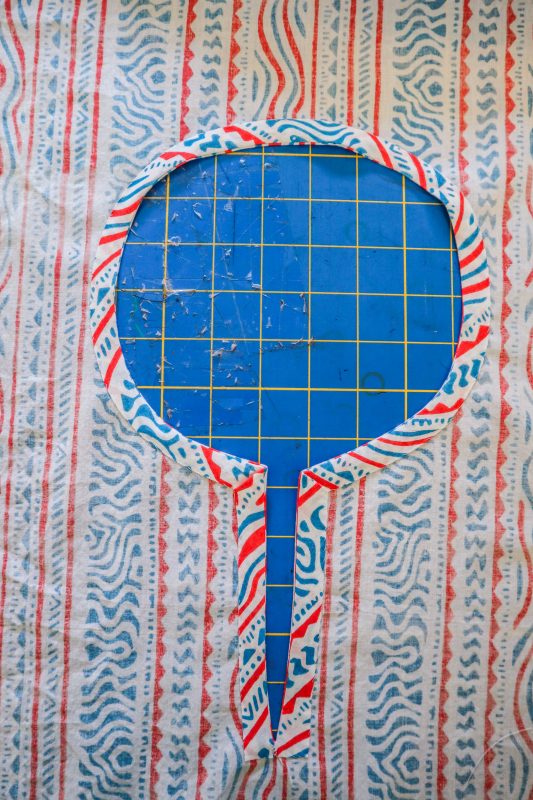
After stitching it looks like this. See that I haven’t turned under the bottom of the opening yet. It’s still loose and free. After stitching, clip your curves and your corners.
Clipped curves at the neckline are visible here.
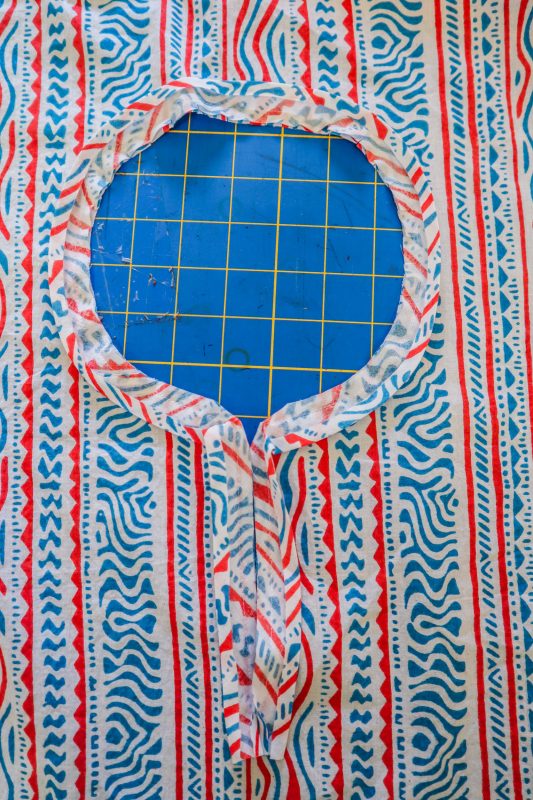
Now turn the bias facing to the INSIDE of the blouse. Press the curves gently so they lay nicely in place, and pin it well. You can carefully turn under the extra at the bottom of the neckline opening now.
Close up of the bottom of the opening after turned under but before stitching.
Now simply stitch the facing down by hand or by machine. I chose to do mine by hand.
Add a hook and eye at the top of the neck opening, and you’re finished!