
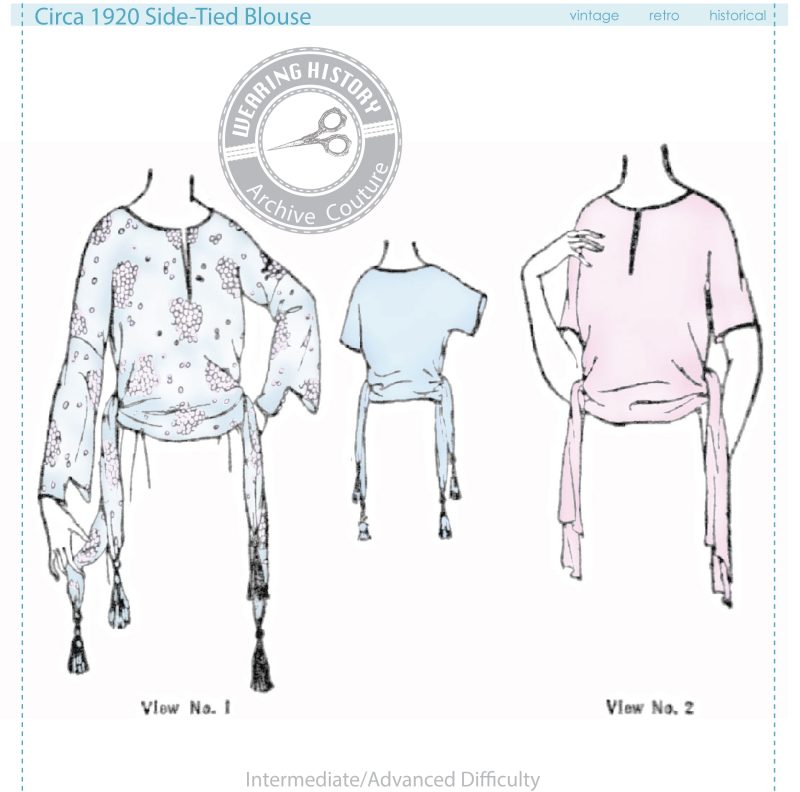
This tutorial is for Wearing History #AC131, the Side-Tied Blouse pattern. Although construction is somewhat simple, these period instructions could often be extremely vague. Take, for instance, the instructions on how to assemble and then attach the side ties.
The period instructions say, simply,
(2) Joining of Sashes to Blouse– Leave underarm seams of blouse free below single crosses for opening; sew a sash end to each edge of opening with lower edges even, tie as illustrated.
So.. not a lot to go on, there! There’s no mention of how to hem the blouse, finish the ties, etc.
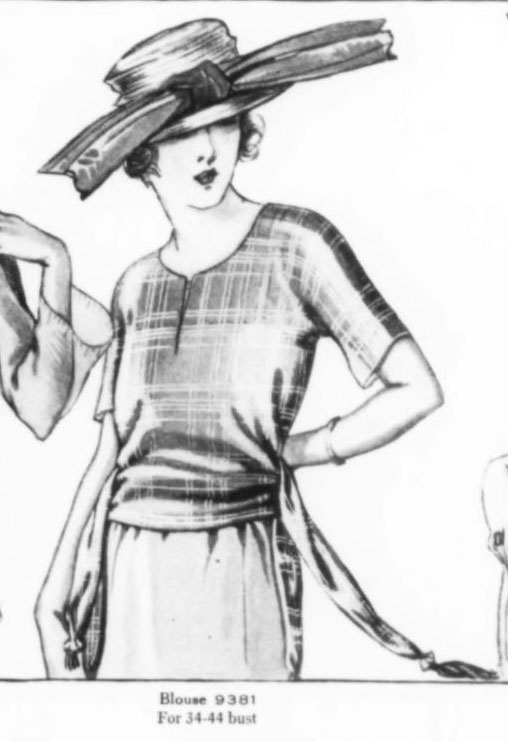
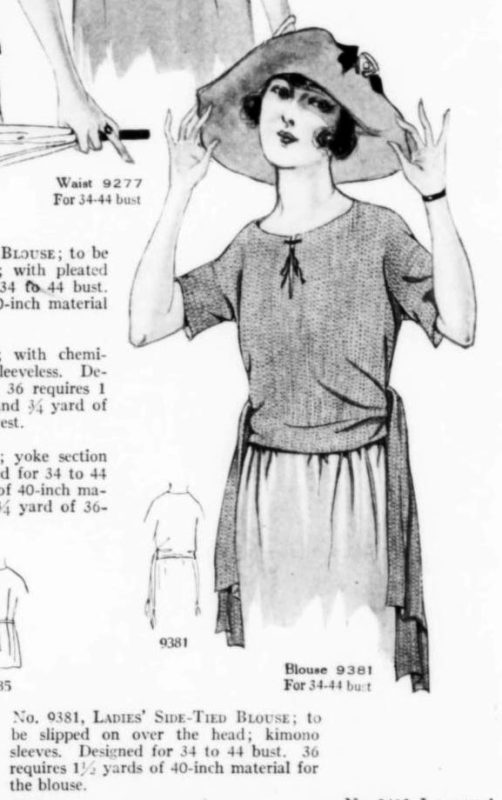
As previously mentioned, I chose to write in the instructions to finish the ties by hemming the outside edges. After finding two different illustrations of this blouse in McCall’s Magazines from 1920 after the instructions were completed, it appears there are two different methods of finishing. One would be, as I mentioned, to hem the outside hem edges. The other appears to be sewing the sashes by folding them in half and then sewing the long outside edge and one short edge. This is not shown in my tutorial, but feel free to implement this technique!
On left, stitched right sides together, turned right side out, and then purchased tassels sewn on the bottom.
On right, hemmed around outside edges, as shown in my instructions. This gives a wider side tie, like in my mock up images.
On to the photos!
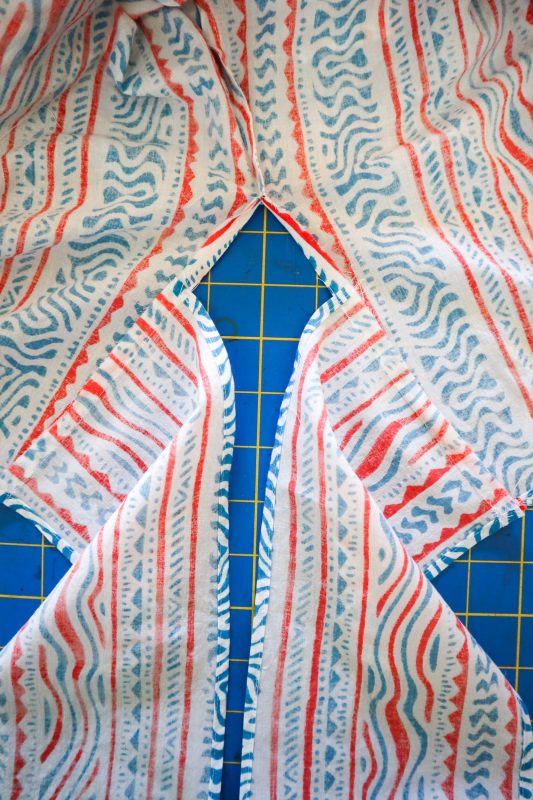
First step- sew the underarm seams and leave them free below the “+” marked on the pattern for your size.
There are options for when to hem the blouse, so adapt as you chose, but for my method I hem the blouse bottom edge FIRST, and then attach the ties.
As a friend pointed out, if you’re doing the hemmed version of the ties, you *can*, hem one long end and one short end of the ties, stitch the ties to the blouse, and then hem the lower edge of the ties-and-blouse all in one go.
I, personally, chose to hem them each seperately and then finish the join with a tiny flat felled seam. But you’ll see that at the end.
If you’re confused by all this random rambling on ways to finish things, just go by the photos. There’s always many ways to sew things, so do what feels and seems right to you, and adapt your methods as needed!
So, next step by my photo tutorial- hem the bottom edges of the blouse using a narrow 3/8″ hem (as seen above).
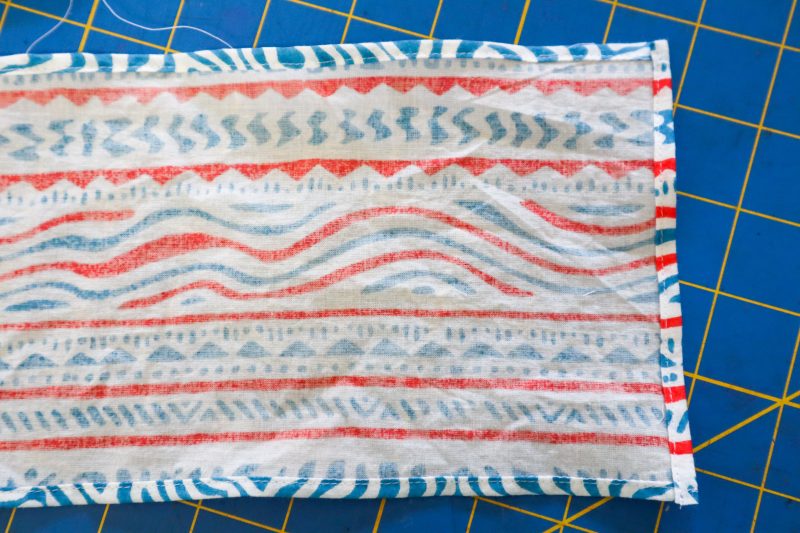
Next, if doing the hemmed version, hem the two long outside edges and one short end using a small, 3/8″ hem.
Next, attach the side ties to the blouse, right sides together, matching the bottom, hemmed edge of the blouse, to the bottom, hemmed edge of the sash. The top edge should meet right about where my dot marking was on the pattern, but the most critical matching point is the bottom edge. You want the sash to lie smoothing with the hem, with the finished sash and finished hem completely even at the bottom edge of the blouse. Do the same for both sides of the blouse (there’s 4 sashed to attach).
If you’re doing the stitched-and-turned method of sash, ignore that dot marking and just opt to align it with the lower edge of the blouse hem.
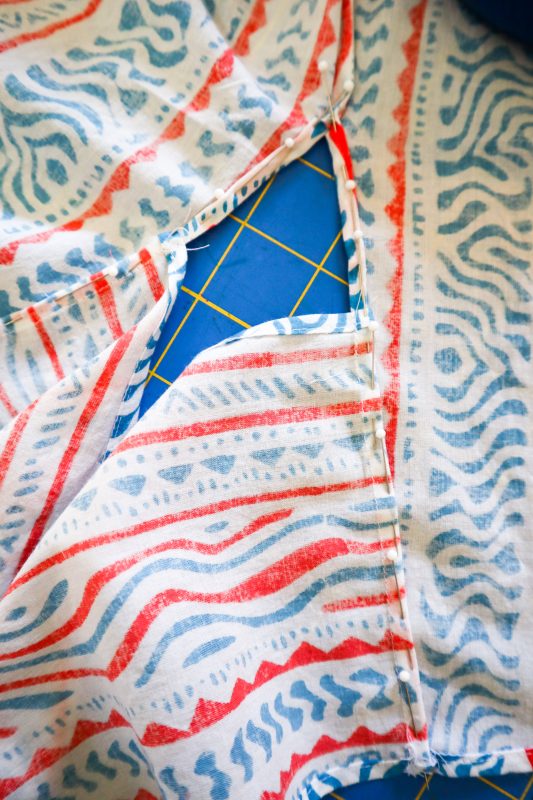
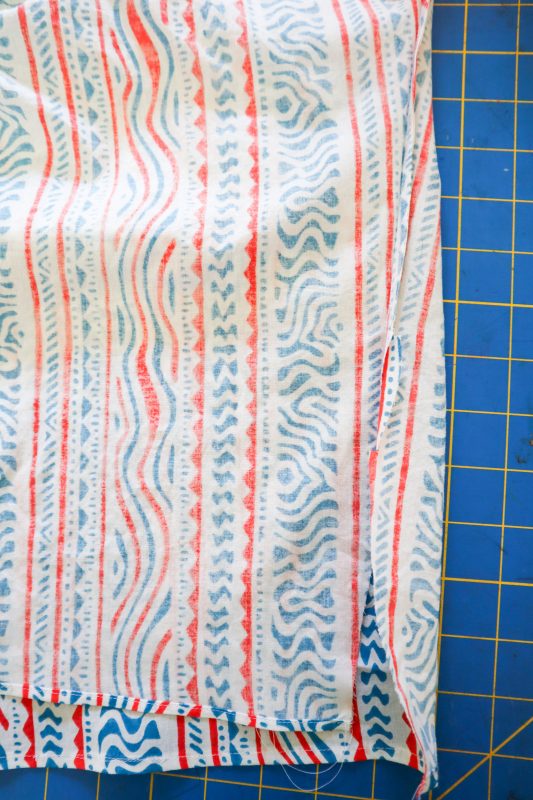
Last step- Finish those seams and the side openings! For this, I chose to do a very narrow flat-felled seam. In the image above I’ve turned the raw edges in on themselves, and this conveniently aligns perfectly with a rolled hem for the side openings. You can see it pinned above.
Sadly, I forgot to take a photo of it after it was stitched, but I simply stitched close to the folded edge, and in that way finished the flat felled seam and the rolled hem opening all in one go!
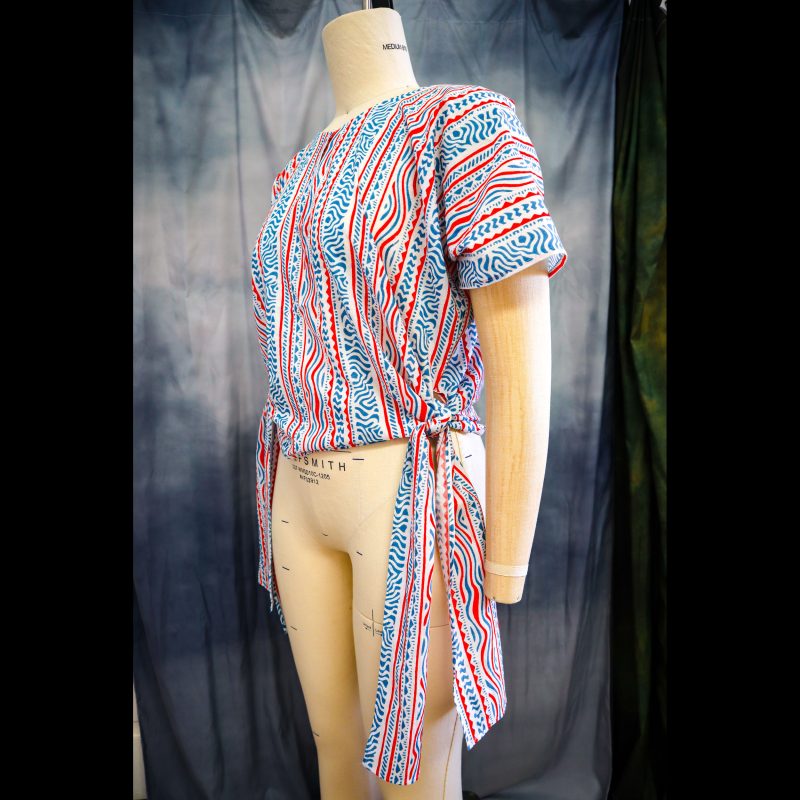
When it’s finished, and you try it on, you can adjust the height of the blouse by tying the sides tighter or looser.
That’s it! Not so bad, right?
This blouse pattern is available in both my Etsy shop and my Website, as both an E-Pattern and a Printed Pattern. Happy sewing!