
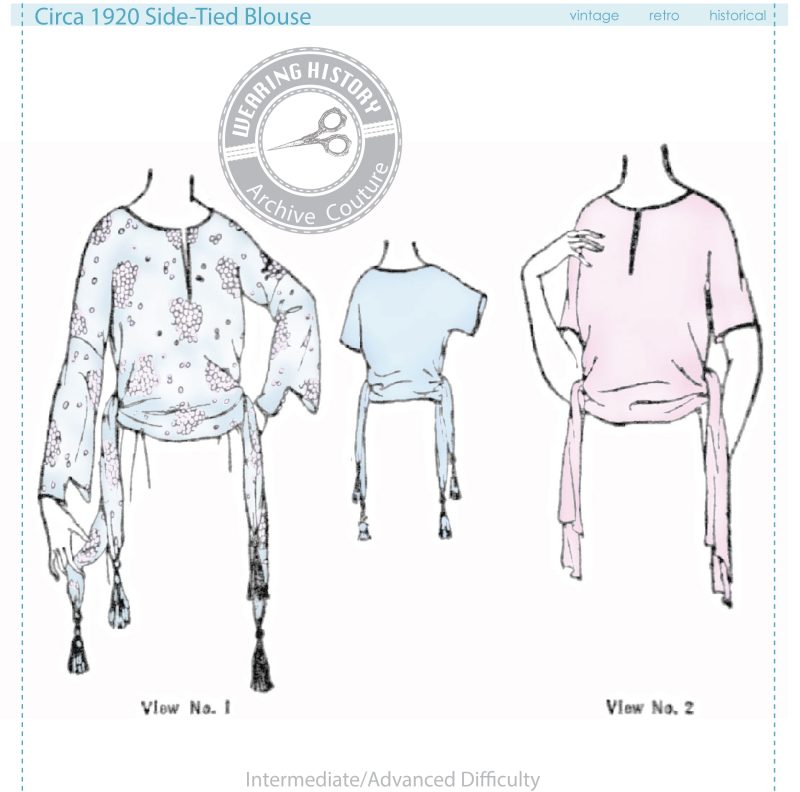
This is the final tutorial is for Wearing History pattern #AC131- the Side-Tied Blouse from 1920. In this tutorial I’ll give an overview of how I finished the sleeve for View 1.
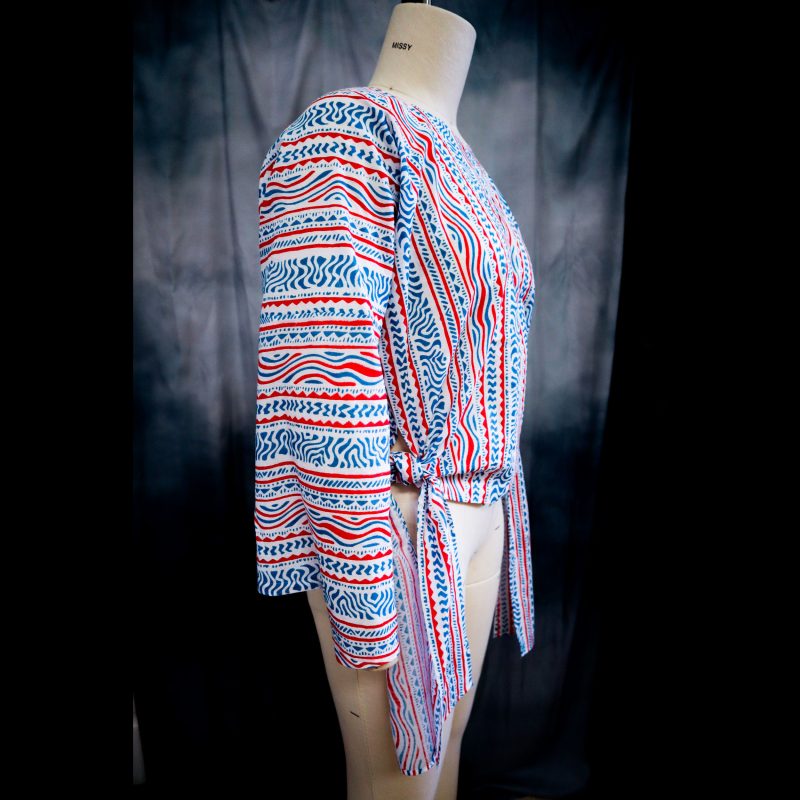
For a visual, here’s the long sleeve in action on my sample.
This “novelty sleeve” type came about sometime in the 19-teens and stuck around in some version or another for bits of the 1920s. They disappear for a while, then make another quick little resurgence sometime around the first half of the 1930s. I’ve seen them called “wing sleeves”, but they often are just called “novelty sleeves,” like they’re called in this sewing pattern.
Psst- secret- I didn’t have enough fabric to make the long sleeve version, so I made one long sleeve for this tutorial, basted it on for the photo, then took it off and finished my sample with two short sleeves. But since this is probably the most confusing part of construction, I really wanted a visual to help assemble this sleeve! Gotta do what you’ve gotta do!
Important Note #1- The sleeves on this blouse run long, and the original source material length was not changed. I very highly suggest you mockup the sleeve to test not only the sleeve length, but also the wrist circumference. It you plan on making the sleeves have a hook and eye or button and loop opening, make sure it fits your wrist snugly. If you’re planning on making the sleeve so it just pulls on, allow enough wrist circumference to get the blouse on over your hand and wrist. If you need to shorten or lengthen the sleeve, use the line I added to the pattern for a good place to slash and spread (or overlap).
Important Note #2- I cut my sleeves on cross grain. If you’re using a print, be sure to pay attention to how you want your print to fall on your sleeves. This pattern does not work well for fabrics with an up and down print or a nap, since the body is all in one piece. This means the nap or print would be upside down on the back of the blouse and sideways on the short sleeve! But for standard things like stripes, just pay attention to which way you want the stripes to go.
As per usual for antique patterns, the instructions were somewhat vague.
(3) Novelty Sleeves– After closing back seam of sleeves as notched, close lower seam up to extension. Sew lower edge of sleeve sections over upper edge of novelty sleeves as notched, with seams even.
So, no instructions for finishing or closures! Pretty standard for old patterns.
For my version of this pattern, I have added 3 different little dots to the pattern pieces. When you match these three dots together, it helps you to visualize how to sew the sleeve together.
I apologize in advance that these photos are a bit darker and not crisp- I was sewing after dark, which is never great for photos!
The first step in assembly is to finish the lower edge of the “wing”. For my version I chose to use self-made bias tape for this part. You could also do a very narrow 3/8″ hem.
If using bias tape, stitch the bias tape to the “wing”, right sides together, ending about where I added the “slit” marking to the pattern. Remember, your seam allowance is 3/8″, so trim the seam allowance of the “wing” edge, if needed, to match the seam allowance of your bias tape.
After stitching, clip in your corner, turn the bias tape towards the inside of the sleeve, turn under the edges of the bias tape at the “slit”, and stitch it to place by hand or by machine. This view is of the INSIDE of the sleeve.
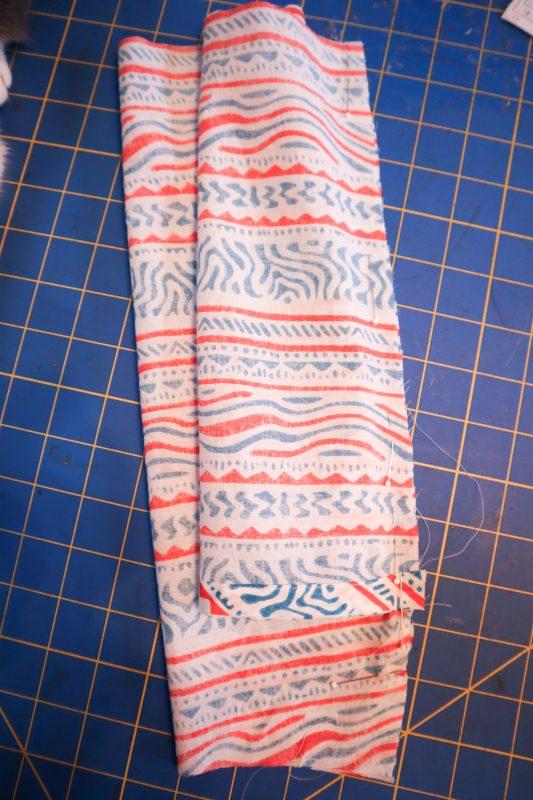
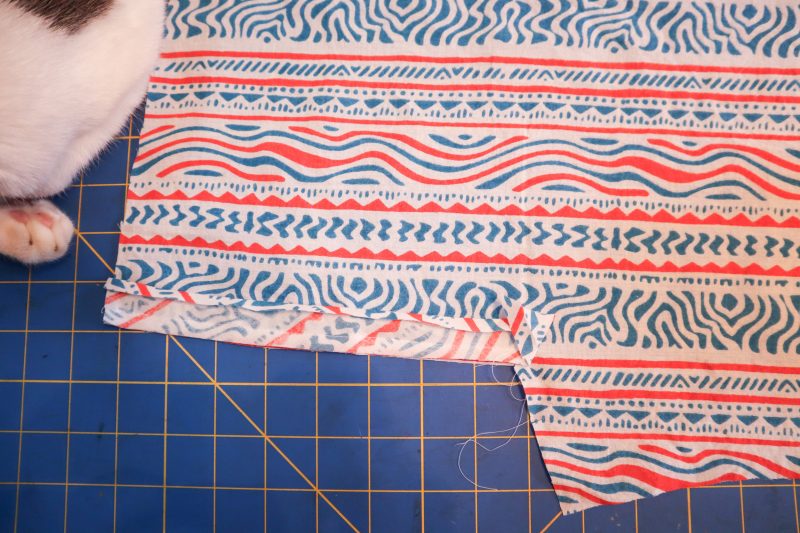
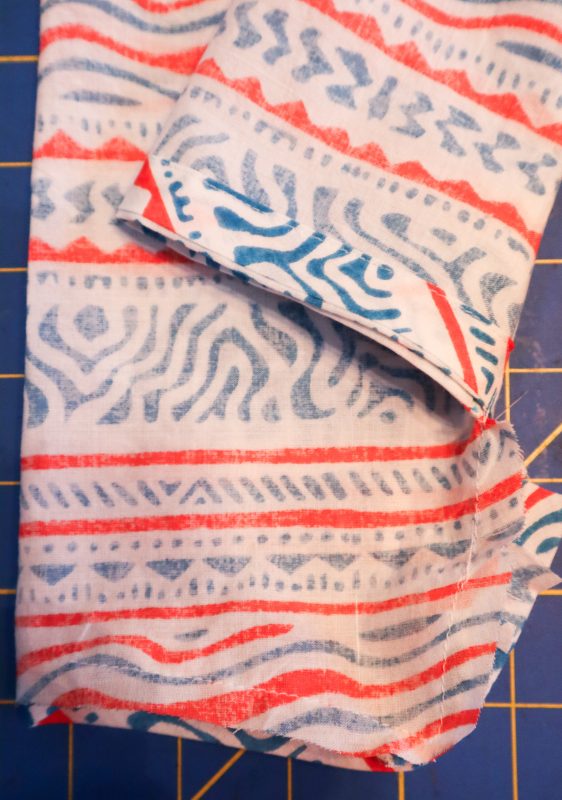
After the “wing” has a nice finished edge, you’ll match those three dots together on your pattern. You’ll have one very long seam for the upper portion of the arm, that matches together with notches. Then the lower section of the arm, like a cuff, will match together. See at the right of the sleeve where it is pinned.
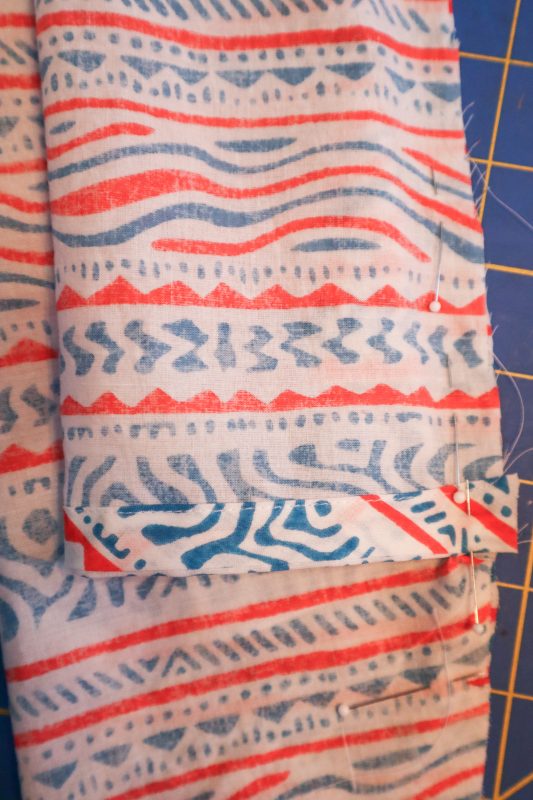
Here’s a closer up view. The cuff will match right up to the finished edge of the “wing. The pin that goes crossways, towards the bottom of the “cuff”, is where I will leave it open for a hand opening. This is marked by a notch on your pattern.
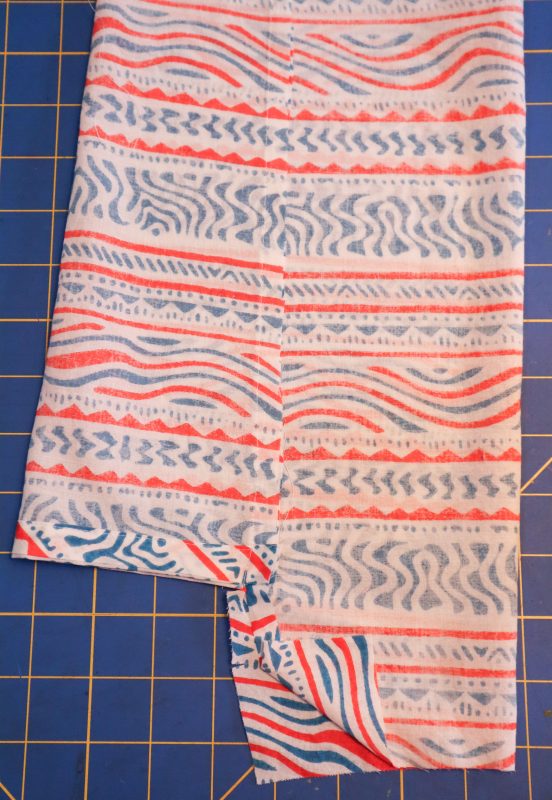
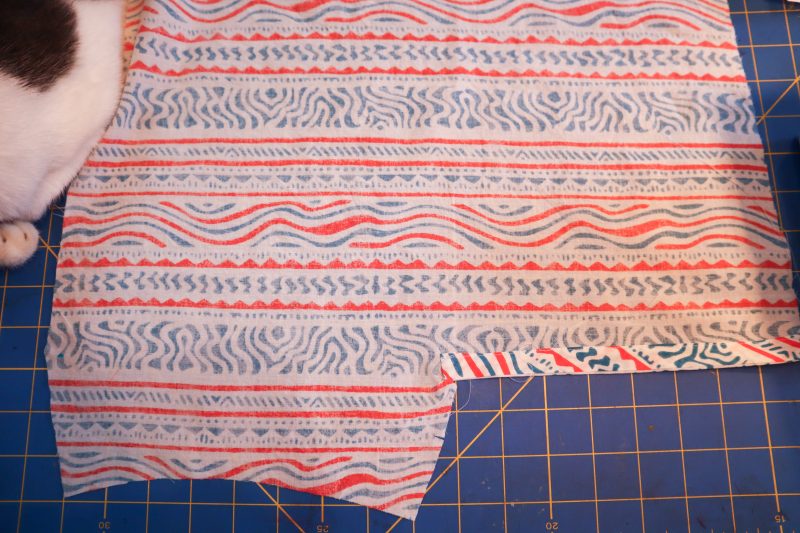
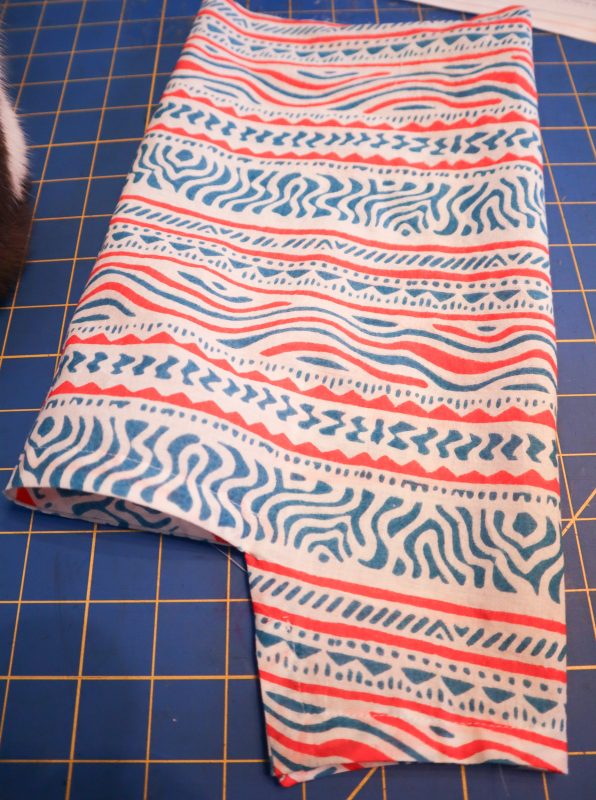
After this seam is stitched, it looks like this. See how it’s left free below the notch at the “cuff”.
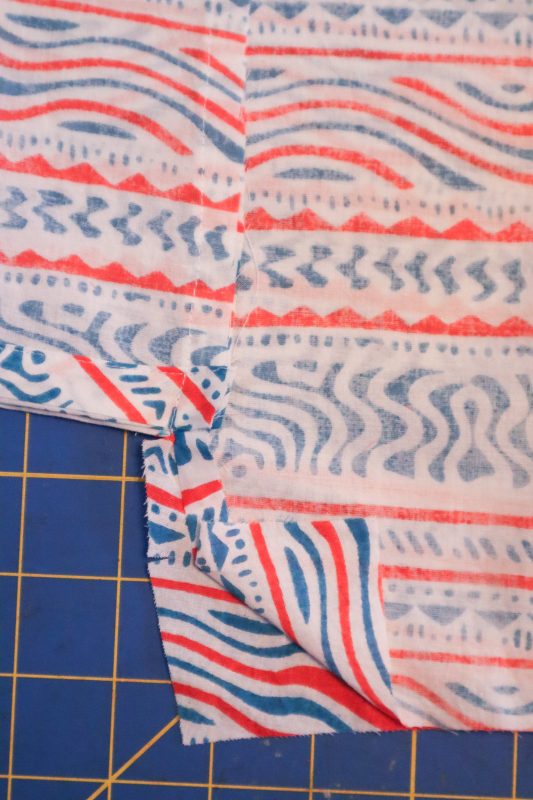
A closer up view.
I somehow neglected to get a photo of the right side of this step, just the inside. BUT. These three remaining raw edges of your sleeve, where the sleeve opening is, will also be finished with bias tape. Keeping in mind the 3/8″ seam allowance given, stitch your bias tape to the sleeve opening and bottom edge of the sleeve, right sides together, mitering the corner of the bias tape at the “points” where the bottom of the sleeve meets the sleeve opening.
Turn the bias tape towards the inside, miter your corners, and stitch to place by hand or machine.
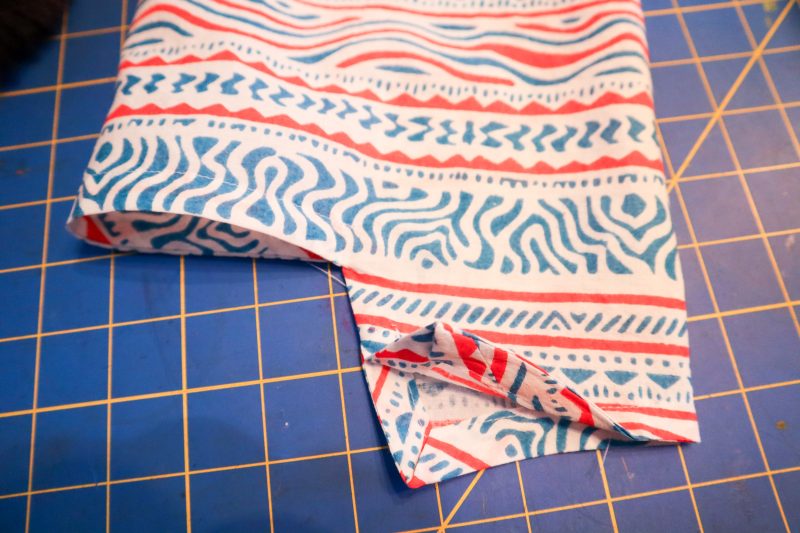
Finished bias tape with mitered corners is visible here.
After this, finish the opening with hooks and eyes or buttons and button loops.
Then simply attach the sleeves to the blouse, matching the notches given on the “short sleeve/bodice-in-one)
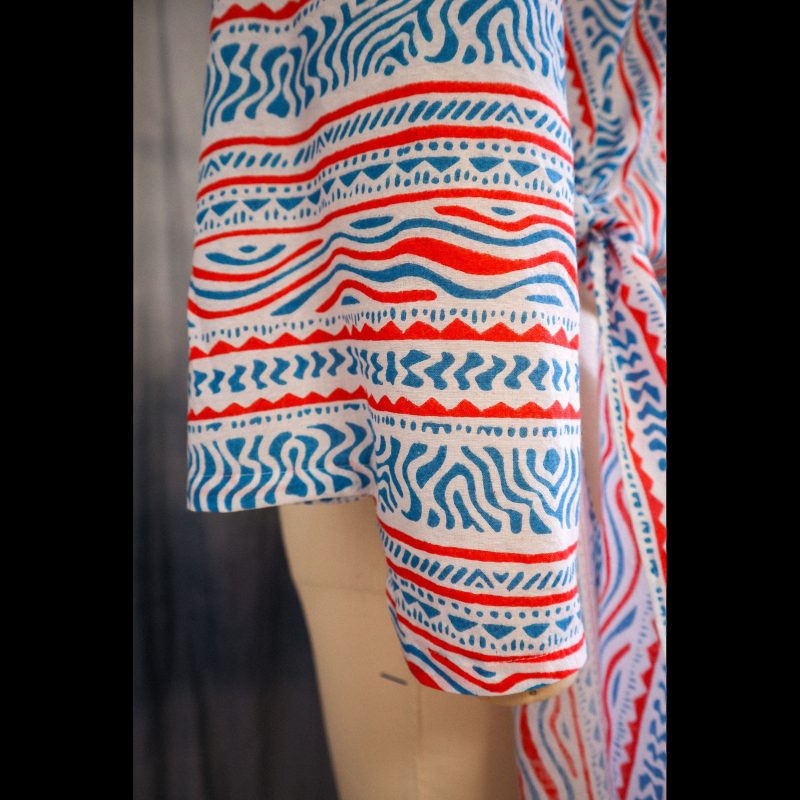
Finished sleeve! Awesome!
If you don’t have it, already, you can purchase this pattern either as an e-pattern or a printed pattern from either http://wearinghistory.etsy.com or http://wearinghistorypatterns.com
Thanks for following along with these photo tutorials! I hope these were useful for you to assemble your own version of this blouse!