
I posted a vintage sewing version of this some years ago. Check it out here.
Historical costuming is growing leaps and bounds with the popularity of social media platforms like Instagram, where it’s so much easier to find fellow people with shared interests. But along with a growing interest comes concern for how to afford such hobbies.
Now more than ever it may seem hard for us to justify the extra expenses of hobbies that seem superfluous in light of what’s going on in the world, but I’m here to re-enforce that not only is a hobby good for mental health, but there’s some habits you can pick up to move toward long-term change while being budget-savvy.
Here’s a few tricks I’ve adopted over the years to keep making things that make me happy while working within my family’s income.
My number one tip is to think long-term, not immediate.
This is probably the biggest tip I can offer to you. Usually when working from concept to completion it may feel natural to have the idea first and then source the fabric. But there’s other ways to work that will help you cut corners. Most of my tips fall under that umbrella. Don’t be afraid to live outside the box, and let inspiration come from various angles.
1- Really pour into research on the eras you want to emulate.
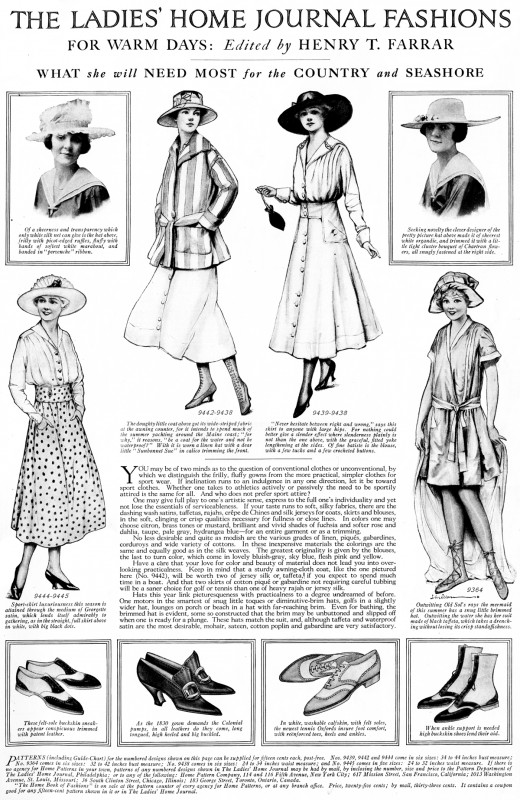
This seems like a no-brainer- but this is where you need to start. What eras do you want to sew? Start down that Pinterest rabbit trail and pin to your heart’s content. Don’t just fall in love with an image “just because”. Notice *WHY* it speaks to you. Look at the colors. The patterns. The composition. Look at how the fabric looks. Is it shiny? Matte? Patterned? Solid? Start drawing parallels between what was popular within certain years as far as colors and patterns and fabrics. Look for articles of clothing with actual dates. I highly suggest looking at original period sources like paintings, photographs, and existing garments. This helps train your eye. When you research by looking at other people’s current work it can influence your choices, while looking at the period of your interest will help you make your own choices and find something that speaks specifically to you.
Analyze the period. Learn from it. Train your eye. This part is mostly free!
Of course, if you’re into aesthetic over accuracy that’s totally ok, too! But questioning the “why” really helps you to pin down what you want to go for, regardless of accuracy. Is it the silhouette? The color? The mood? Take mental note and try to translate that into your project in a way that makes you happy.
2- Let the fabric do the talking.
One of the issue with working design-first is that you’re really limited to what sorts of fabrics and color palettes you can work with. If you fall in love with the idea of a dress you’re limited to what’s currently available on the market. Usually this means you must shop traditional methods and haunt well-known stores that hold a larger inventory. But once you’ve become familiar with the period, like in my last point, the more you’ll be able to see a fabric and say “AH HA! This is perfect for *insert date here* *insert garment here*. If you’re in a reenactment group and need certain things for your period impression you can run it by your group leaders, but if you’re like me and just make it for art’s sake, you can chose what you want based on what *you* want. Be confident in your choices and do it because you want to, if you’re just out to please yourself. It’s quite freeing!
Working from fabric first means that if you find place in unusual areas, with budget in mind, you can leap at those opportunities and not worry about sourcing specifics.
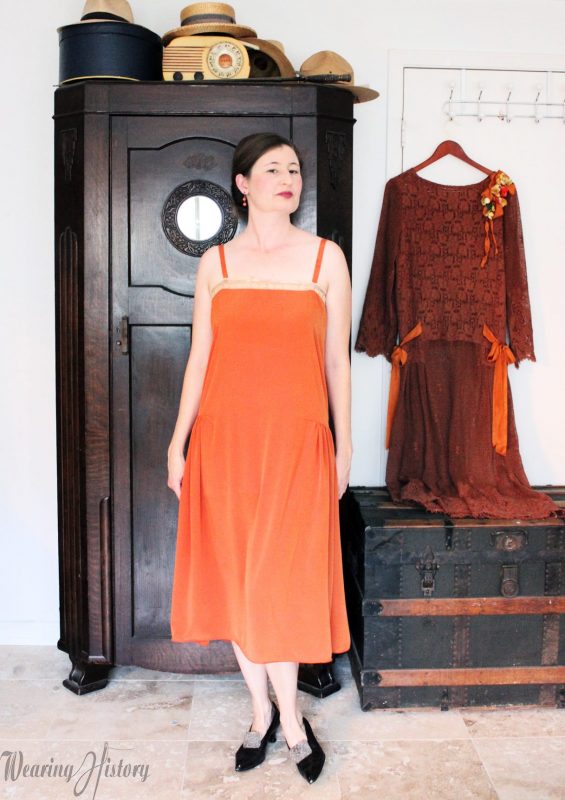
I’ve found silk for $5/yd this way and let the fabric tell me what it wanted to be. When if I had worked the other way around based on a concept first I’d be paying more like $20/yd to find a particular color in a particular time frame.
3- Shop outside the box.
Some of my best finds have come from the curtain section at the thrift store. No joke. I have found 100% cotton velvet curtains for $15 for two panels. That’s insane. Same for dupioni, taffeta, and cotton curtains. I’ve cut up thrifted sheets for victorian petticoats. And I’ve shopped the sale section at fabric stores for off-season cuts that will make an awesome dress for next year. Think ahead. Get creative. Thrift, garage sale, estate sale, follow the sales flyers from stores, and JUMP when it’s time to JUMP.
4- Know what colors work for you.
Maybe this isn’t so much budget as just shopping-sense. But if there’s a baby poop green silk taffeta on clearance for $5/ yd, don’t be romanced by the price tag if the color makes you look like death. Because even if those five yards only cost you $25, that color still makes you look like death and that $25 could go to something that would be more flattering and you’ll like more.
This hobby takes a ton of man-hours to make something beautiful. Spend those hours making something pretty, not something that you keep having to talk yourself into liking.
Learned this one from experience.
5- Pay attention to what fabrics feel good on you.
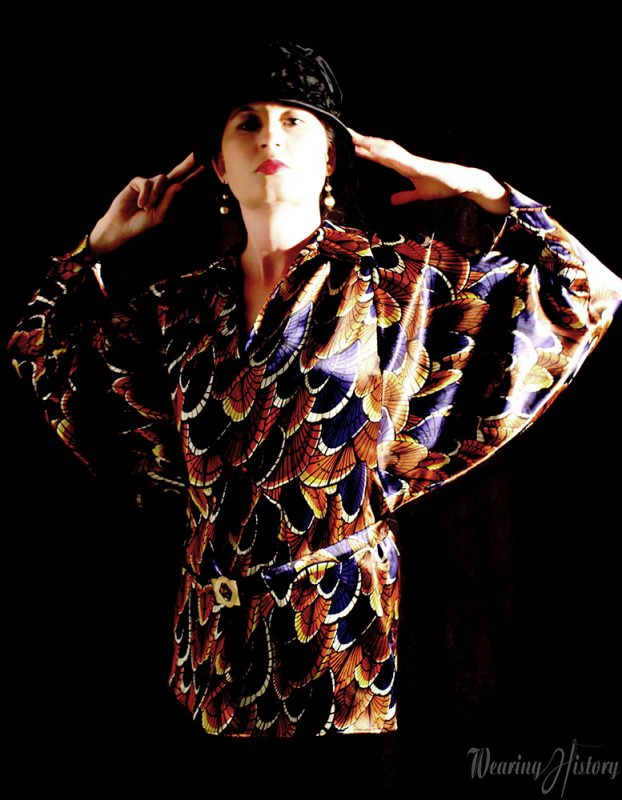
Let’s be clear- you can sew of anything you darn well please. It’s about knowing what fabrics you like to wear. Are there things you love to wear in your personal closet? Or are there things you steer clear of? For me, I don’t buy polyester clothing because it makes me feel sweaty and sticky. But I’ve made entire bustle dresses out of poly so I’m not here to judge you if that’s your jam.
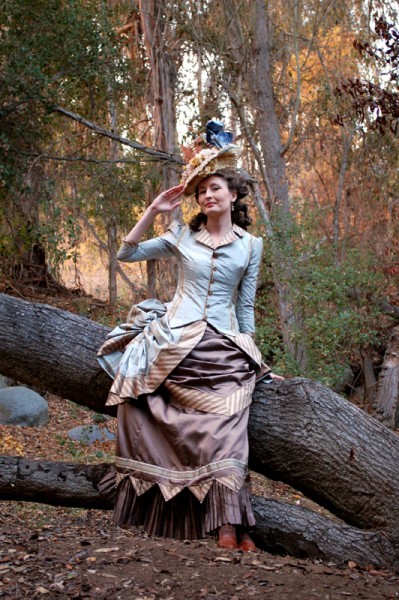
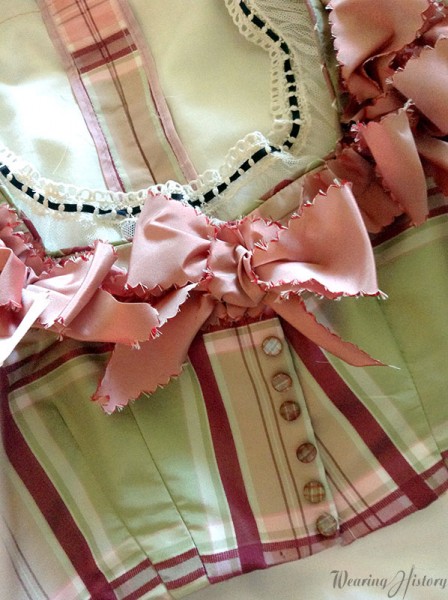
I once talked myself into a pretty poly plaid, in spite of never liking to wear polyester, because it was so lovely. But the dress was hot and uncomfortable and no matter how cheap it was or how pretty it looks in photos- if I felt like I was wearing a plastic trash bag and my armpits were sweating and I felt clammy all day. Yuck!
So figure out what fabrics FEEL GOOD on you and don’t just be romanced by price tag or pattern if it’s not something you like to wear in your real life. Adding another one to the “don’t buy it just because it’s a good deal” lesson. If I had spent the money on a cotton I probably would have worn it a lot more!
6- If you really love an era, build a capsule wardrobe.
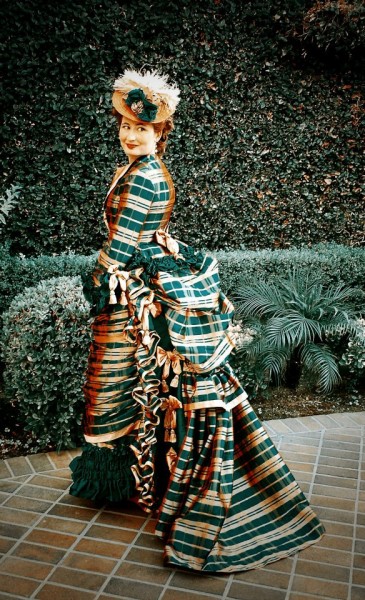
This works really well for Victorian but also 18th century. Do you love this period? Do you want to make a bunch of things but hate building corsets? Pick an era, make your panties, and then start building a wardrobe an average person would have had. This means you can make those underskirts in basic solids and mix-and-match elements while working within a color palette. Personally, I have found better deals on earth tones like browns and golds, which works GREAT for me, because then I can source five yards of this here, five yards of this there, and cobble together a great Victorian dress using an underskirt that can work for many dresses, and if I’m super lucky I can get a fabric that has enough to make both day and evening bodice options, and make my dresses work for even more.
Pinterest is a great tool to build a wardrobe. You can identify not only what you need, but what colors will work and how you can mix and match. Or just use good ol’ paper and staple your fabric swatches to your sketches.
7- Make less. But sew it the best you can and enjoy the process.
Instead of pumping out a half dozen dresses in a year you’re only “so-so” about, perhaps put that fabric budget into something that takes you longer, but that you love. Spend the time finishing the seams. Make the time to add all the trims. Think about it long-terms. Learn to enjoy the process. And make something you’re super proud of.
And don’t forget to add extra seam allowance at the side-seams and shoulder seams so you can let that garment out in future and get even more use from it.
Things move so fast on the internet that I fight with myself over this one constantly. But I’m learning to move at my own pace without worrying about what everyone else is doing, and really enjoy the making process. Making a dress in sections while investing maybe $25 a month long term means those bigger dresses that cost more can be spread out over time and work within your budget. And as you hone your skills during the process you’ll be really proud of how much you’re learning and how far you’ve come.
8- Get to know e-patterns
Obviously this might come across funny since I sell patterns, but i’ve recently been seeing the advantages to owning e-patterns I’ve bought from other makers. Not only are they great for instant gratification, but the best thing for me is that if you change sizes, or if you lose a piece, you can just print it out again. Pick pieces you’ll get long-term use from, and pick basics you can change up with trims and pattern alterations.
Of course, you can do the same thing with paper patterns.
Some people cut this altogether and draft their own- but as a pattern seller and pattern addict I can say I’m very happy to buy a pattern and alter it to my needs instead of always drafting up from a book or drafting from scratch. If someone’s already put the hard work in, I’m glad to take advantage of their work for a starting place instead of re-inventing the wheel. I really love supporting other maker’s work.
That’s most of my tips for what I do to costume on a budget.
Do you have things you like to do? Let me know in the comments!
Trudy Medeiros
October 22, 2020 at 10:19 pm (6 years ago)I love all the Costumes! They are grate!
Trudy Medeiros
October 22, 2020 at 10:22 pm (6 years ago)I meant to say that I I love all the costumes here! they are beautiful.
Carolyn
October 23, 2020 at 8:09 am (6 years ago)Great tips! I love all your pictured costumes! Even the tartan poly and I can’t wear poly either.
Hana - Marmota
October 30, 2020 at 10:36 am (6 years ago)Excellent overview of things I mostly try to do myself! I phrase 6 as “treating my historical wardrobe just like my modern one – as clothes I wear / a collection of separates, rather than head-to-toe outfits.” :-)
Research really is key. It’s how you realise that maybe you don’t know how to make an early Regency bonnet and can’t afford buying one but that you can actually just wear a headscarf which is a lot easier and cheaper to make. ;-)
I would add: Do you have a family member who never knows what gifts they should give you for birthdays and Christmases? Make a deal with them to give you the costuming books you ask for. ;-)
I do like making my own patterns. But I also agree that e-patterns are great. Especially if you live away from all the costuming companies, it’s wonderful to save on the shipping and/or have it instantly available like that.
Maja
October 24, 2020 at 5:41 am (6 years ago)Also look out for:
– people giving away old sheets and curtains (on Fb Marketplace and such places) – if nothing else, you’ll have free fabric for mock-ups, toilles and lining
– people who sell out their stashes for cheap – I just got a lifetime supply of lace and foliage for next to nothing, and couldn’t be more excited, trims can be so expensive!
Natalie
October 24, 2020 at 4:14 pm (6 years ago)A helpful post, and boy, does it make sense to think of your fabric investment by spacing the cost out over the long periods it can take to finish a really nice project.
My tip? Think of the accessories that would go with a project, and then make the dress, but then switch to making a variety of accessories. Your final outfits – for changing out accessories gives you twofers and threefers — will rise to the next level in effect as well as make you feel truly pulled together. They can be such fun to make and can reflect your taste without much expense. A jabot, or cap, or reticule, or work bag or belt can just take bits of fabric, and you can collect trims over time as you see them pop up inexpensively. Then too, in some periods accessories and trims were especially popular. Adding different sashes or ribbon trims or tacking on a hand-hemmed ruffle changes the effect of a Regency little white gown. An 1890s shirt waist goes a bit more uptown when you swap the turn-down collar for a crush collar plus plastron or change out fabric epaulettes for ribbon bows with tails at the shoulders. This is what most people in the period did.
Very best,
Natalie
Elizabeth Young
November 9, 2020 at 8:47 am (6 years ago)Thank you for another inspiring post. I’m putting my clothing sewing on the back burner for now as I’m in the middle of a much needed and hard fought weight loss effort. I hope by next summer I shall be finished and can start sewing for myself again. I’m going to take the time between then and now to choose the styles, fabrics, colors, and patterns I want for my capsule wardrobe (1945ish). And to copy the vintage patterns I choose, and think about my favorite pieces that are now too large (can I alter them down? Maaaaaybe? Do I want to? Maaaaaybe not!). I shall probably do 1850, 1918, and 1955 mini capsules as well. Lots to keep me engaged!