
This is the first tutorial for the Veronica 1940’s Coat Pattern. In this tutorial we will cover how to make lined pockets and how to Catchstitch. These techniques can be used for other patterns as well.

Although instructed to sew the pockets on later in construction, I almost always like to attach the pockets first. I do this because it’s easier for me to get them aligned straight than when I try to sew them on something which already has side seams sewn. I feel it shifts more when the weight is being pulled in one direction or another after it has more fabric attached.
These pockets are lined. Up until this point, I had never sewn lined coat pockets. Well, not that I can remember, at least. The original 1940’s directions were not difficult, and they make the coat look so much more put together.
As a side note, the original coat pattern calls for pockets on the STRAIGHT OF GRAIN. I chose the bias for personal preference. If you do this, it might use more fabric than allowed for on the pattern yardage requirements given.
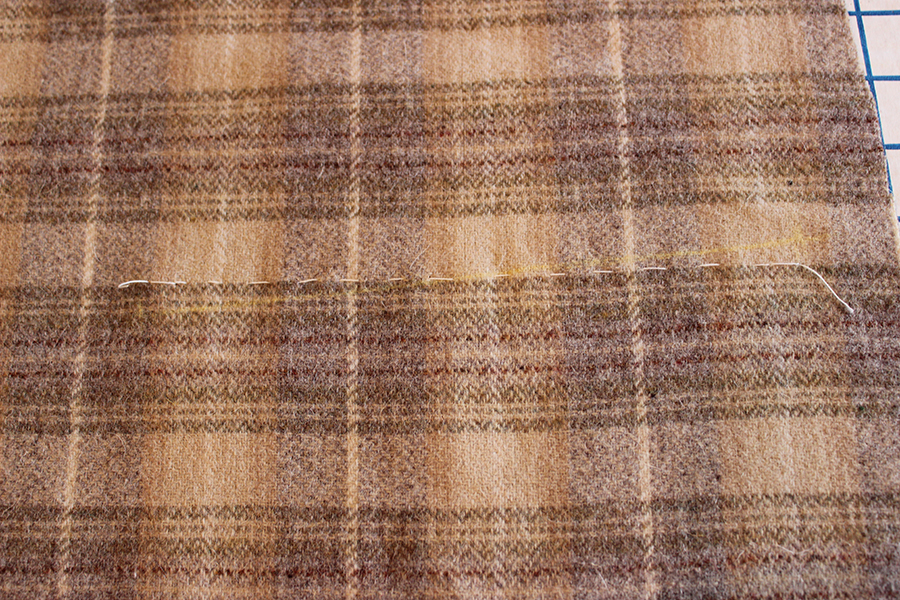
- First, make sure you have marked your pattern placement on your flat pattern pieces. It’s WAY EASIER to do this before you assemble anything, so you make sure they are straight. Because I was using a plaid, I did alter my pocket placement to match my plaid. If not using an obvious plaid or stripe, follow placement given on the pattern. I used thread basting to mark my pocket placement, as shown below. You original placement before altering for my plaid is just visible with the yellow line, below, so you can see my change.
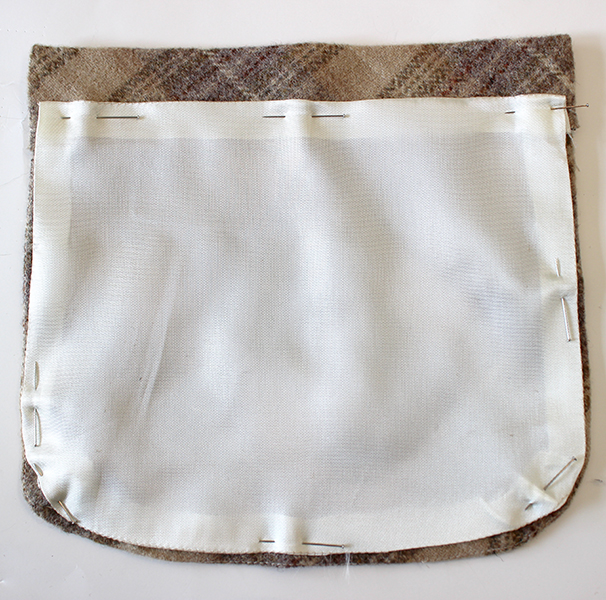
2- Now we attach the pocket stabilizer. I used hymo (hair canvas) for mine, but you can use muslin if you want to do it as originally instructed in the pattern. The hair canvas gives it more body, but may be unsuitable if you’re using a lightweight or drapey fabric. MAKE SURE YOU ATTACH THIS TO
THE WRONG SIDE OF THE FABRIC. It should not be visible when turned under. I had to sit and think about this for a little while when assembling, since I didn’t have an obvious right and wrong side to my fabric.
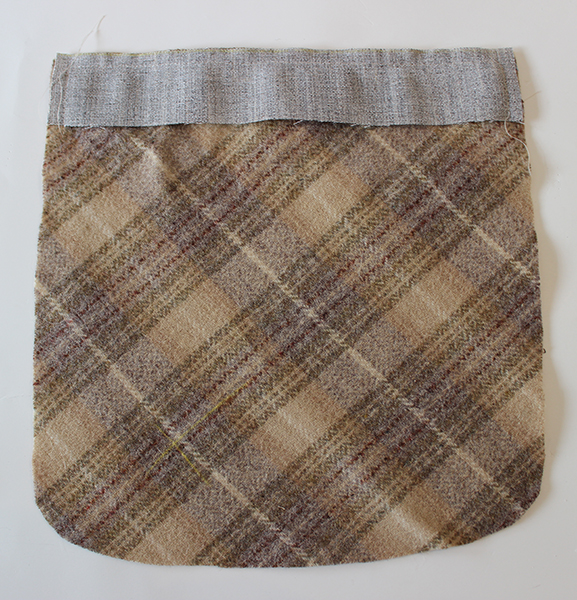
3- After you’ve attached your stabilizer, stitch the top side edges to create the pocket top hem. I also stay stitched the rounded edges of the pocket to make it easier to turn under the seam allowances. Clip your corners of your stabilizer so that it doesn’t add more bulk before you turn. Then turn, get your corners crisp, and press.

4- After you’ve turned and pressed your pocket top edge, you will also press under your curved pocket edges. Go slowly, and get the curves nice and round. Then you will hand baste the seam allowance down to the pocket.
How to Catchstitch
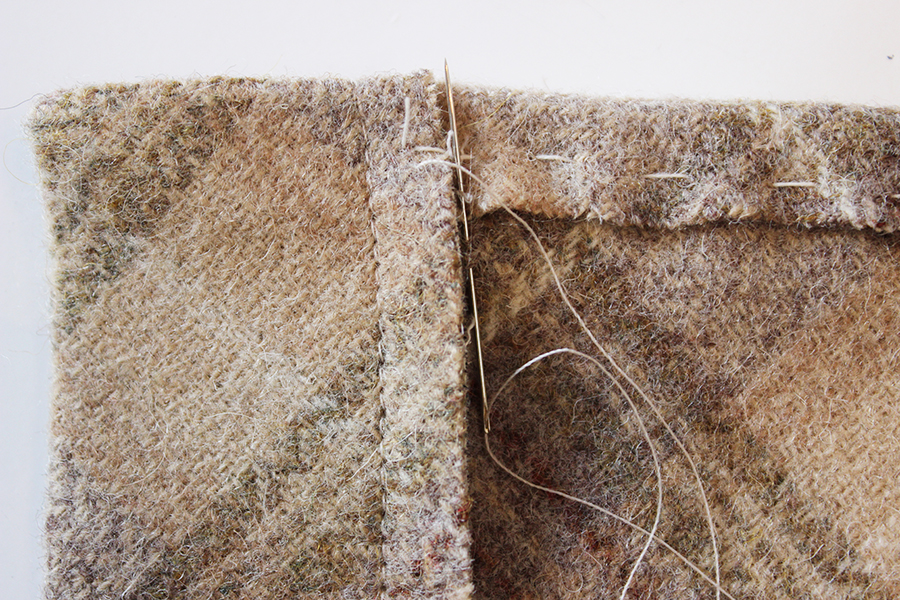
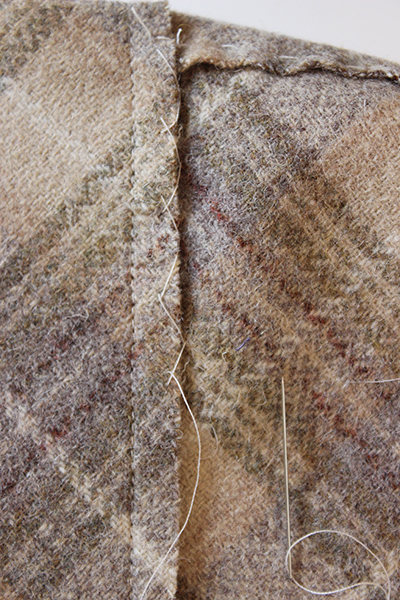
Now it is time to secure down the top edge by Catchstitching. ( Note- the machine stitching visible here is to secure down the hymo canvas, and it is NOT visible on the outside of the pocket. It doesn’t go through all layers.) Catchstitching will invisibly hold down the top edge of the pocket.
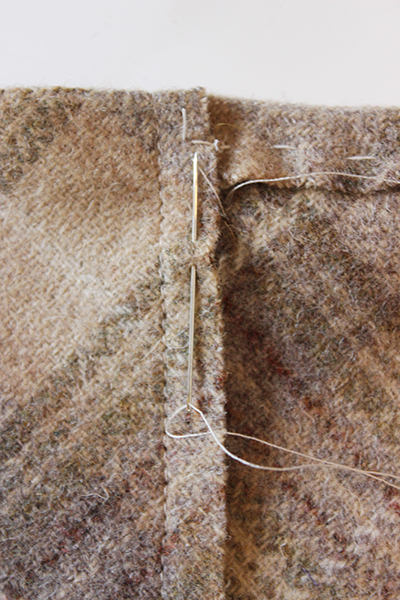
5a) Start by coming up through the back side of the turned under hem. Then catch just a bit of the fabric on the pocket body, as shown. The needle should be pointing AWAY from you.
5b) Now jump back to the turned up hem. Go in and out, grabbing a bit of the fabric. The needle should be pointing AWAY from you. 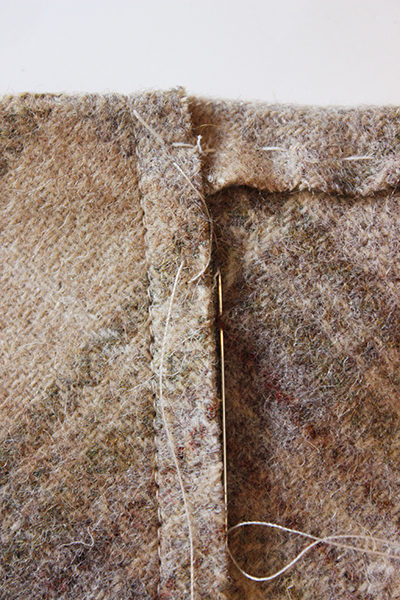
5c) Jump back across to the pocket, and grab a tiny bit of fabric with the needle pointing AWAY from you again.
5d) Continue this all down the pocket, securing the hem. This is what it should look like. When you get to the end, secure the thread.
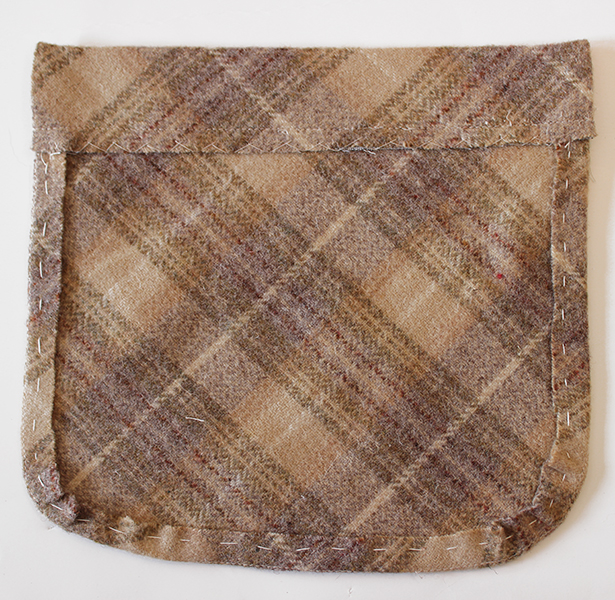
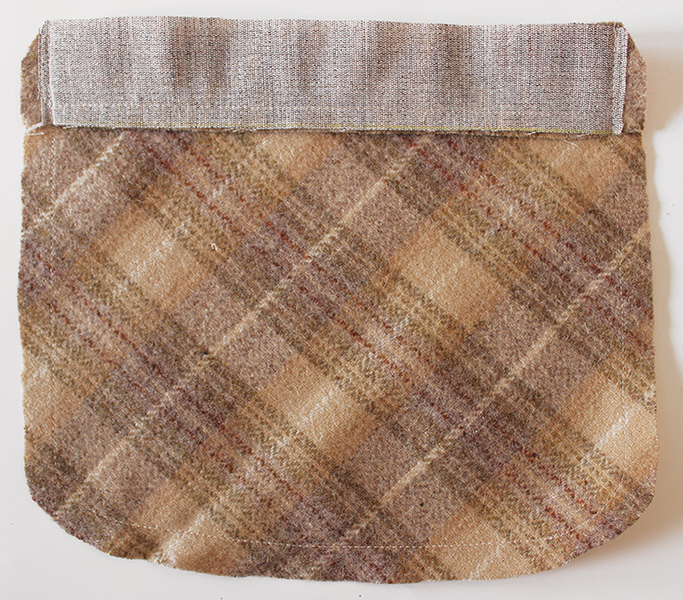
Your pocket should now look like this. Catchstitched top hem, basted outside edges.
LINING
6) Cut your pocket lining as instructed in the pattern, if you haven’t already. Turn under the seam allowance indicated, and then pin it to the pocket, as shown. Make sure the pocket lining hits inside of the pocket edge, so when you sew it to your garment the lining does not peek out. The lining should cover the catchstitching, and prevent that raw edge from raveling.
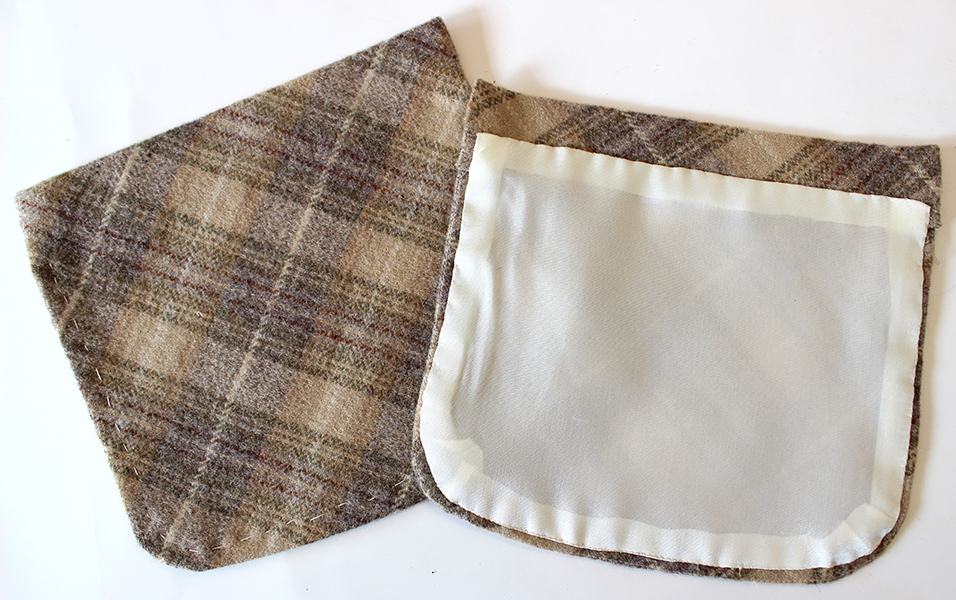
7- Stitch down the lining by hand, grabbing only the seam allowance of the pocket curve, and the top flap of the pocket (stitching should not be visible from the outside). Above you can see what the pockets should look like from the inside and the outside when they are finished being assembled.
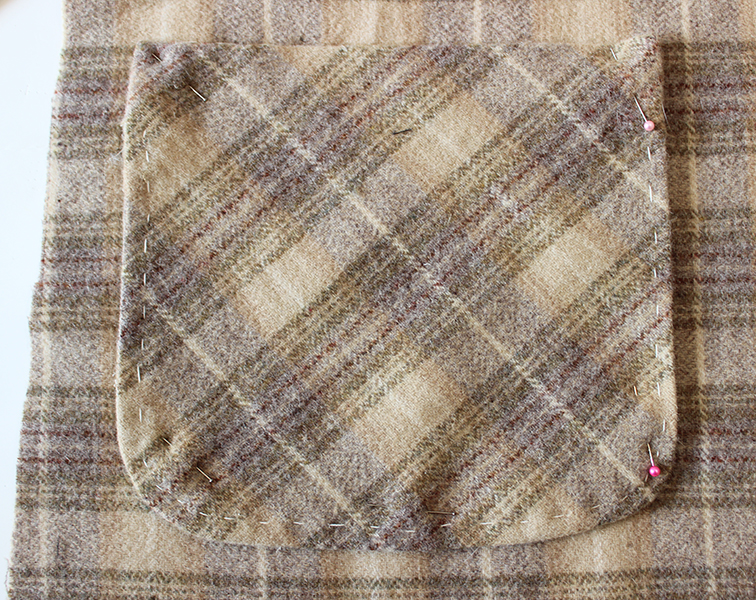
8) Pin your pocket to your coat, using the line indicated as the alignment for the top edge of your pocket. If you find it easier, hand baste your pocket to place before machine sewing.
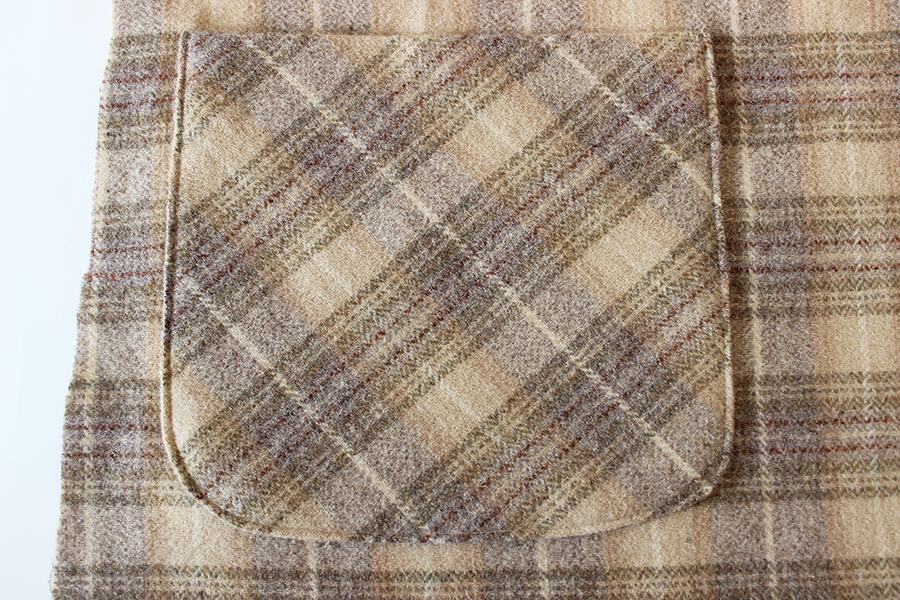
9) Stitch around the outside edges by machine, slowing going around the curves to make sure they lie smoothly.
10) Remove the pocket basting and the placement line. And you’re finished!
Hope that helps you visualize how to make lined pockets, catchstitch, and attach the pockets to the coat.
Maja
January 20, 2016 at 2:05 am (11 years ago)nice!