
Continuing the sewing tutorials for the Air Raid Suit pattern.
In this post we’re going to make the back pleats. My grandma called these “action backs”. The pleats on the back were designed to give you more movement, which could come in handy if you were doing war work like working in a munitions or airplane plant.
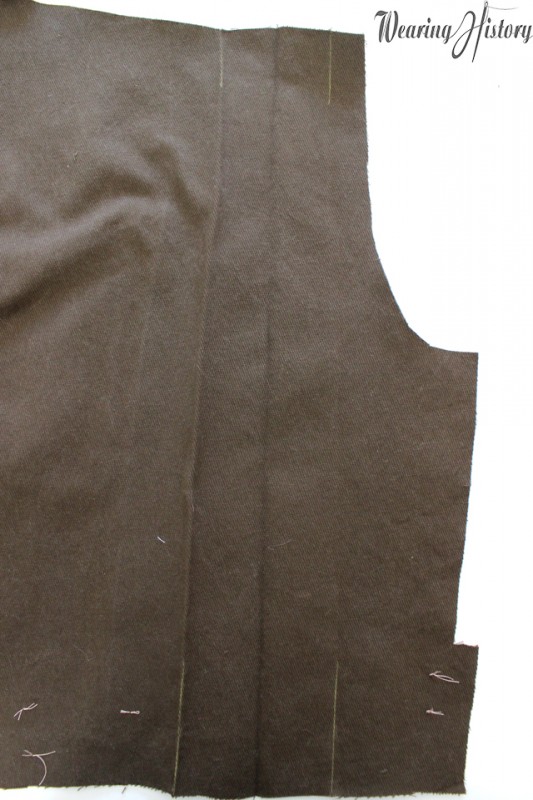
If you haven’t already, mark your fabric with all the markings you might need. I used a combination of thread marking and chalk for mine. The yellow chalk lines are where the pleats will be. I pressed them before this photo was taken so you can get a visual of where the tucks will be.
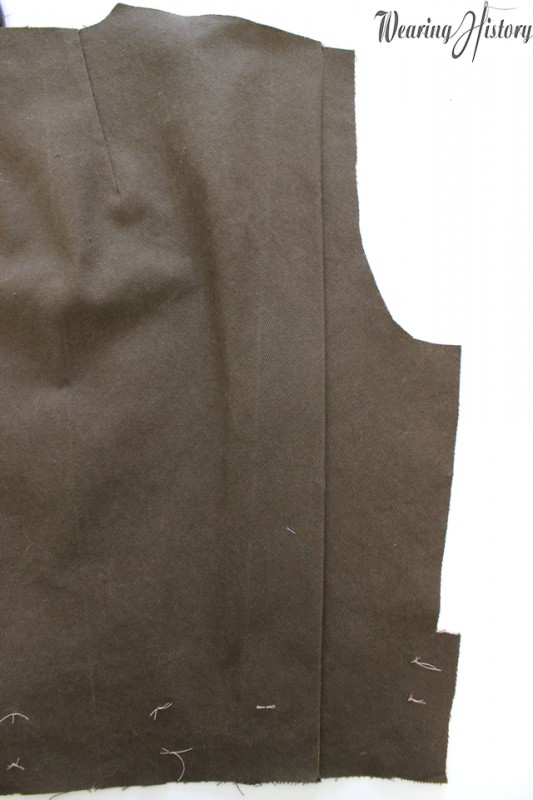
Now match yellow line to yellow line, with the fabric of the fold going towards center back. Press.
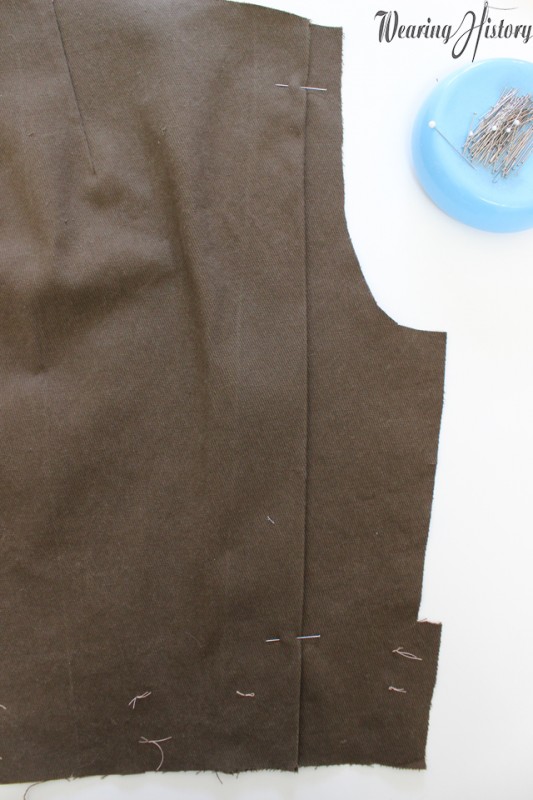
Pin it for stitching. I put a cross pin at the top and bottom of the tuck line so I could see where I need to stop my stitching.
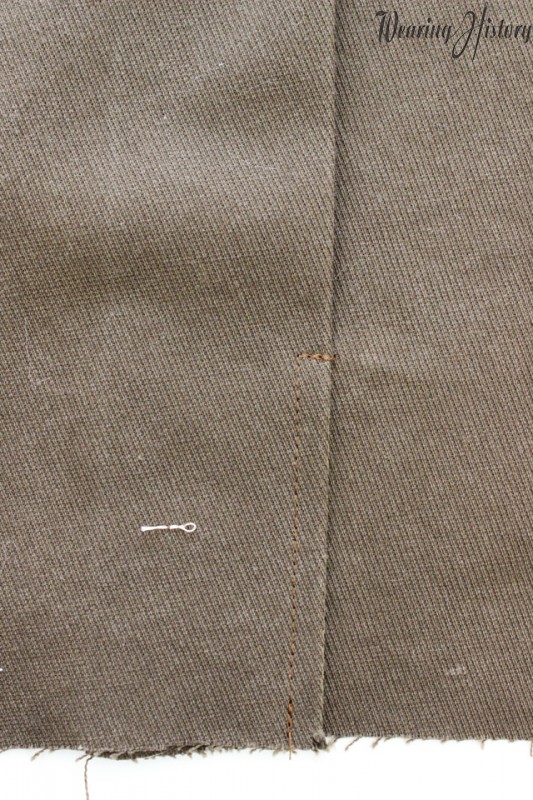
Now you’re going to stitch 1/4″ from the fold of the tuck, and then straight across to the edge of the tuck fold. Back stitch to make sure it’s good and secure. Do the same at the shoulder tucks and the waist tucks (a total of four tucks will be stitched- two at the shoulder, two at the waist).
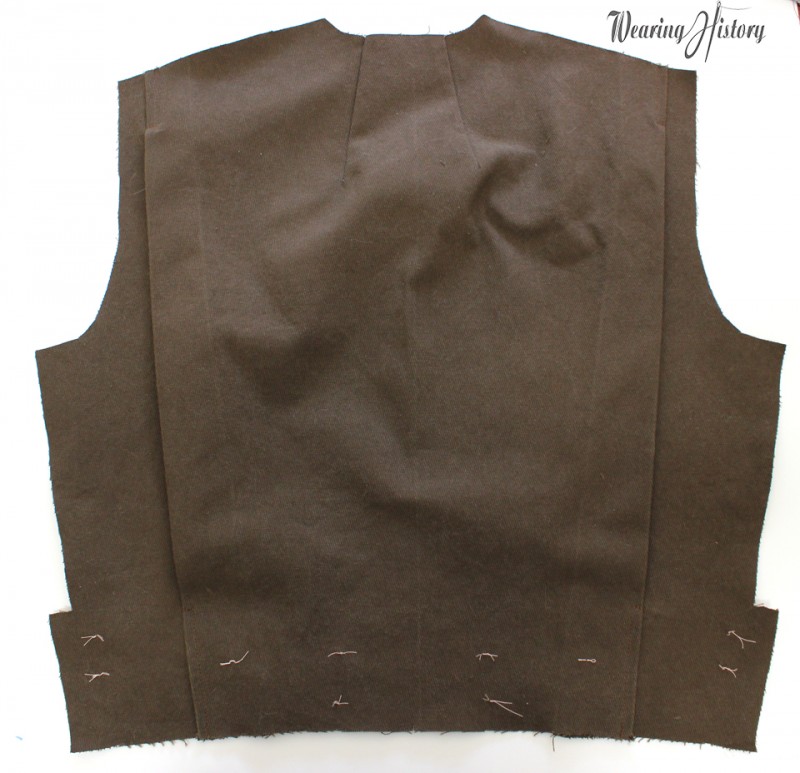
Now step back and admire your handiwork! Congrats, you just made a pleated action back! Way easier than you thought, wasn’t it?
Next up I’ll show you how to do flat felled seams.
Have a wonderful weekend, and Happy Easter, if I don’t check in before then!
xo
Lauren