This is the single most part of the skirt construction which seems to be confusing to most. Simply put, we no longer construct skirts like this, which is why it seems such an oddity. But skirt construction like this continued up until the 1930s, so it was widely used for a period of at least thirty years, if not longer.
The idea is to have an internal waistband, the top of which is where the skirt is most fitted to the body. The waistband then skims the natural waist, instead of fitting closely to it. These waists were extremely popular during the 1910s, which could give some account of the transition of the figure from the more exaggerated hourglass of previous decades, to the straight waist of the 1920s. The 1910’s emphasis was not on actual waistline, rather the RAISED waist and the FLARED silhouette.
For a visual example of period construction, please make sure to check out the previous post I did, showing the construction of a real skirt from this time period.
Disclaimer: There were countless ways used to construct this sort of waistband. Every example I have seen has a bit of a different way to go about it, but the result was the same. That is why, in this post, I do what is intuitively easiest for me. Like most periods of fashion history, there were various ways to construct a garment to have the same visual effect, so don’t worry too much about rules here. Do what works for you. At the beginning of this article I talked about the ideal silhouette, so keep that in mind and just go for it.
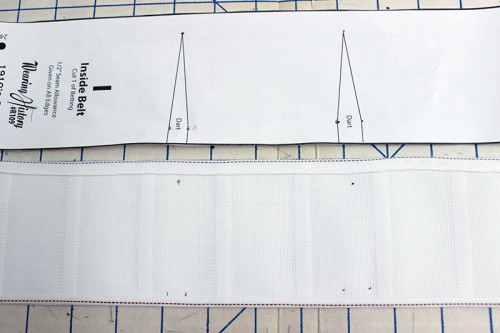
First, finish the top and bottom edges of your interior waistband. I used a belting I found at an estate sale. Originals I have use wide grosgrain ribbon. If you are using grosgrain, you will not have to finish the edges, of course. You may chose to turn up an edge if your ribbon is too wide for the waistband if you want to keep the original proportions.
Next, mark your darts. I just did mine in pencil, since I wasn’t worried about the marks showing on my finished garment.
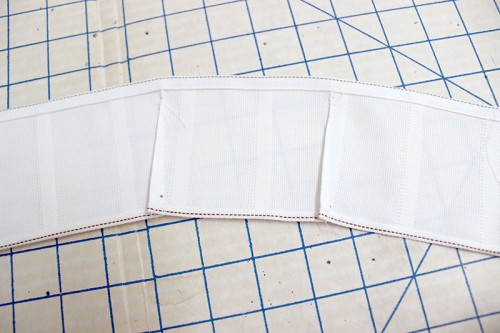

Sew the darts, then press your darts toward the center. You can see, our inner waistband is now curved.
In your mock up phase, it’s important to check the fit of this internal waistband. If it droops from the top edge, and wants to roll down, your darts are too deep, so you’ll want to take out some of the dart size, then cut some length off of the belt piece. Letting out the darts makes the waist bigger. As mentioned above, it’s most crucial that the top of the waistband fits, and the bottom of the waistband fits your corseted waist very snuggly. If the top of the waistband is too big, the skirt weight will pull it down. So get that interior fit right! You can always take in the side seams or gather more at the back skirt to make it fit the new waistband size,.
Let’s just pretend you’ve checked the fit and everything’s good, so we can move on.
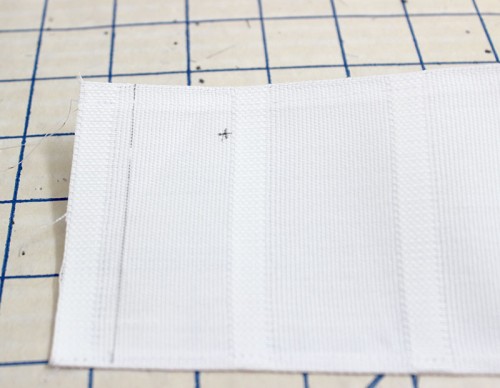
I have decided I’m going to sandwich this between the front placket, so I want the edge to hit flush in with the fold. The dot marks center front. There fold line on the skirt is 1″ from the center front. I have 1/2″ longer than that (which would allow turn under if you want to attach the waistband another way.) That means I’m cutting off 1/2″ at the edge, so the cut edge hits flush with the folded edge of the skirt placket.
This may have been a bad idea, as it may be puckering. It probably would have been better to do it like the original skirt I took pictures of, but I decided to wing it. So you get to see photos of what I did, since I’m not re-doing it now ;)
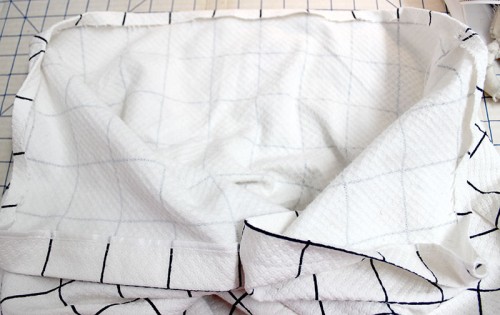
Now, press under 1/2″ at the top edge of the skirt , all the way around.
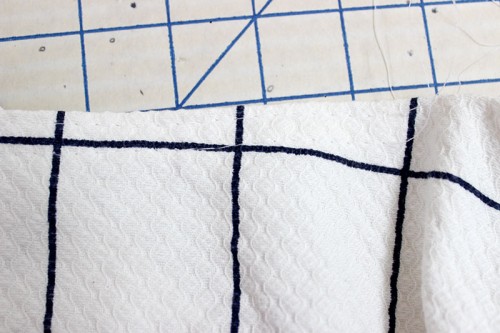
Run gathering stitches along the top of the skirt. I did one 1/8″ from the edge (this one is important), and another one 1/4″ from that. Don’t forget to mark center back, if you haven’t already.
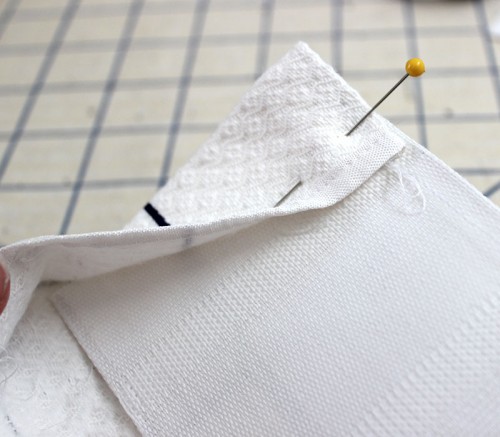
Now it’s time to attach the waistband. I put the cut edge of my interior waistband right up flush of the fold of the underlap, making sure my center front lines matched. There’s a dot on your waistband that marks center front, and this should line up right with the center front line on the skirt.
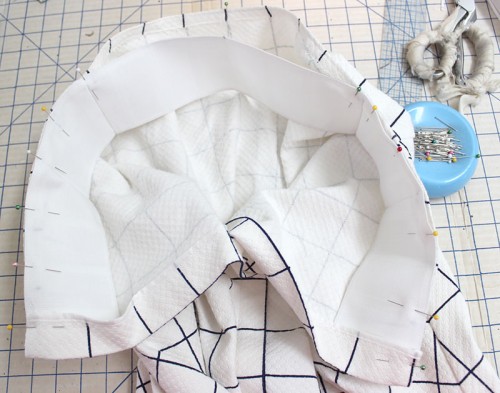
Next, I pin the waistband on. I pin from the center front all the way to the notches where the gathering starts on both sides first.
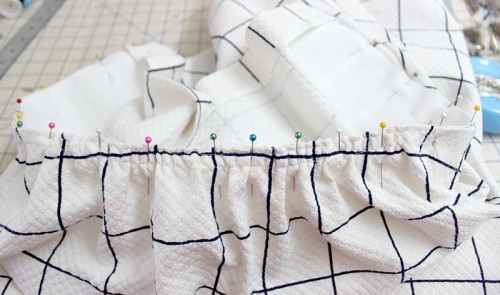
Then I match center back. After that, I pull in the gathers to fit, and pin those to place.
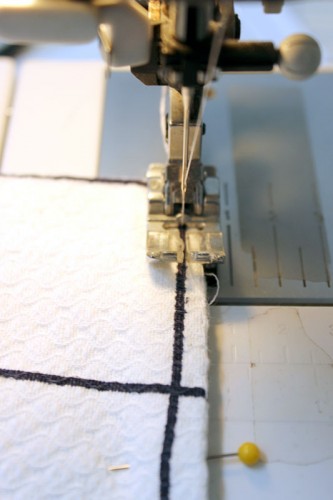
Now I stitch from the outside, 1/8″ from the fold. This attaches the waistband to the skirt. Make sure your waistband doesn’t peek out from behind. It’s ok to allow a little “roll” of the skirt so the waistband edge doesn’t show, just make sure you can catch it with this 1/8″ stitch!
Go all the way around, sewing through all the gathers, too, so that the entire waistband is secured to the skirt.
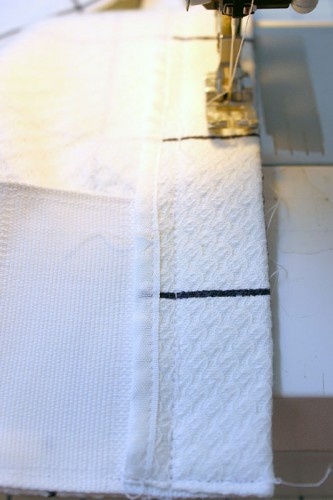
Then I stitched up the front placket, 1″ from the edge (right on the center front line), and secured down the waistband.
Like I said, this probably wasn’t the most ideal thing. After I put it on I noticed this caused puckering at the bottom of the waistband. So try it like me, or don’t, but fair warning that the puckering is what happened to me.
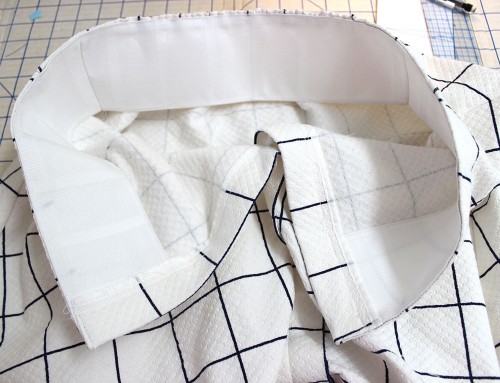
When I was done, this is how the inside of the skirt looked.
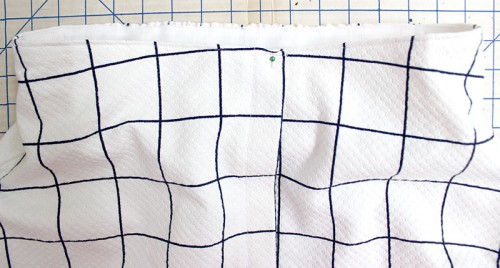
And this is how the outside of the skirt looks.
Now you add hooks and eyes at the waist and snaps and your skirt is almost done!
