I’m finally able to take a few minutes and work on sewing the skirt of the suit!
The placket may sound hard by reading the original instructions, but it’s really quite simple. When I sewed mine last night, I took photos of the process so you can follow along.
I sew the placket of the skirt before assembling the side seams. I just find this simpler, but you can do this after the side seams if that is easier for you.
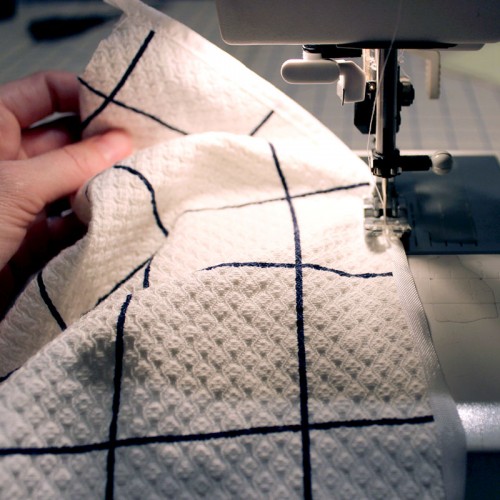
The first thing to do is finish the straight edge of the center front skirts. I used rayon seam binding (Hug Snug), pressed in half, then sandwiched the raw edge in the fold and topstitched it on.
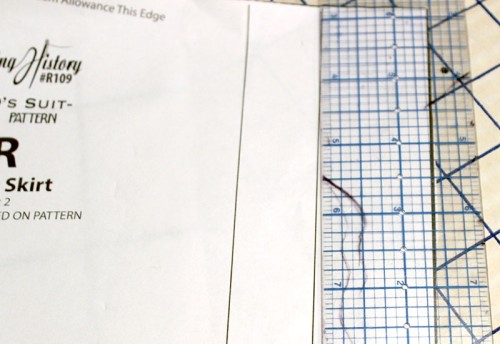
Measure in from the edge to where the fold line is. It’s about 1 3/8″
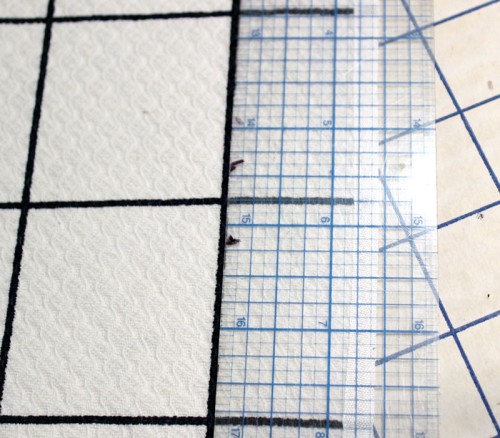
Mimic this marking on the front. When I cut my fabric I lined my stripe up with this edge, so I don’t have to mark it. But if you do, use a long stitch line on your machine, a water soluble pen, chalk, or thread marking. ALWAYS test on a scrap first to make sure it comes out of your fabric.
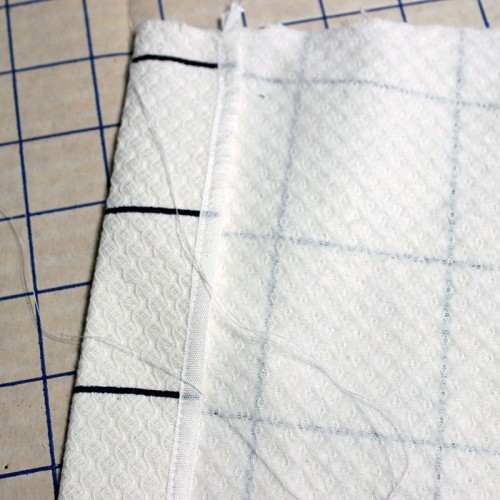
Press under the edge on the fold line.
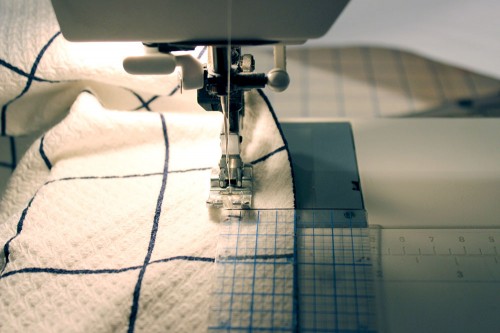
The center front is 1″ from the folded edge. Mark this in a similar method as above. Here I’m using a basting stitch on my machine. Mark on both pieces.
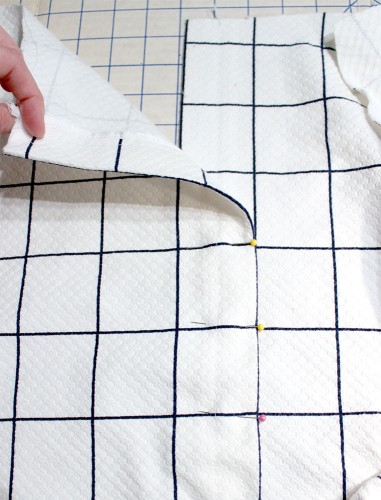
Lap the pieces over each other, as shown. The line you just marked is the center front line, so line both pieces up on that line.
Since my fabric has a pattern to match, I matched the pattern on the lines.
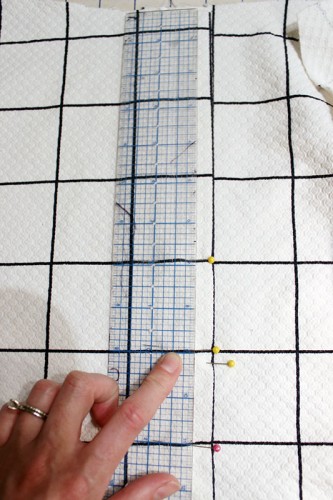
Now, figure out the opening you need. Don’t forget, the skirt has a raised waistline. I did mine at 9″ down from the top, but you could probably go as long as 11″. I put a double set of pins at where my stitching should start, but add pins above it as well, to help control the fabric above where my stitch line will start to make sure it lays correctly where I start.
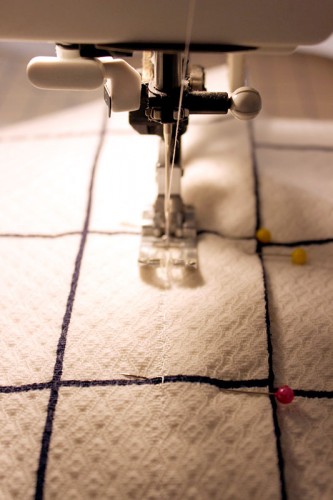
Now, stitch right on top of the center front line. If you did a basting line, like me, you might want to go just to either side of it. If you stitch right on top it will be really hard to remove the basting later.
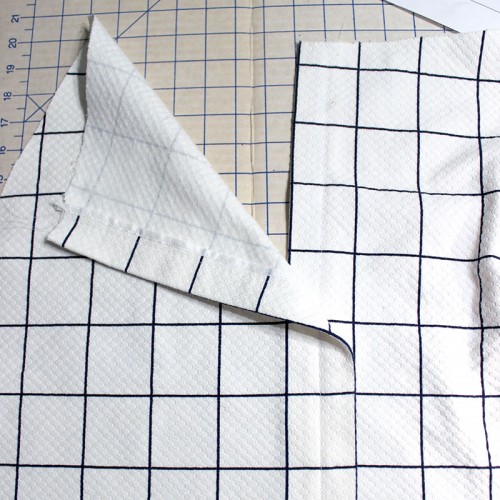
If you want to, you can do a stitch line through the skirt at the top, to make the stitching seem continuous down the front. Obviously, don’t’ stitch both together or you can’t get in your skirt.
And that’s it! After you put the waistband on, you can add hooks and eyes at the top, then snaps down the front, and your placket is complete.
Next post will be about attaching the interior waistband.
