
We’re back at it with the Air Raid Suit sewing.
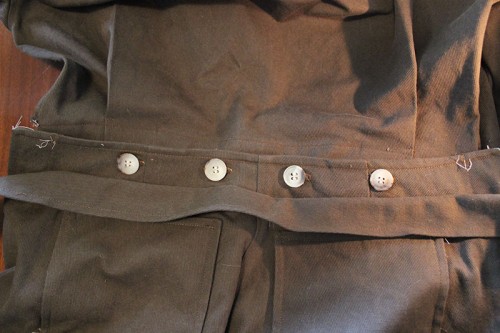
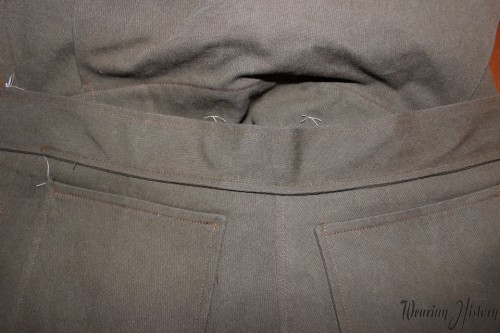 As a reminder, we just attached the back belt, and it should look like this.
Now we’re going to put buttonholes under that belt and buttons on the back blouse. This way, the back buttons will be hidden under the belt.
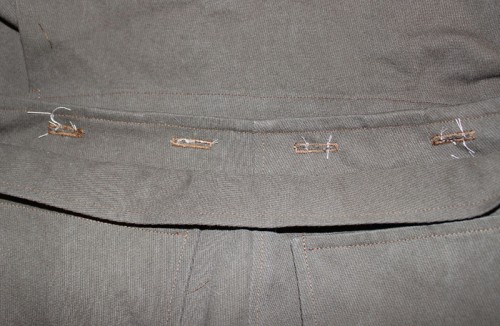
Fold back the belt, and work the buttonholes on the upper back pants. Make sure you make the correct buttonhole size to match the buttons you will be using. Don’t use buttons that are too large- make use they will be hidden under the back belt and don’t show or cause gaping at the belt.
Now cut those buttonholes.
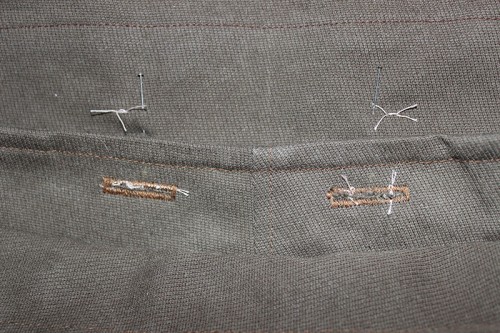
Overlap the back pants over the back blouse. Your button placing should be marked, but we’re going to make sure the placement is in the right place. Poke a pin right through the center of the buttonhole, and pull it through to the back blouse. This will mark your new button placement.
You need to do this because sometimes buttonholes and button placement can shift, depending on how buttonholes are worked, etc. Since this was based off of an original period pattern, it’s good measure to check it in any case. Re-checking it will prevent gaping or having to redo it later.
Now mark your new placement with your preferred method of marking. I used chalk.
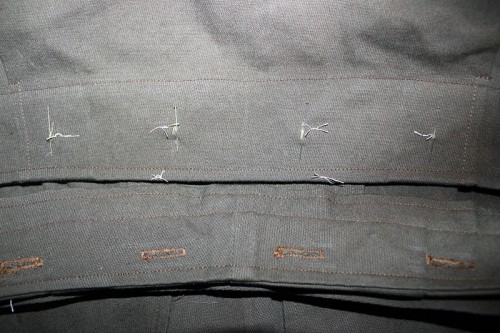
Do the same for all four button placements.
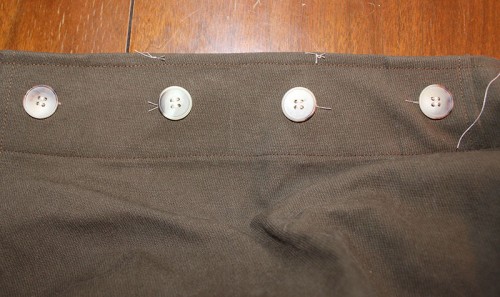
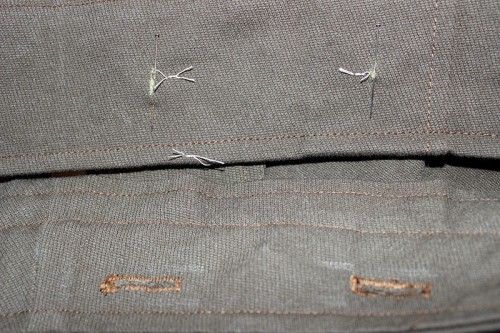
Now attach your buttons to the back blouse on those marks.
You can now check your buttons and buttonholes by fastening them together.
Next time we’ll do the side plackets.