Continuing the Air Raid Suit sewing tutorials. We’re close to the finish line now!
In this post we’ll be attaching the collar.
The interesting thing about the instructions for this collar is that it’s done somewhat backward to the normal way we attach collars. That’s because this was never meant to be buttoned all the way to the neck- it was always meant to be open. The side that shows the most is the side attached with machine stitching rather than sewn down by hand.
Apparently, I forgot to take a photo of stitching the collar ends and turning right side out. Since it’s an easy step, follow the sewing instructions for sewing the ends of the collar the collar before doing the steps photographed here.
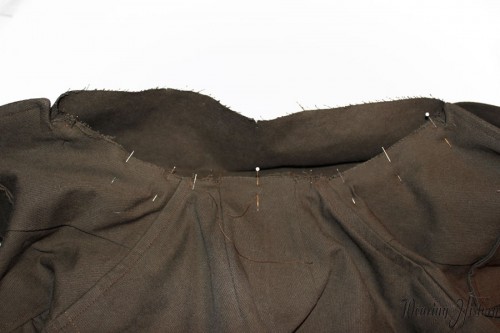
Pin ONE SIDE of the collar to the neck. Notice here, the OUTSIDE of the Aid Raid Suit is showing. The seam allowance is raw if you look at it from the outside. This will be finished in a few steps.
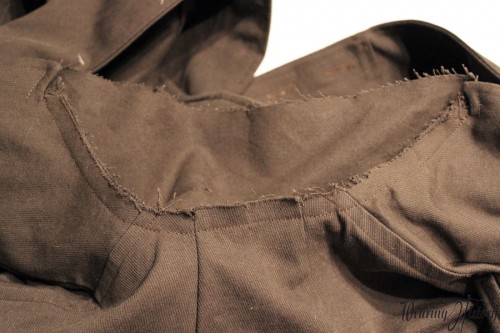
Stitch that by machine, so it should look like this.
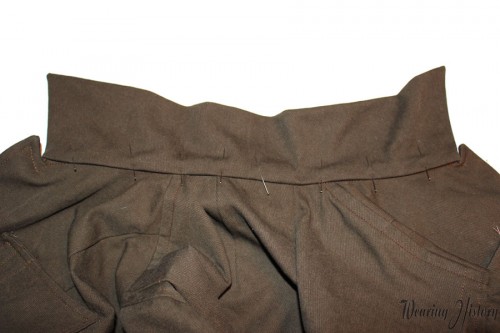
Next, -notice we’re still looking at the OUTSIDE of the Air Raid Suit- you will fold under the seam allowance and pin to place.
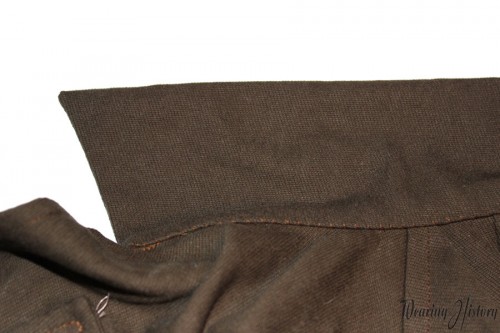
Now hand sew this edge down. Voila! All seam allowance encased, and when your collar is folded back, no hand stitching will be visible.
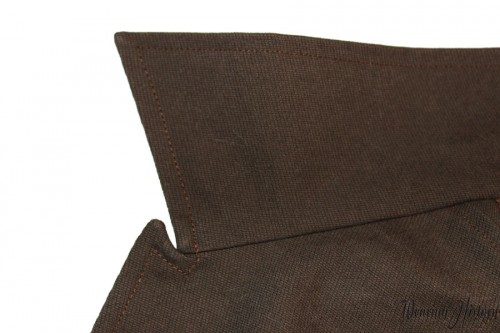
Now top stitch this, matching the top stitching on the front facing.
