
Continuing the sewing tutorials for the Air Raid Suit pattern.
In this post we’ll be attaching the center front facings to the Air Raid suit.
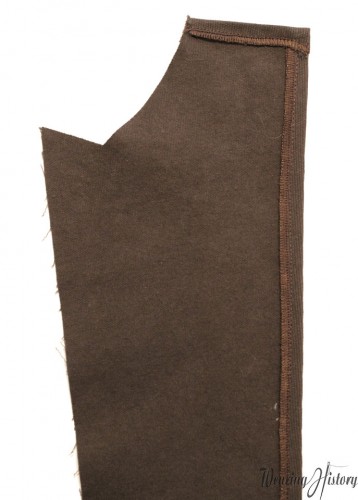
If you have a serger, serge the side and top edges of the facing pieces. Then press them under and hem the long end by just stitching on top of the serging.
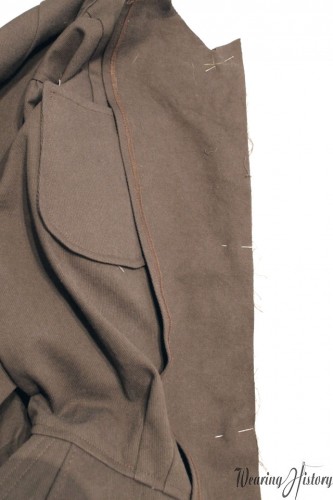
Put right sides together and pin down center front on both sides.
All the way down to the curve at the bottom. Pin, pin, pin!
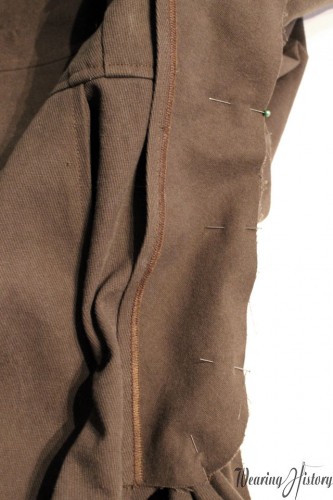
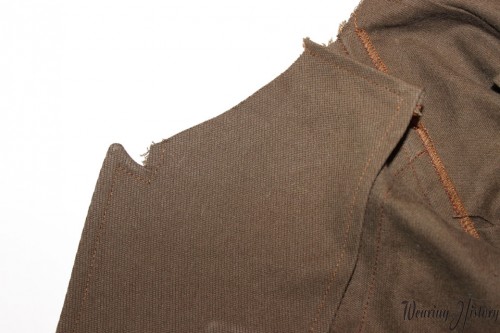
Now, start your stitch line at the mark you transferred from the pattern piece where the collar begins (as shown here)…
And all the way down to the curve at the bottom. Notice that I didn’t sew all the way across the bottom. This will be secured later. Just sew right up to your prior stitching.
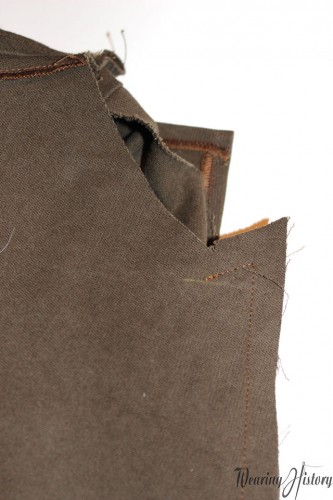
Now clip all your curves and corners, turn it, and press.
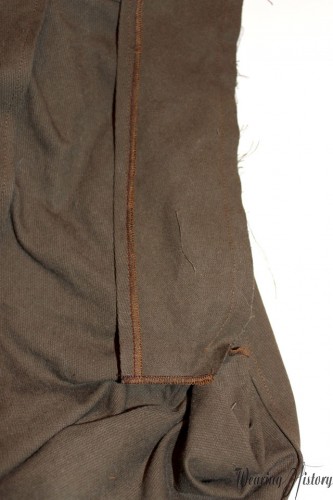
Now top stitch 1/4″ from the edge of the front collar, like this.
Do the same to the other side, and your front facings are attached!
Next up will be creating the button fly.