
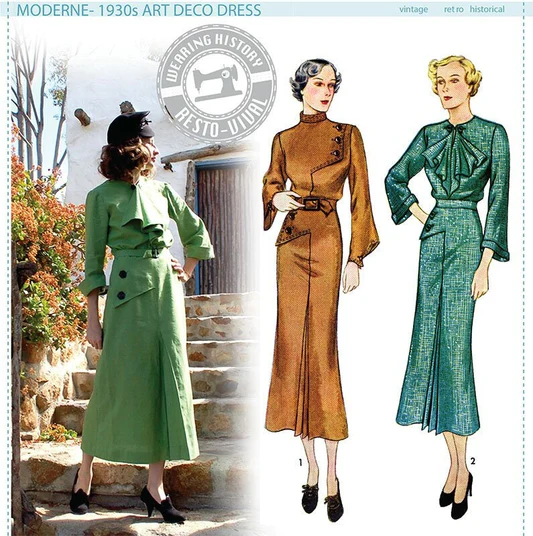
The Moderne 1930s Dress (3015) was one of the first multi-size patterns I ever put out. This one is pretty much true to the period source, with somewhat vague period instructions still included.
Recently I had questions about applying the facing to View 2, so here’s some quick sketches for others who may have struggled with these steps. Please remember, you can also find a tutorial for Bound Buttonholes, and a quick video demo of how to pleat the skirt on this blog also.
Starting in step 40 in the instructions. These instructions will otherwise not follow numerical order.
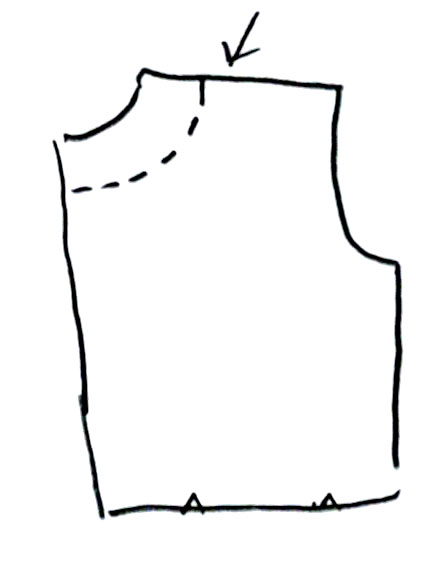
First, make sure you’ve cut a back neck facing using the lines indicated on the pattern. The note for this is in the cutting instructions in the beginning of the pattern packet, but you can simply cut a facing using the line I drew on the pattern piece.
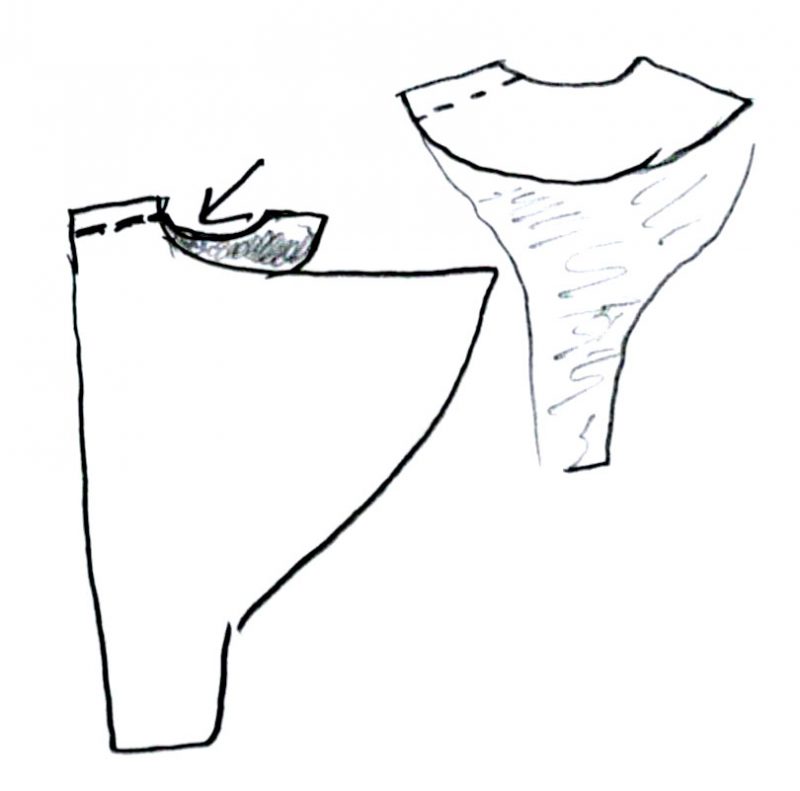
Next, sew the back neck facing to the front facings, right sides together. I have illustrated attaching one side here. Make sure you sew BOTH sides at the shoulder seam with the curved pointy bit facing towards the center. Press those seams open.
After the shoulder seams are sewn, you’ll finish the outside raw edge of the facings. In the pattern it says “the unnotched edge” That’s just the outside edge. Do a narrow hem or finish that raw edge with seam binding. Give it a press. The sketch is drawn with the wrong side of the fabric facing up (you can see the shoulder seams pressed open).
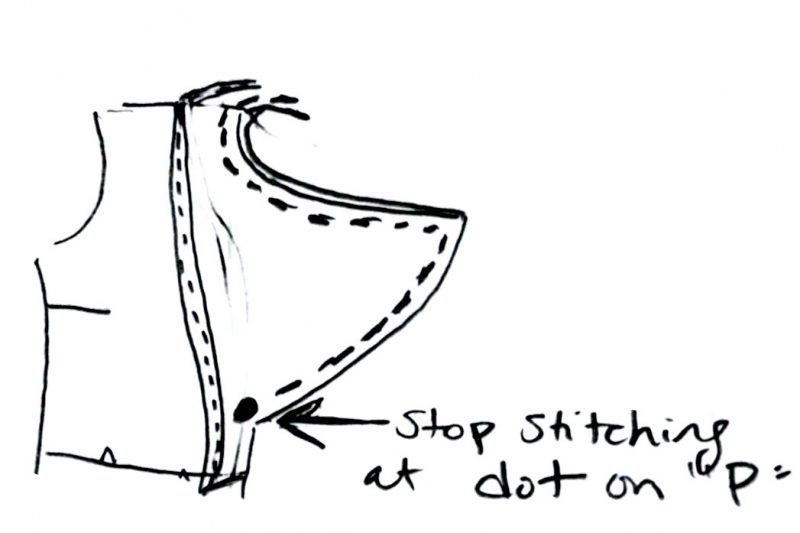
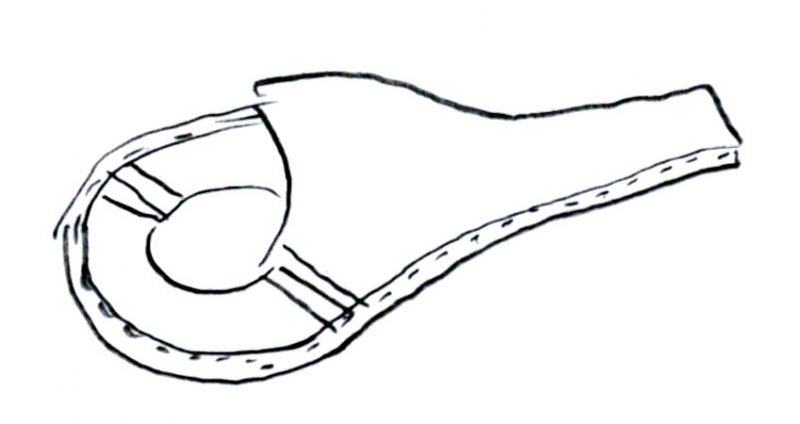
Now you’ll attach the facing to the bodice. Before you do this, make sure your blouse shoulder seams are already sewn together and press those shoulder seams open. After your shoulder seams are closed, pin the facing to the blouse, right sides together. Match the shoulder seams and any notches. Start your stitching at the DOT, sew up the curve, pivot at the point, then sew across the neck edge and back neck, then down the other side, stopping again at the other dot. Clip in at the corner where the dot is marked.
Note- above this dot are three other dots. Those are for stitching the bodice together by hand after the next step. The dot I’m referencing here is the lowest dot on the pattern piece.
After these are sewn, clip that seam just sewn down to 1/4″. Clip in any curved edges and clip in at the point. Turn the facing right side out. Give it a good press so it lays nice and flat. Then hand stitch the facing to place.
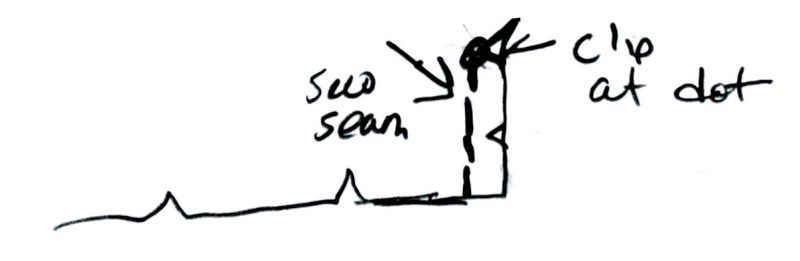
And finally, you’ll sew together center front of the bodice, right sides together, matching the notch. Stop at the dot (where you clipped in). Press that seam open. Now flip those jabots OUT, so they’re all drapey on the right side of the bodice.
After this, you’ll hand sew the front of the blouse up to the top dot, so the jabots fall outward, like the pattern illustration. Here’s younger me wearing the original sample, and you can see how the jabot (front facing) falls on the outside.

Hope that helps with your creations! You can grab this pattern in my Etsy shop or my Website if you don’t already have it.
Happy sewing!
wanda
October 23, 2023 at 10:55 pm (3 years ago)I really want to thank you for clearing up all the confusion with the Moderne 1930s Dress Pattern. You’re such a big help as I continue my pattern making for fashion design journey.