
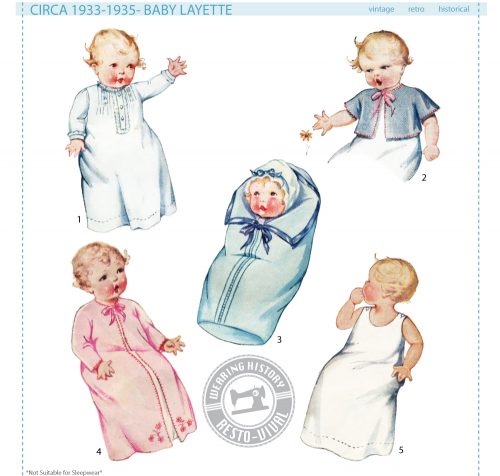
This tutorial was created for the 1930’s Baby Layette pattern.
For the baby sacque jacket or wrapper, a decorative blanket stitch can run down the front or around the outer edge. I used this stitch when making the lined version of the baby sacque. Here’s a few pictures to visualize how it’s done.
First you’ll want to fasten your embroidery floss (or ribbon, or whatever you’re using for stitching) to the inside lining. I neglected to photograph the beginning of mine, but you can find how to start at this tutorial on another site (which is much more in depth than this post!).
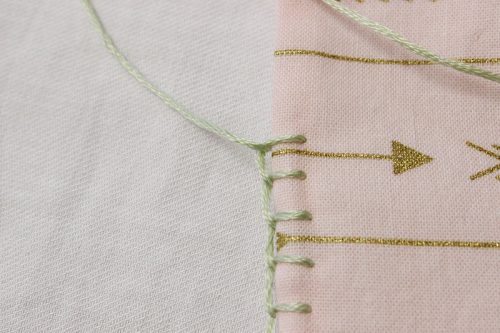
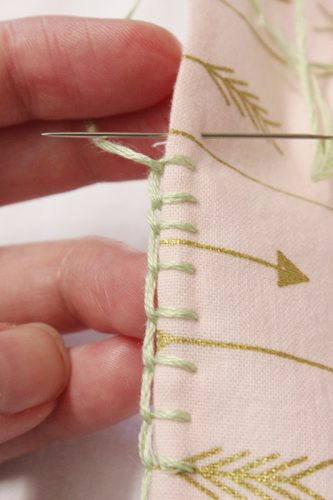
In the image above I wanted to show that I’ve looped the stitch through the prior stitch. The following will help you understand more.
Insert the needle in the front of the garment and go out the back, then put the needle facing out or away from you. Make sure the thread from where the last stitch was made is UNDER the needle.
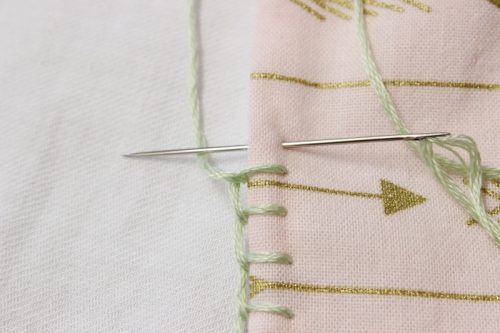
Slowly pull the embroidery floss, like this. Notice the loop that’s made, with the tail of the thread going through the loop.

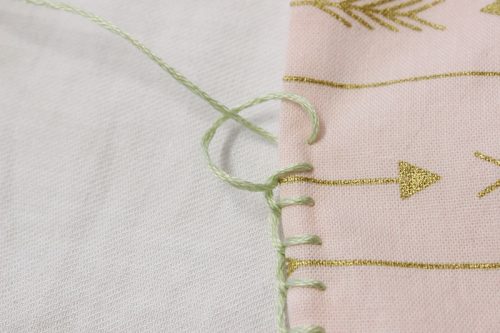
Pull it to where it’s snug but not tight. The edge of the floss should abut to the edge of the garment.
And just continue like this all the way across the edge you want to have the decorative stitching. Fasten off when you’re finished.
Hope that helps you visualize how to do a decorative blanket stitch!