This tutorial is for the 1930s Baby Layette pattern. In this pattern we’ll start on view 3- the Baby Bag.
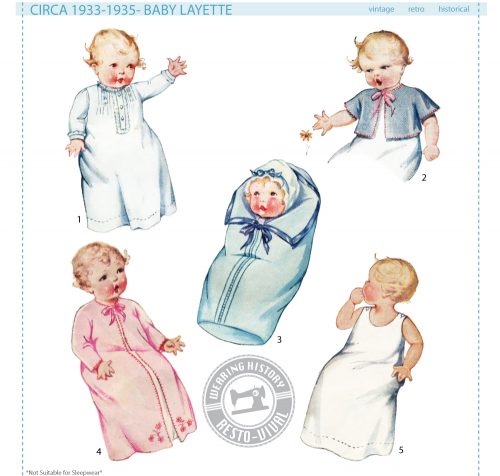
The baby bag is sort of like a sleep sack. However, due to current child safety standards, I recommend you use it for cuddling your non-sleeping baby. It will keep him/her warm and looking cute!
First up a disclaimer- the original pattern and the instructions call for one layer of fabric for the Baby Bag. This could be that fabrics were often of a closer weave and could be denser, especially in the case of flannels. For my version I used two layers of flannel, so the wrong side would not be exposed.
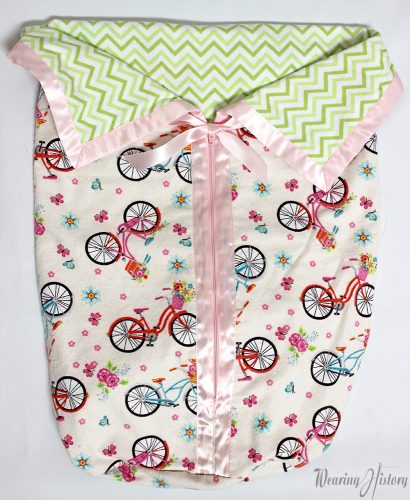
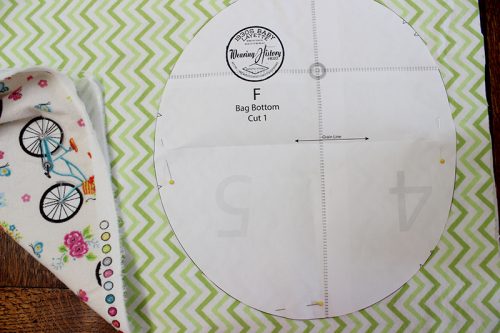
To prep your two layers, place them wrong sides together and smooth them flush, matching the selvages. Then cut them as you normally would. Make sure you mark your notches!
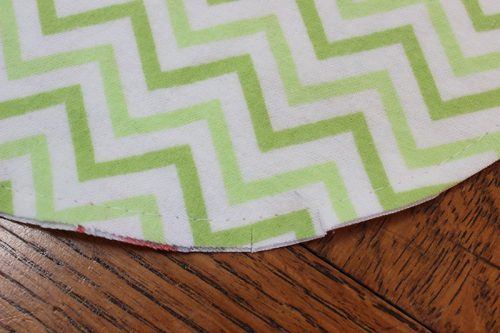
Baste around the outside edges.
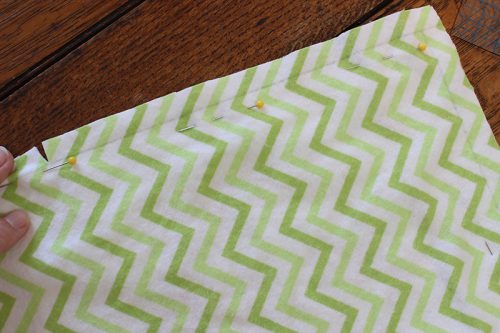
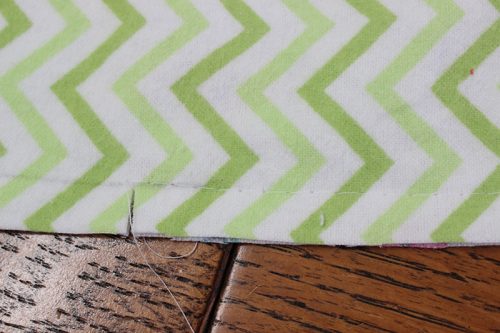
On the body of the Baby Bag, at the front edge, clip in where indicated. Baste from the bottom of the clip, down the front edge, across the bottom edge, then back up the front of the other side to the end of the clip.
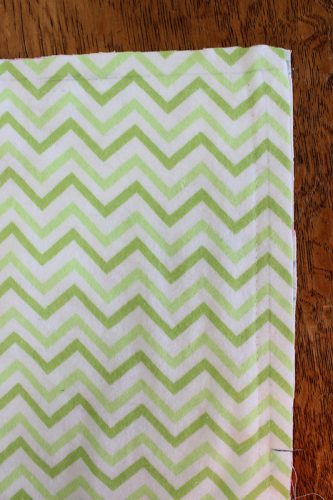
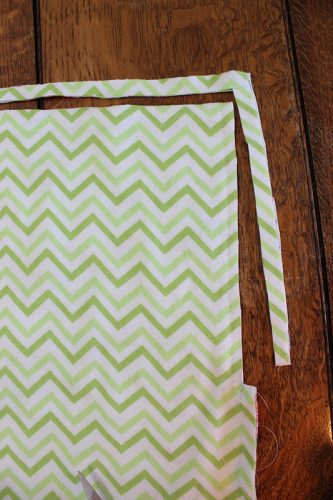
Above the clip, and across the top edge, mark 1/2″ in from the edge. Baste about 1/4″ from that mark, then cut off the 1/2″. This top edge will be bound with satin binding. It will all make sense in a second.
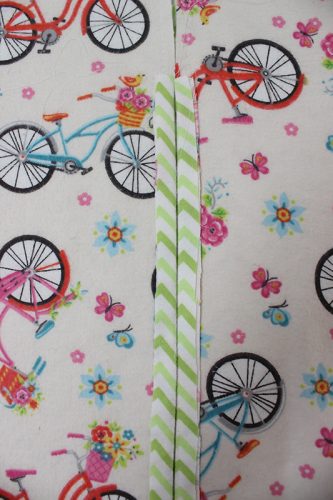
Where the 1/2″ extends is where the zipper goes. Press the 1/2″ seam allowance towards the OUTSIDE of the garment. This will eventually be covered with decorative ribbon.
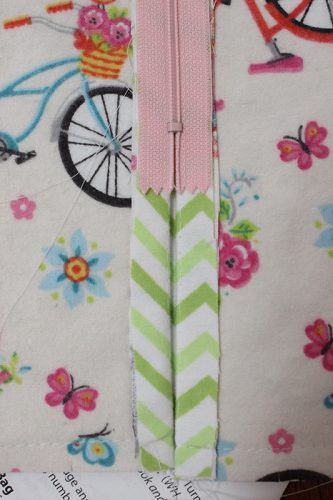
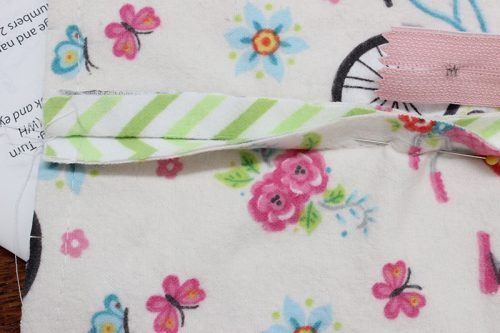
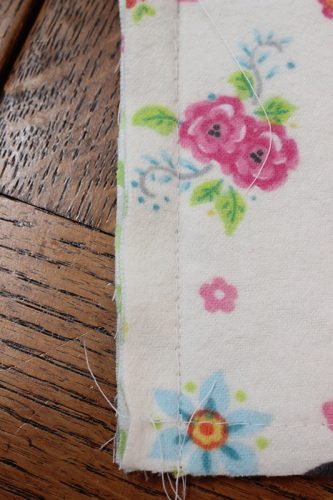
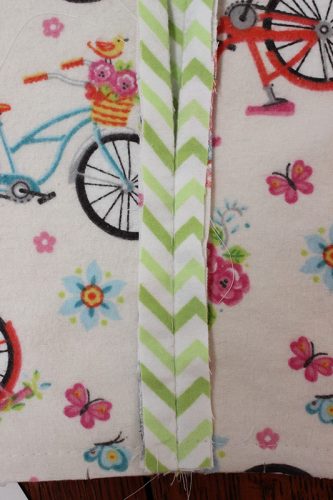
Your zipper should ideally go all the way to the bottom of the baby bag at the front opening from the turned back seam allowance (where the zipper head starts), to stop about 1/2″ from the bottom. What if your zipper is too short? I bought my zipper before writing the instructions, so mine was too short, too! In that case, align the zipper head with where the seam allowance turn back starts and mark at the center front where the stopper ends. Mark this with a pin, then seam that extra together and press the seam allowance open, as illustrated above. Or just read the instructions and buy the right length zipper in the first place ;)
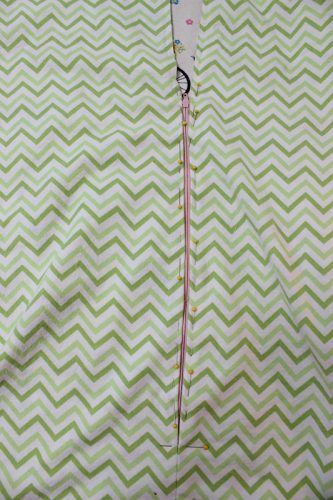
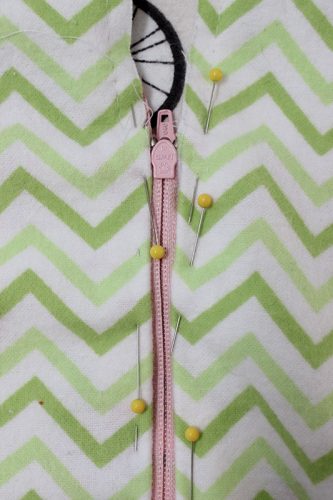
Now working from the WRONG SIDE, pin your opening in place to the zipper. The zipper head should be facing toward the OUTSIDE of the baby bag, or face down when you’re working. Otherwise it will be on the wrong side for opening when finished!
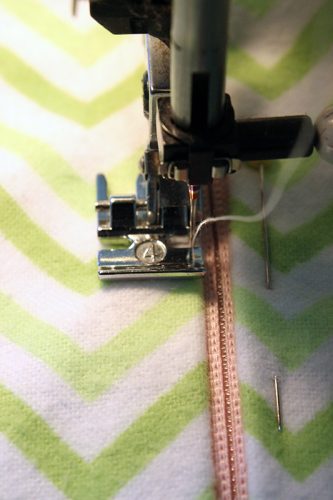
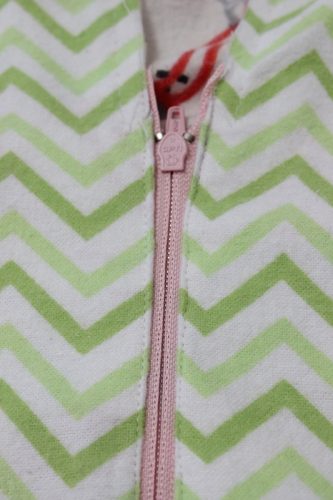
Using your zipper foot, stitch this to place. Taper at the bottom if you did the fix above with the shorter zipper, then taper back out as you sew up the other side.
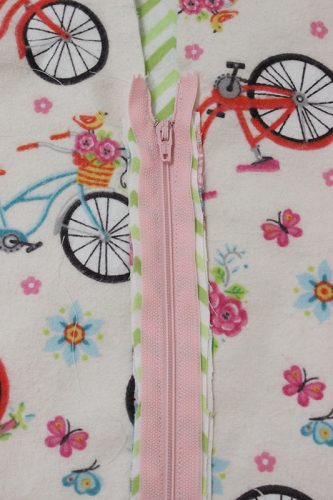
From the RIGHT SIDE, it should look like this when the zipper is attached!
Next time we’ll cover that seam allowance with ribbon on the front and keep working on the baby bag.
Hope this helps!

Helena Garcia
January 30, 2017 at 6:58 am (8 years ago)Thank you !!!