
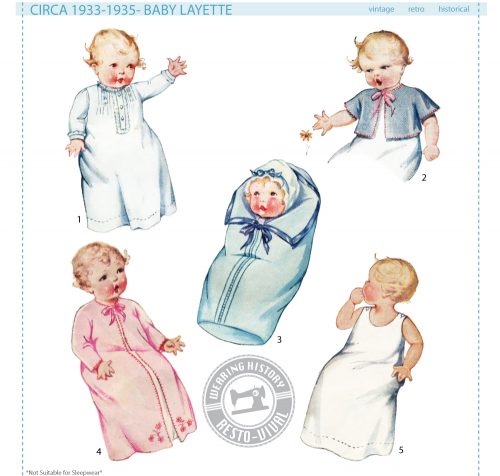
This tutorial was created for the Wearing History 1930’s Baby Layette Pattern. This tutorial is for sewing the sleeves into the baby dress.
Important Note: Let me preface this tutorial by saying there are simpler ways to sew an armhole into a small garment. In this post we will go over the vintage way, as laid out in original 1930s sewing instructions. If you prefer more modern construction, you can sew the sleeve cap seam in BEFORE you sew your underarms (check out this tutorial on the Made Everyday blog for a method she shares to sew sleeves). Because of the tuck construction of the side seams of this garment it may not be as possible as if you were sewing a regular sleeve to a regular bodice without side tucks. For this reason, the original 1930s instructions will most likely be your best bet, so help is given below.
Before you set your sleeves into the armhole you will need to prep them to be set in. 
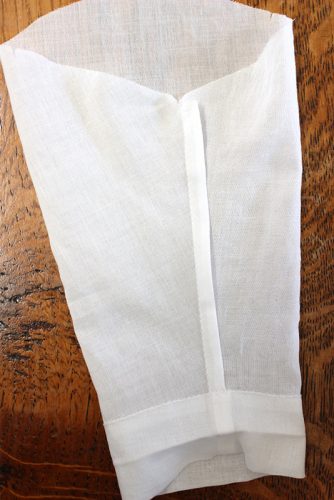 First, sew your French seams along the underarm seam. Then make your hem. Make sure the length is correct for the infant you’re sewing this for before you hem it!
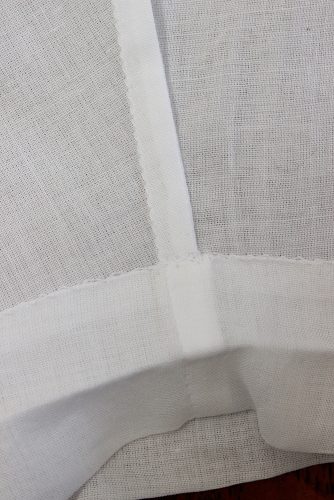
The instructions say “Turn up lower edge 1 1/2”. Turn in edge and blind hem.” I turned under 1/4″, then 1 1/4″ again, for 1 1/2″ total hem allowance. Hand stitch that to place.
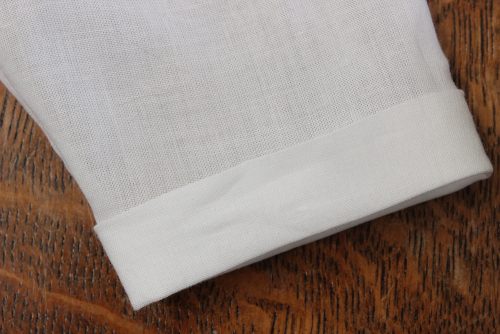
Then turn up your cuff.
Run two gathering stitches along the top edge of the sleeve between the single and double notch. Now you’re ready to set in the sleeve.
I made this video to help you visualize how to set in the sleeves.
Hope that helps you!