
Well hello again everyone.
I’m glad you’re back for my most complicated bit of this pattern so far, the sailors collar. I know that Lauren has been getting photos out there of the plain collar, so I decided to do the sailors collar version. A plus side being that the pattern of the front of the jacket does not need cutting down with this version. I always like to keep a pattern as full as possible for future use.
Anyhow on to the steps.
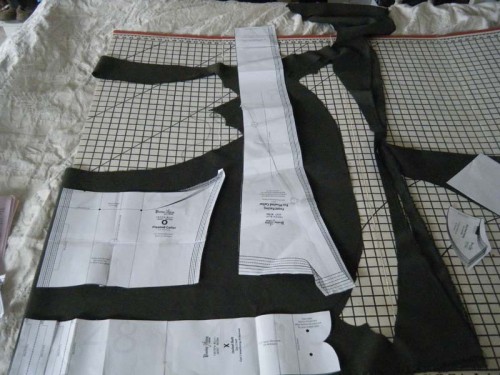
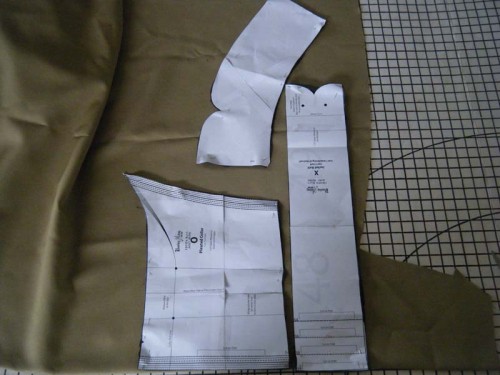
1. Cut out the pattern pieces.
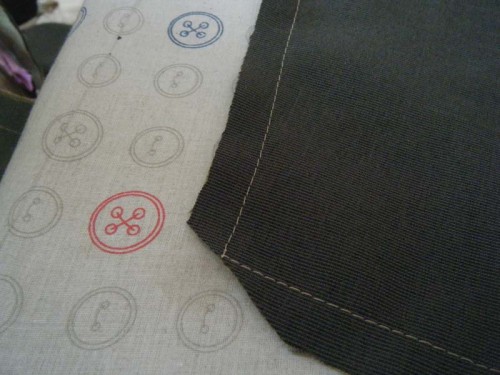
I wanted to use the skirt material for the collar and thought I had plenty until it came to the crunch and I laid out the pattern pieces I needed. Oops. You may note that the front facing does not fit.
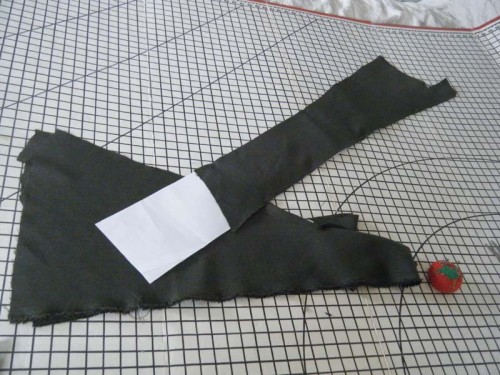
So my addition to step 1 was having cut out as much as I could of the facing and then to sew a bit more material across the bottom and then cut this extra bit out. It is much better to put the join at the bottom than the top as it might show on the bit that folds over otherwise.
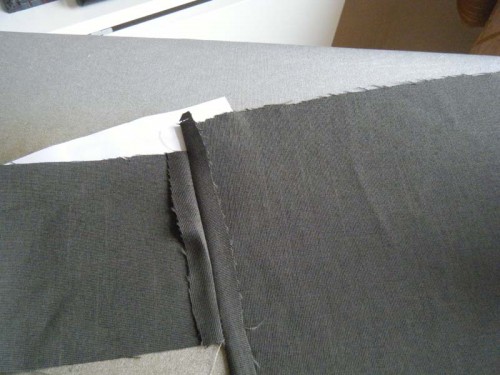
I also had to cut the facing side of the collar, cuff and belt in the main material, but then I was good to go.
2. The Facing;
Sew a small hem along the edge of the facing that won’t be attached to the jacket.
Pin the facing in place, right sides together
Sew along the seam line, I also like to sew along the bottom hem at this point too, just where the facing attaches.
don’t forget to pivot at the corners and then clip to get a neat turn.
When you get to the top, stop at the shoulder seam, there will be some facing sticking over with a raw edge, but we will cover this when we get to the back facing section.

Turn and iron, here’s mine at this stage:
3. The Sailor Collar:
Sew the collar and the facing along the 3 outside edges, right sides together. (The line down the centre is a crease not a seam so just ignore that, I ironed it out after.)
I under stitched the facing down as far as possible, you won’t be able to get into the corners.
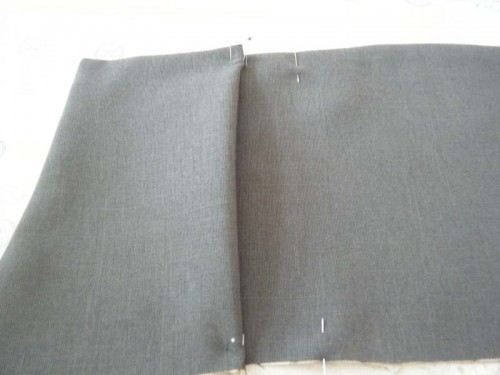
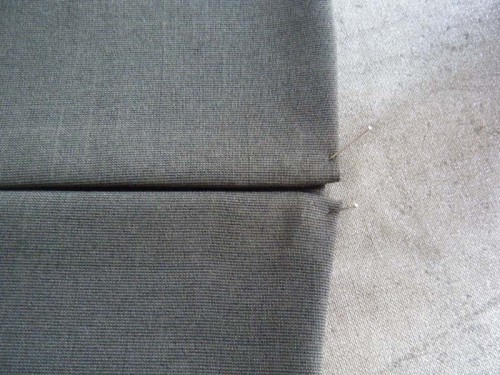
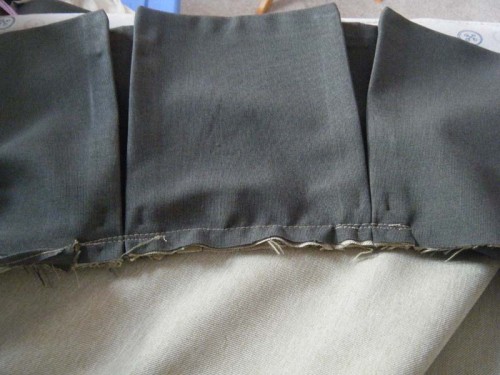
So after a good iron, we are ready for the pleats. Here’s my lazy approach; place the pattern piece over the material and stick pins through where the lines are, all three lines. I use a padded ironing board covered table (cut an ironing board cover to fit a tv dinner table, it’s one of the most useful things in my sewing room.) for this as you can push the pins right in and they stay where you want them.

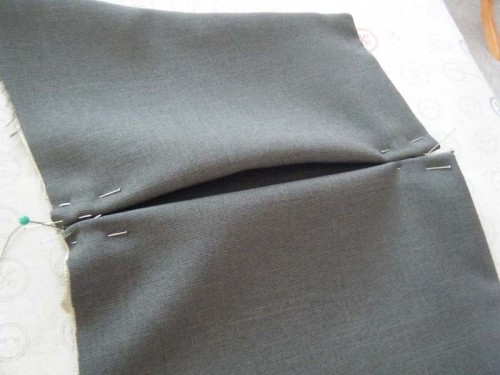
Then bring one set of outside pins to meet the middle pins, using more pins, pin in place.
Then do the same with the other set of pins, giving you a box pleat.
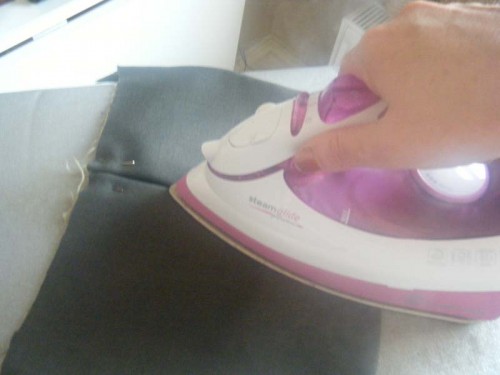
Iron this well
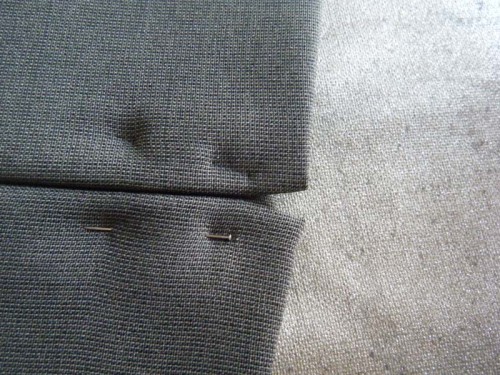
As you can see the pin marks stayed in the fabric, but with another quick blast from the iron, they vanished. If you fabric won’t do this then you may have to do the job properly and use tailors tacks.
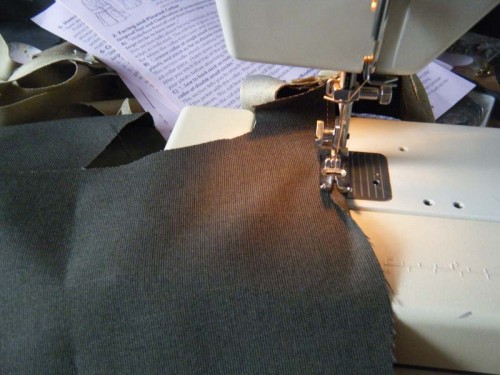
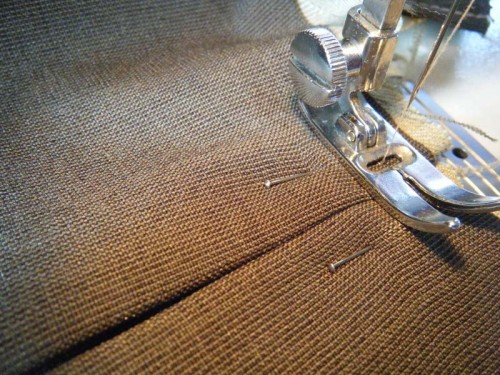
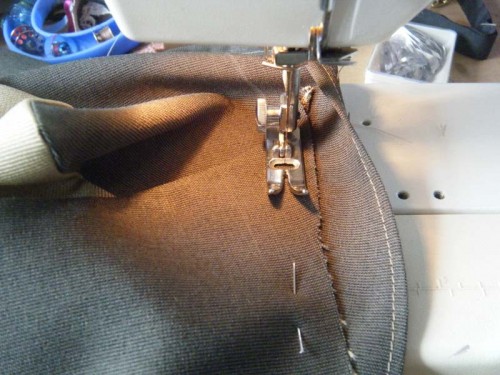
Then sew a baste line across the top of the pleat.
4. Attaching the Collar.
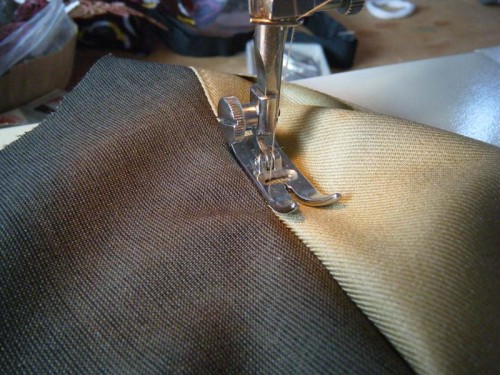
Ok jacket prepped and collar prepped, lets put them together; I did this in 3 stages. I sewed the collar to the back of the jacket and then sewed the front pieces on.
So to start, matching raw edges, line the jacket and the collar up with the collar facing right side up onto the right side of the jacket along the back, matching notches and clip the jacket to fit.
sew the seam stopping at the shoulder seams.
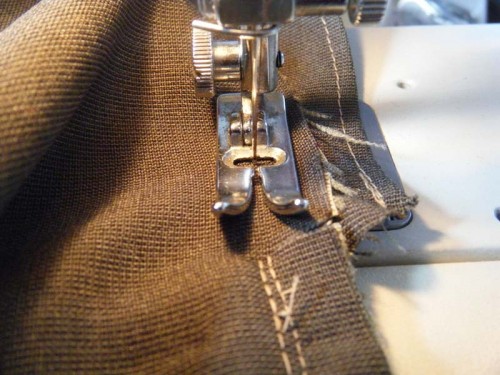
You will now have the front of the facing loose and this needs to be attached to the lapel of the jacket.
Pin it in place following the fold line, so that the sewing line will be on the fold line. But only through the facing not though the whole jacket.
Sew in place but only through the collar and the facing. This will make it easier to sew the bit by the shoulder too as you have more to work with with the the facing spread out, it will make more sense when you reach this bit. Repeat for the other side.
Next take the back collar facing and sew a small hem the same as we did for the front facing. Line up raw edges and pin to the jacket with the right side of the facing facing the collar, clip and sew in place only going as far as the shoulder seam the same as we have done for the other facings.
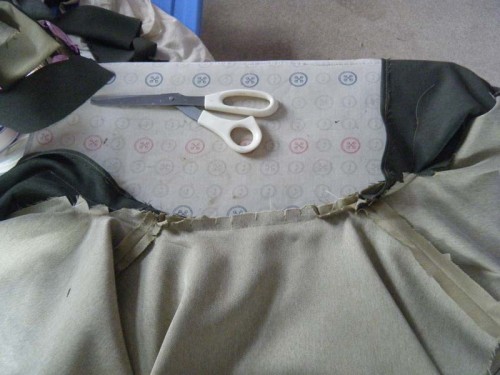
Ok so now we have everything where it should be, but it will all look a bit of a mess, so it’s time to get the hand sewing going and tidy up a bit. The back facing will cover the raw seam of the collar at the back, and Lauren suggested using bias tape made from your fabric to cover the front area, but I decided to go a little easier than that.
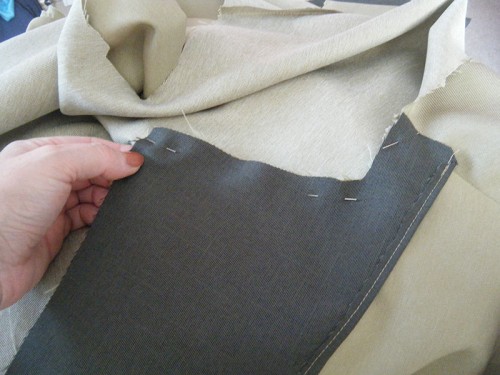
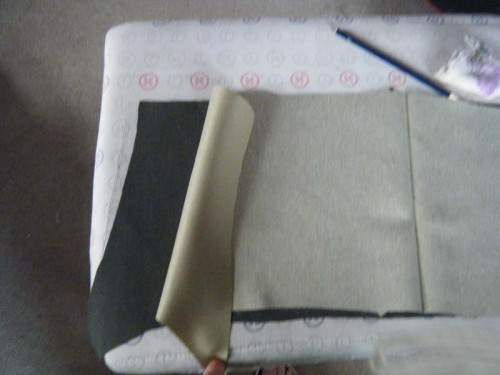
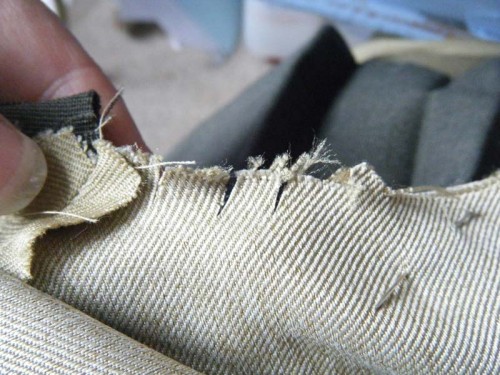
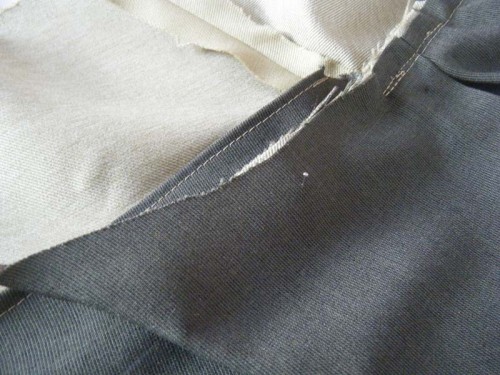
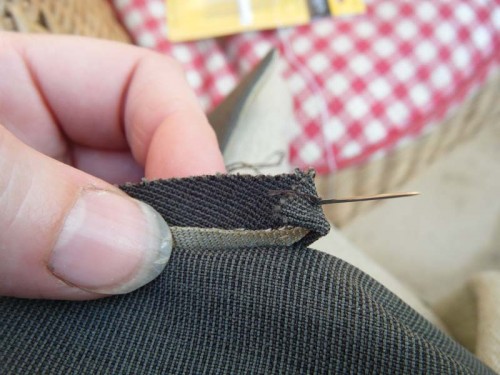
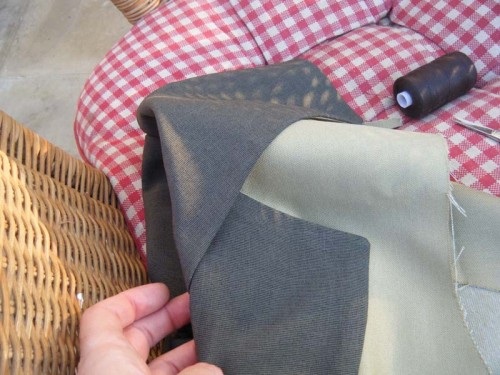
Firstly I opened up the raw seam of the collar and trimmed right back the facing material, the paler colour in my pictures.
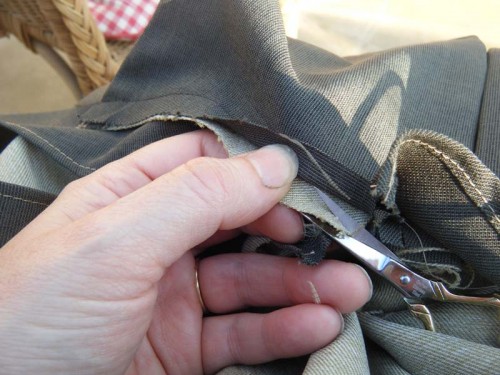
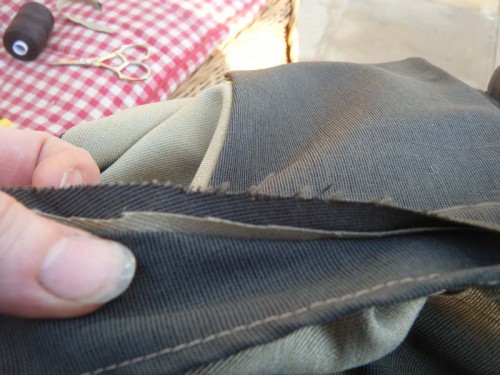
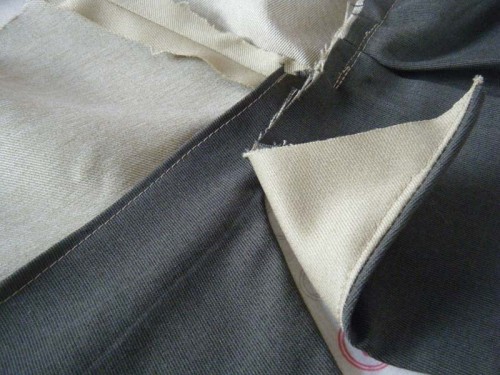
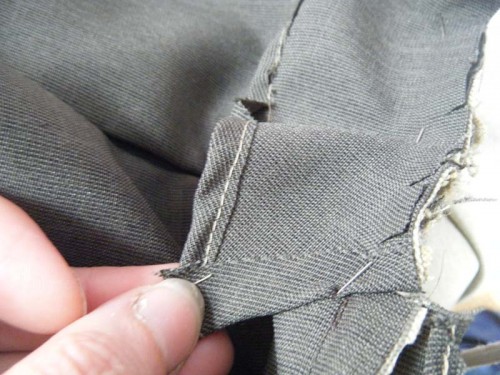
Then I folded the collar seam over to encase the facing material, the bit between my fingers shows this.
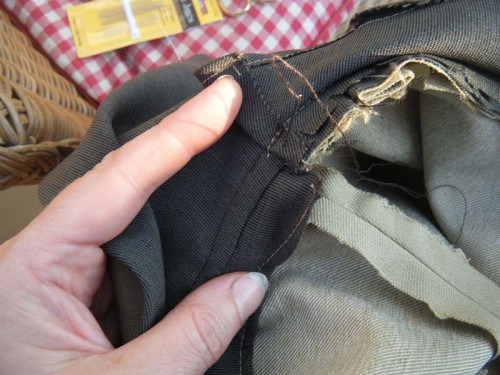
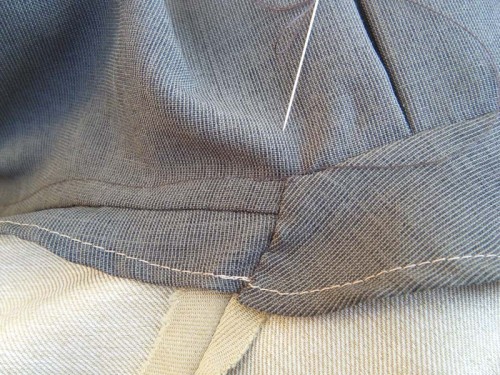
Holding this fold in place I hand sewed the seam in place
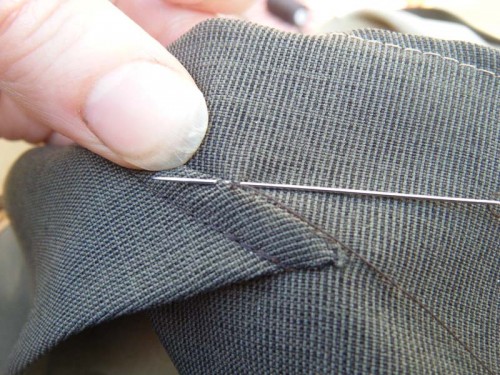
paying particular attention to the end to make that neat
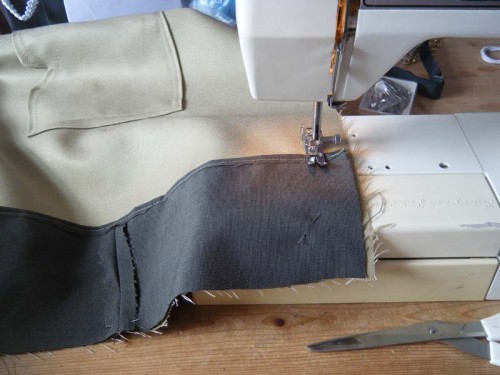
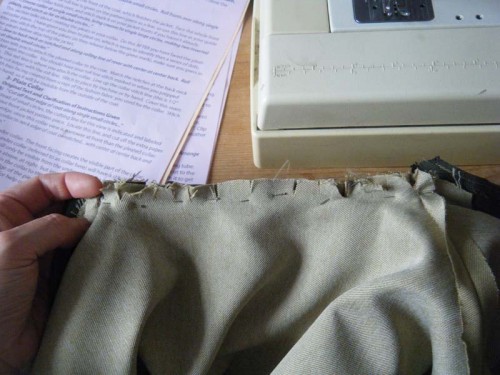
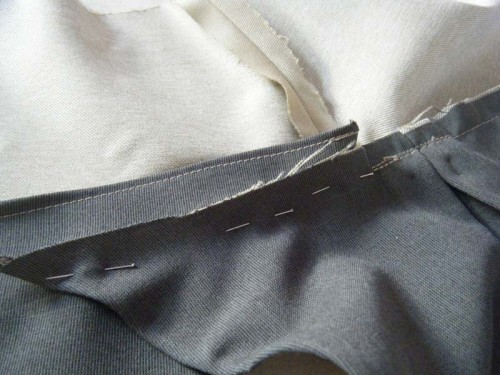
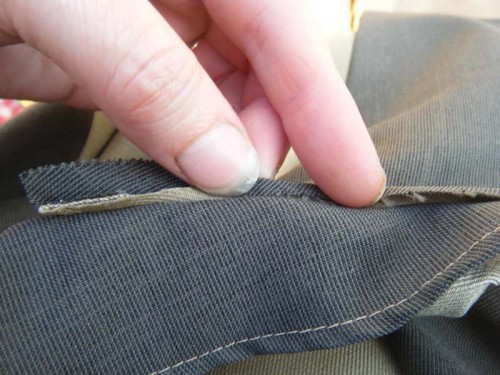
I am still only working on the front facing so the front of the jacket is un-touched, here’s what it looks like from underneath.
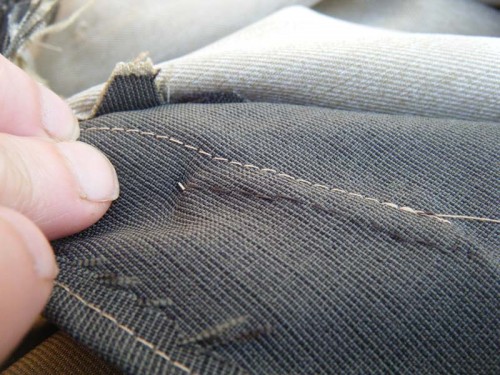
This picture shows the raw edge enclosed all the way up to the shoulder seam.
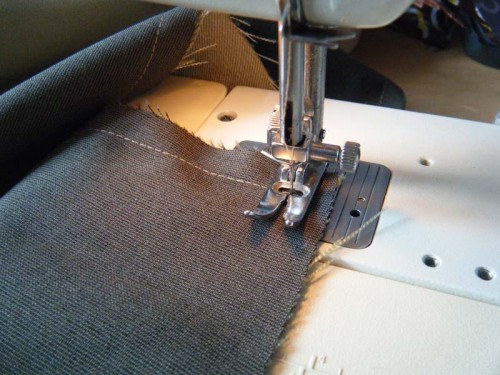
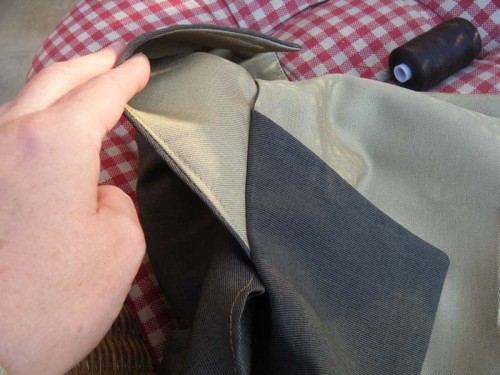
Next sew the top of the front facing to the seam allowance of the back of the jacket, ensure that it all lies flat first
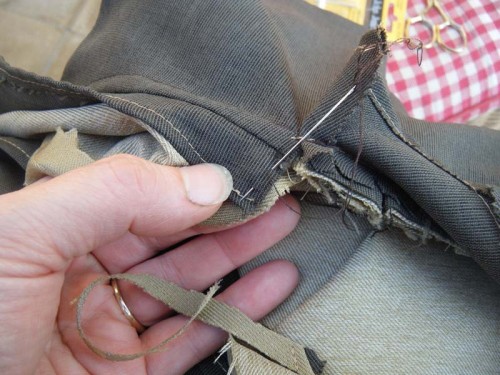
Then fold the back facing down having turned the raw edge under and sew that into place to finish everything off neatly.
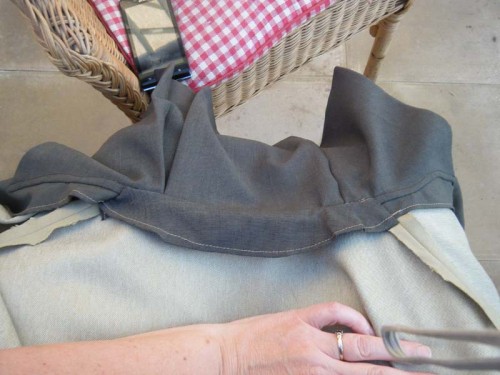
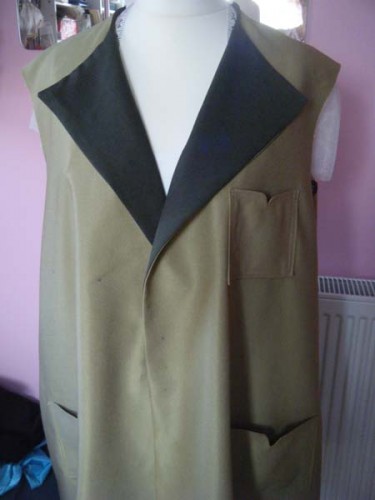
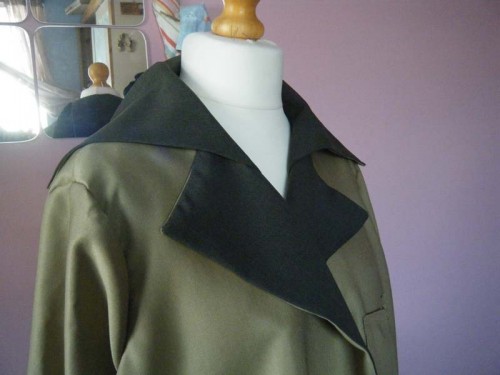
And here’s the finished sailor collar fully attached.
Well I that’s all from me. It’s been great doing these guest spots for Lauren who is such an inspiration. If you’d like to keep in touch you can always follow me on my regular blog Honey Pot Creations. Hopefully Lauren might let me back sometime to show you some of my hats. Check out my website honey-pot-creations.co.uk for more details.
hugs and kisses
Ally