
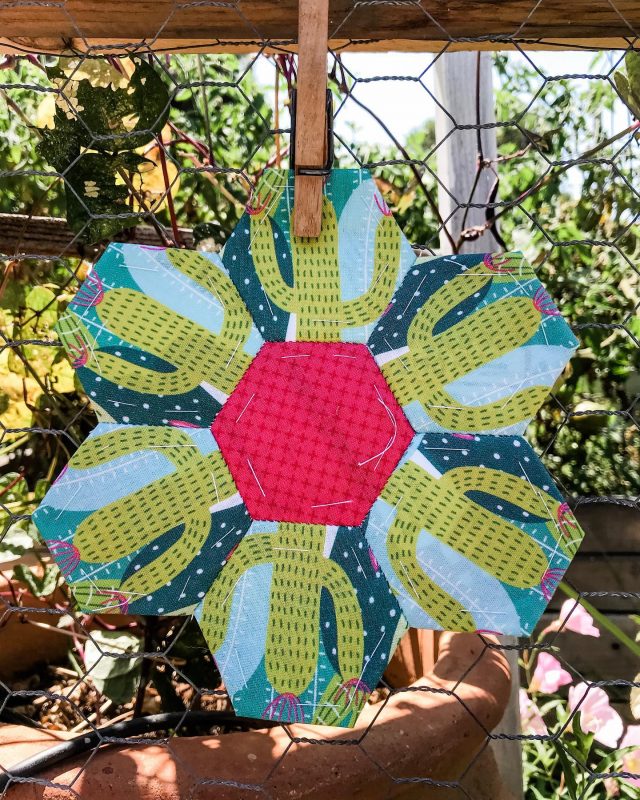
More free hexies! I didn’t bother putting my logo, etc on these.
FREE 1″ Hexies PDF!
Please print at 100% scale or “actual size”
I was looking online for similar, but the hexagons provided had the total width of 1″, and I wanted the total side lengths to each be 1″, as it would nestle perfectly into scraps I thrifted.
So there ya go! Go forth and have fun. I staple these onto old April Cornell catalog pages, then cut several at once. It streamlines the process a bit!
For making your English Paper Piecing Hexagons:
I don’t bother to pre-cut my fabric. I simply hold the paper hexagon on top and eyeball between 1/4″ and 3/8″ seam allowance. I pinch the paper to the fabric and chop off the extra as I go. This method works best if using real scrappy scraps- and that’s why I’ve put so many different sizes onto the blog. I as I need different sizes to fit different scraps, I make them!
For attaching the fabric to the paper form- many people glue, but I prefer the old school method of thread basting the paper to the fabric. The thin (but not too thin) catalog pages work great for this! I don’t trust the chemical composition of glues over long periods of time, so this method uses simple things on hand- scraps of fabrics, old paper you don’t need, and simple needle and thread. And it connects us to hundreds of years of women before us doing the same, simple tasks.
But for a good basic overview- check these links:
Basting Your EPP Shapes – Glue vs Thread – Tales of Cloth
EPP.101 – The Basting Debate — Tales of Cloth | English Paper Pieces
The only difference to above, is that I really do stitch THROUGH the paper. This happened often in history, too.
You can see some awesome visuals here:
TEXTILE TRACES: ENGLISH PAPER PIECING – Selvedge Magazine
Historically, these were called “honeycomb quilts” and have been found all the way back to the 1700s!
Whatever method you use, have fun! It’s a nice, relaxing way to use up all those cute little scrappy bits!
Leave a Reply