This tutorial was created for the 1930’s Baby Layette Pattern to help you understand how to make small tucks as given on vintage sewing patterns.

If you’re familiar with vintage sewing patterns, you may have come across a somewhat curious pattern marking style for tucks. On unprinted and perforated patterns (those with holes for markings instead of printing), you may come across a few small single dots that are supposed to mark tucks. In women’s garments, these are usually somewhere like the center back neck. This same method of marking was originally given for the pattern this was based on. Usually these small tucks are for 1/4″ total width of fabric, making the finished tuck width 1/8″.
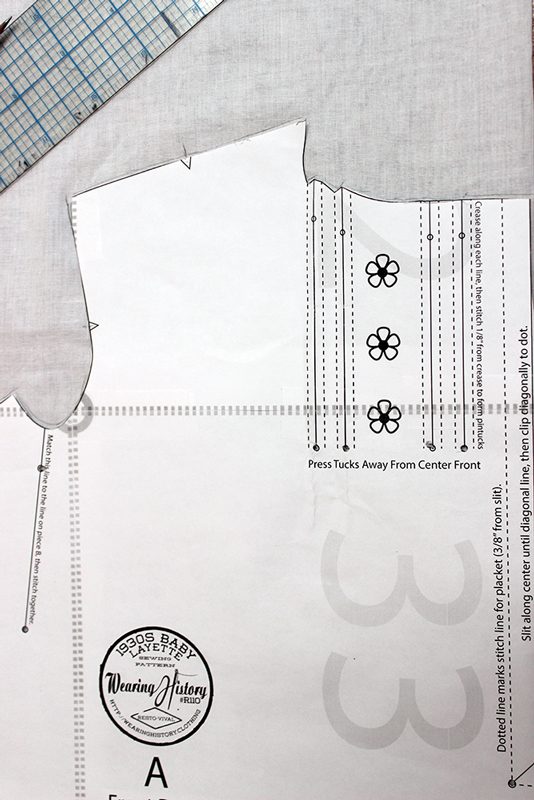
On this pattern, to make it easier to understand, I had added many markings to help you visualize tuck placement and the front placket. There are four tucks on each side of the placket. The solid line with dots marks the fold of the tuck. The dotted lines indicate stitch lines.
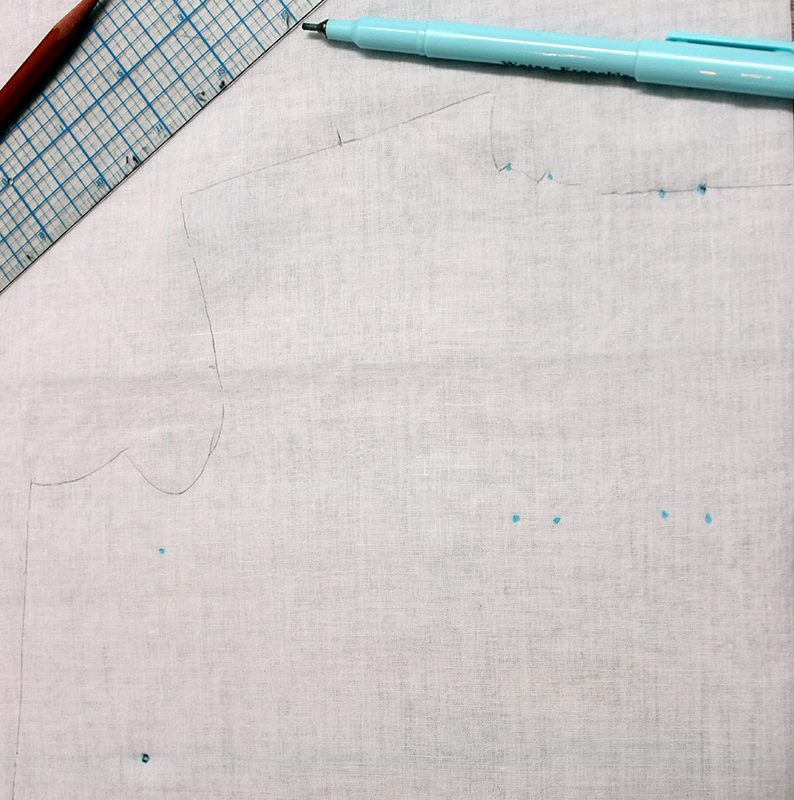
Mark the dots of the tucks on your fabric using a marking method which will come out in the wash. In this picture I show the blue water soluble pen, but it quickly ran out of ink and I needed to move to another marking method.

Connect the dots to make the markings for the tucks on the RIGHT SIDE of the fabric.
For this example I use a FriXion pen, but I have heard mixed reviews of these marking pens. It worked fine for my garment, but definitely check on your fabric before you commit with these pens. The Dreamstress gives a review on her blog of these pens.
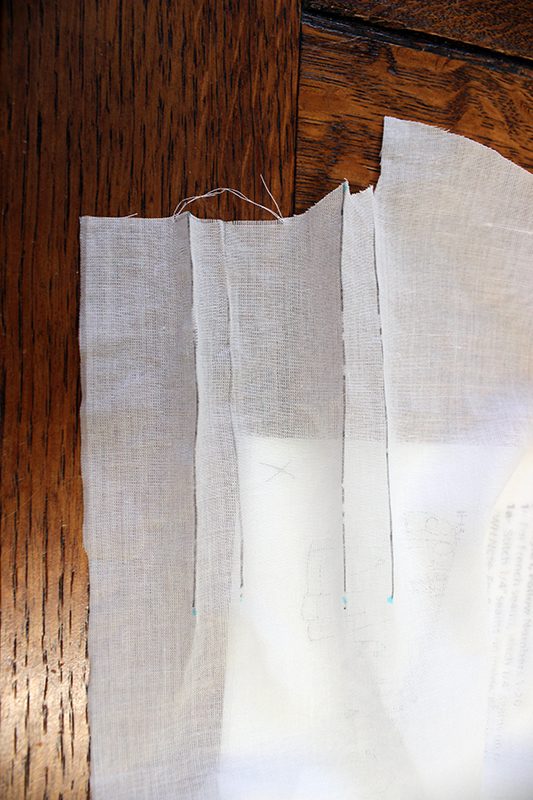
Here I skip ahead a bit after I slit the center front for the placket (that will come in an upcoming blog), but the important part of this photo is to finger press along those lines.
Unfortunately, here my camera did not register the next photos I took so I will need to describe the next step in words.
Fold wrong sides together, with the tuck folded edge where you marked your line as the edge of your fabric. For this pattern it is called to stitch 1/8″ from the fold to create the tuck. Start at the top neck edge, and stitch down to the bottom of the tuck as marked by the dot. Back stitch.
On my sewing machine I know if I align the edge with a marking on my sewing machine foot I can achieve 1/8″. If you do not have a guide on one of your sewing machine feet, mark 1/8″ from the folded edge with a method of marking that will come out when the garment is finished.
If you are using a different pattern, consult the width of the tuck amount needed and adjust this amount as needed.
Press the tucks away from center front when finished.
Your finished tucks will look like this.
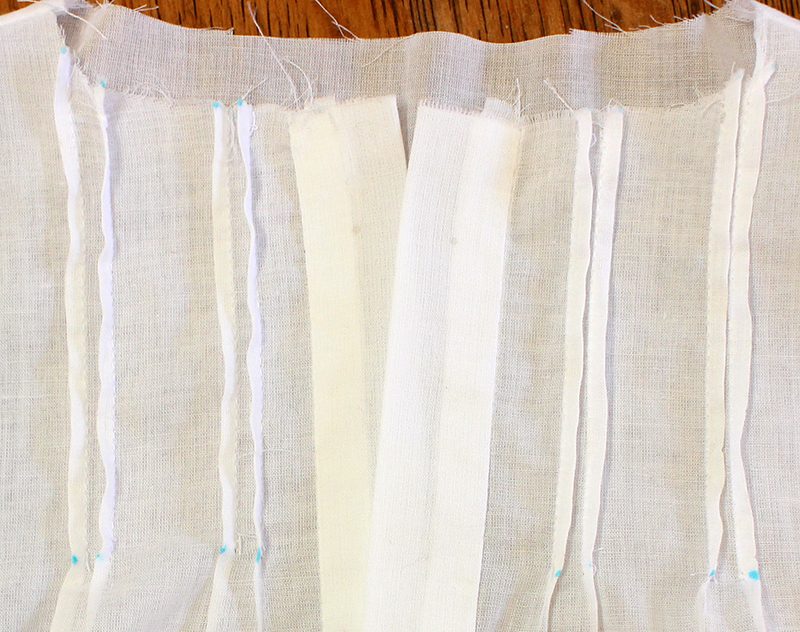
And when your garment is finished, your tucks will look like this:

I hope this helps you visualize how to mark and stitch tucks.
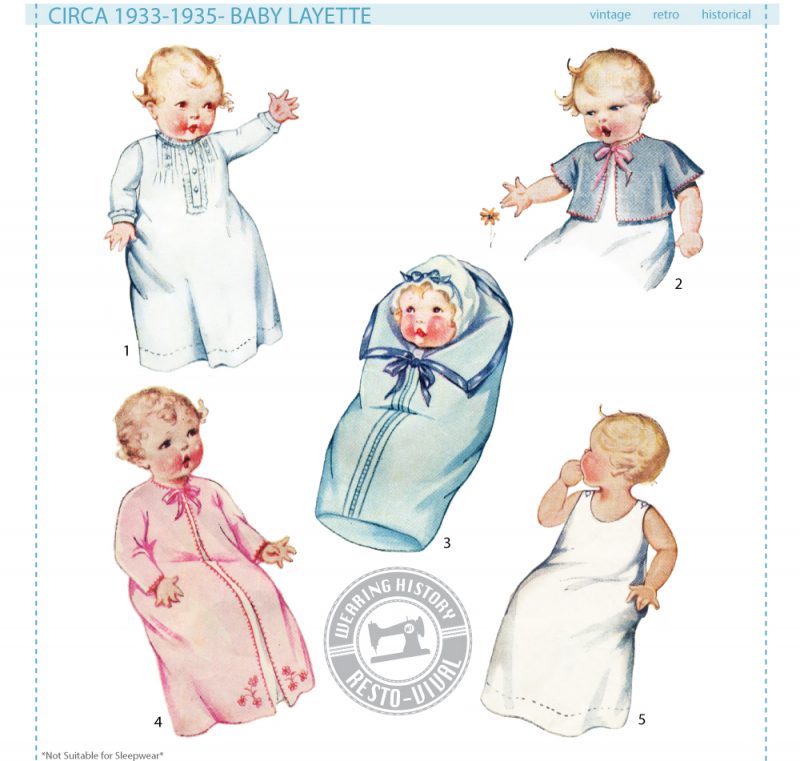
You can find the 1930s Baby Layette paper sewing pattern here on my website. The e-pattern is available on my website and on Etsy.
