
In this post I’ll show how to attach the top collar for the Veronica 1940’s Coat.
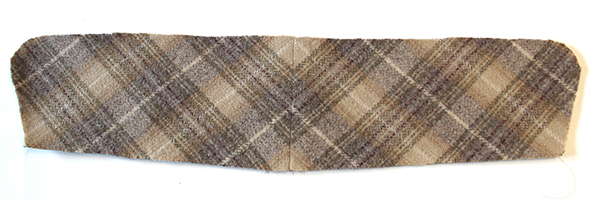
First, make the seam in your under collar. The under collar is cut bias, as you can see in my plaid pattern. This is to help the collar roll nicely. Give it a good press.
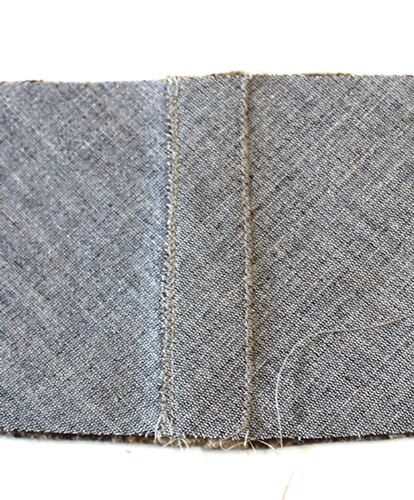
Next, make your seam in your interfacing or hymo. I am using a fusible hymo (hair canvas), as mentioned previously. The original instructions would have you seam this at center back, however, I have learned that this creates a weak point for the collar, so if you want that really nice roll at back I suggest overlapping the center back edges of your hair canvas and zig zagging them to place. Don’t press it if it’s fusible! But also make sure the fusible is facing the same direction, so both halves will fuse to your fabric!
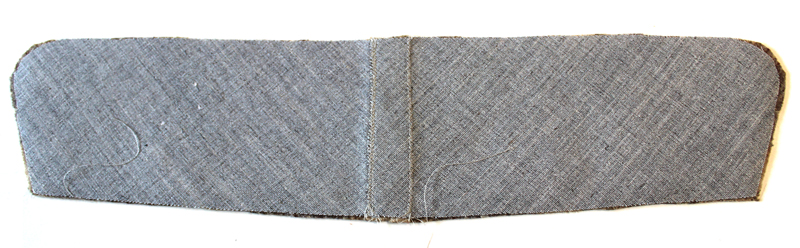
Then give it a fuse, or baste it in. If you want to do more old fashioned tailoring techniques, consult a tailoring book for what stitching to use.
Now stitch your under collar and interfacing to the top collar.
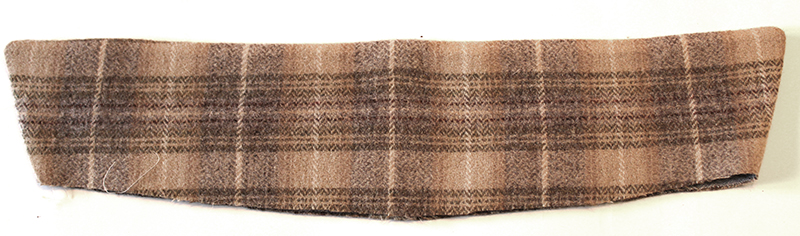
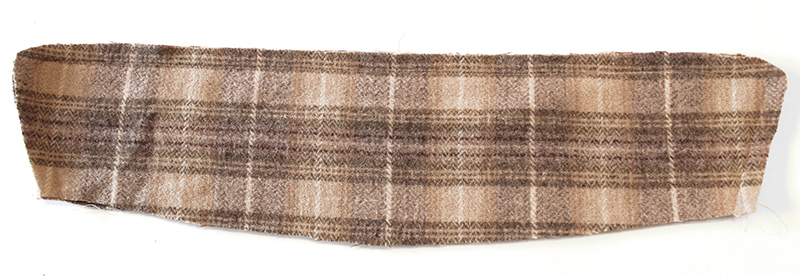
Trim the seam allowance to remove bulk and then turn and press your collar, making sure you get those rounded points to lay nicely.
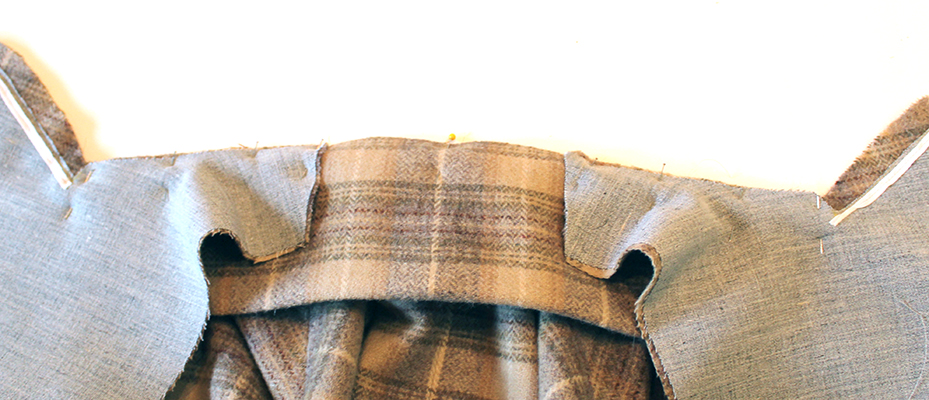
Now for the part that’s a bit tricky. Taking up from where you left off when attaching the front facings, sandwich the top collar between the body of the coat and the facings. Here you can see how I’ve pinned it. Also note that since I was lining my coat, the edges of the facings were not finished, as my lining would be stitched on top of those edges. If you’re doing an unlined coat, those facing edges should be finished before attaching your collar.
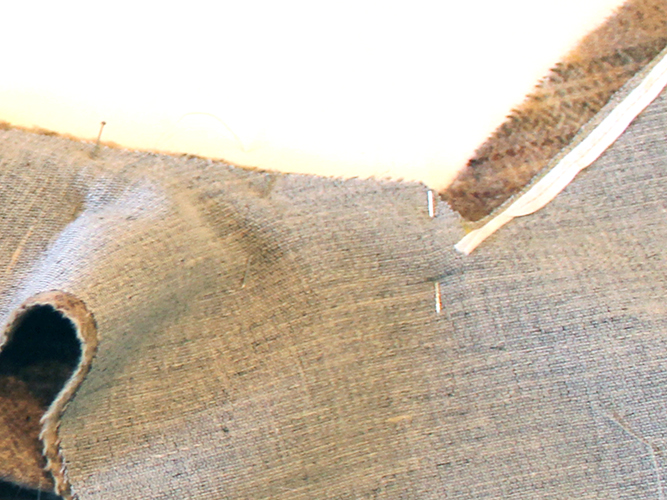
Here’s a close up of the photo above to help you envision it. Remember, we stitched to the dot when we attached the front facing? This next stitch will attach the top collar. It should butt up right next to where your stitching left off for the facing.
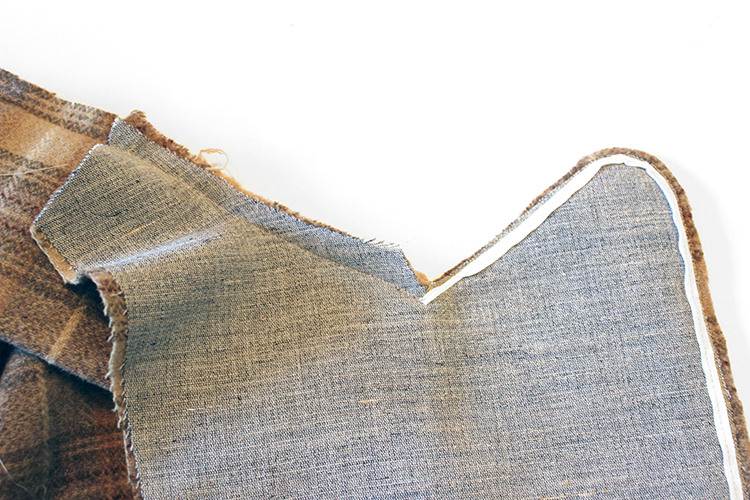
Now give it a stitch! Go slowly so you don’t get any folds or creases in any of the layers. You want to ease them in so they all lay nice and smoothly. Then trim the corners and grade your seam allowance so it lays nice and flat.
Turn it right side out and give it a press. That’s it! Collar attached!
I apologize for the image color in the photos above- this fabric was so hard to capture and I was sewing at different times during the day, so the lighting was varied!