
This tutorial is for the 1930’s Baby Layette Pattern. In this tutorial we will add ribbon to the center front opening and add binding around the top edge. We will also attach the ribbons for the bow.
We left off last time with the zipper attached to the center front with the seam allowance on the RIGHT SIDE of the fabric.
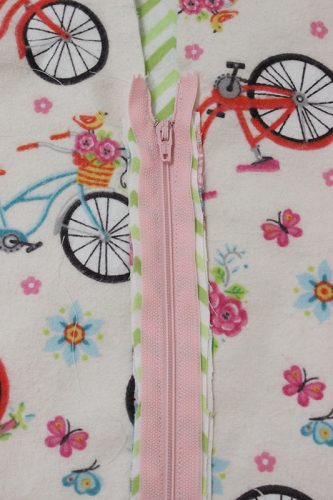
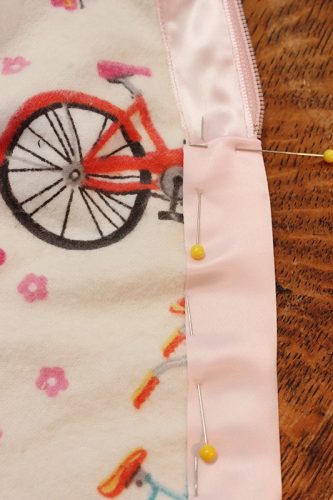
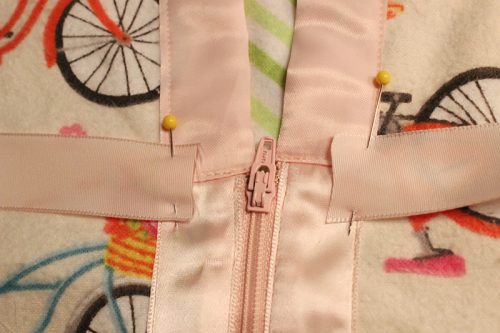
Now you’re going to trim your seam allowance to underneath the zipper. Leave a good amount so that it won’t unravel. I trimmed this because I could see the green lining through the pink ribbon.
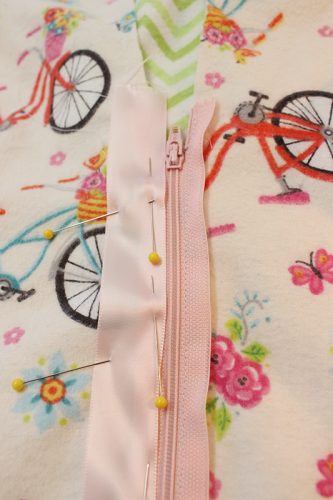
After trimming, pin your 1″ wide ribbon down the center front, as pictured.
Then very carefully and slowly stitch the ribbon into place. I sew the side with the zipper teeth first. Be sure you give enough room for the zipper to open! Don’t place it too close to the teeth. After stitching one side, smooth it all out so there’s no ripples then sew up the other side of the ribbon.
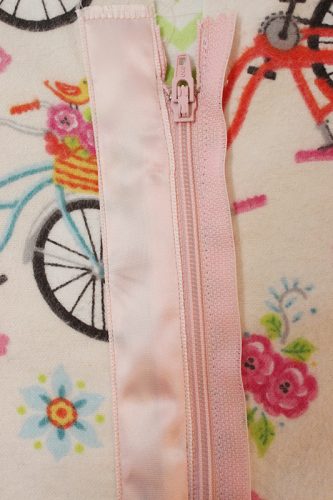
Do the same for the other side of the zipper.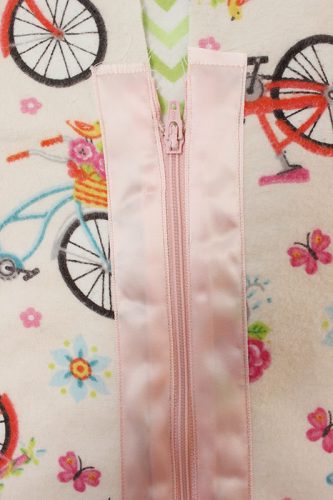
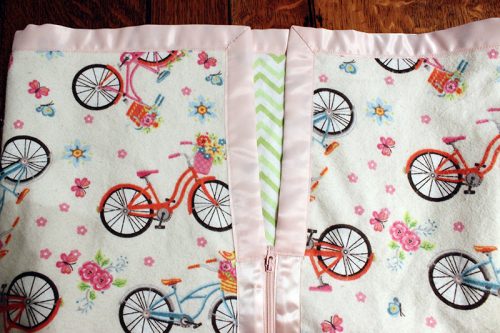
After the ribbon is on it should look like this. The ribbon should run all the way down to the bottom of the front of the piece.
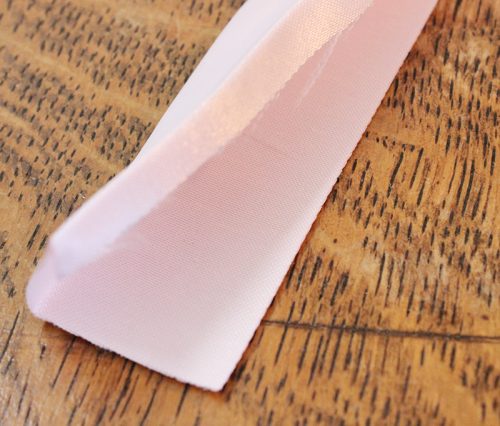
Now get your binding for the top of the baby bag. I was not able to find the 2″ ribbon the vintage pattern originally called for, so I bought satin blanket binding and trimmed one edge down. Since one edge is finished, I needed two inches of useable space, and added 1/4″ to the edge that would ravel to allow for a turn under. Just save yourself the headache and find 2″ wide ribbon ;)
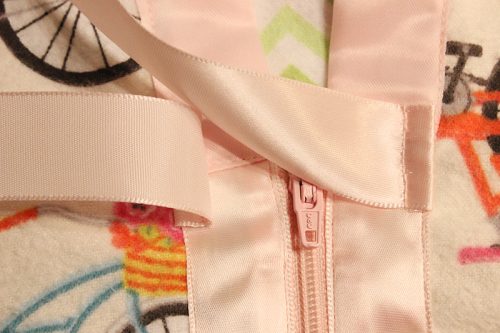
Starting where the zipper teeth END, turn under the raw edge of the binding and pin it to place.
Since I have LOTS of tutorials for binding that I did for the 1940’s apron pattern I did not re-do tutorials specifically for this pattern. Please use the technique here for bias binding + mitering outside corners, altering it as needed for the width of the blanket binding.
When the top of the baby bag is bound, it should look like this.
Now we’ll add the ribbon bow. Please note that decorative bows don’t meet the current childwear sleepwear standards so use the bow ONLY if you’re using it while your child is awake and is attended by an adult.
Pin the ribbon like so, with the raw edges in toward the zipper and covering the join in the ribbon and binding. (sorry my stitching wasn’t more clean here)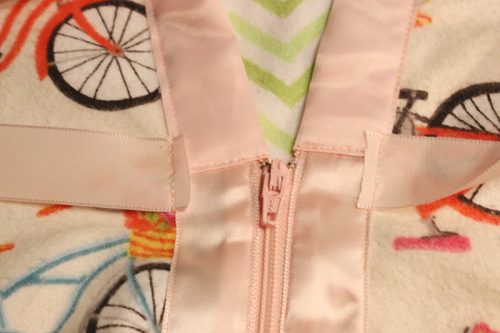
Give it a stitch. Trim it down to a little less than 1/4″, so you don’t catch the raw edge in the next step.
Turn the ribbon back toward the front and top stitch 1/4″ from the previous stitch line, encasing the raw edge.
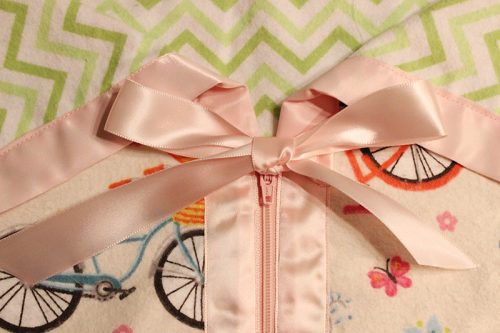
Tie it in a bow!
Now just sew the bottom of the baby bag on, matching your notches, easing in the curves and finish the raw edge in your preferred way.
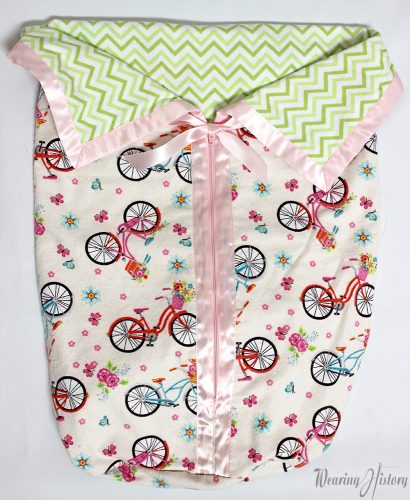
Ta da! Finished!