
This tutorial is made for the 1930’s Baby Layette pattern, but can be used to illustrate other release tucks as well. Release tucks are most often found on skirts, but occasionally can be found on bodices and dresses. In this instance, the release tuck is at the side seam. The tuck runs under the armhole to a few inches down the side seam of the body of the baby dress.
![]()
The first thing to do is to sew your side seams using French Seams. A French Seam tutorial can be found here.
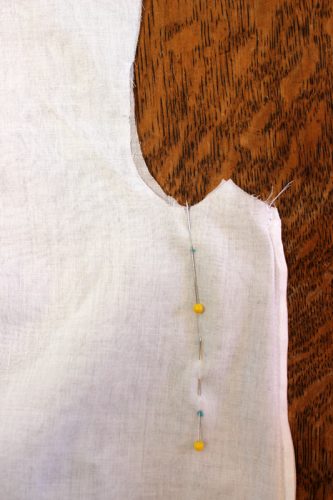
After you have finished your French seams, line up the markings you should have made for the underarm tucks. I used a dot at the top and bottom of the tuck, then you can connect the dots using a method which will come out when laundered. Test on a scrap first! Pin, matching the lines of the front and back dress together, as shown above.
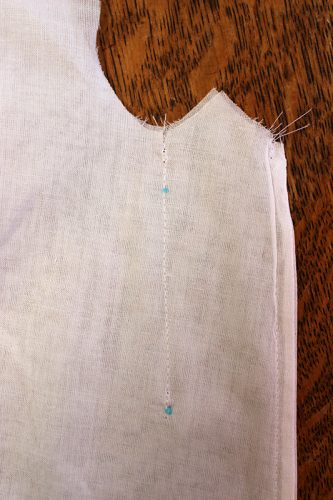 Stitch from top to bottom. Make sure you backstitch to secure the release point at the lower tuck! You should always start and finish stitching with backstitching, but I added a note for you just in case ;)

Press the tuck OPEN. You can match the seam line you just stitched with the French seam at the side seam to make sure the tuck is centered. Press the French seam toward the back of the garment.
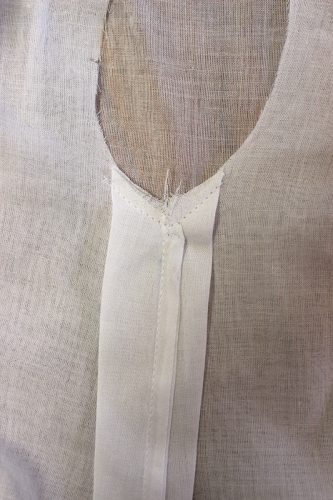
Stay stitch the tuck to place at the armhole, to make sure it won’t wiggle on you when you set your sleeves in.
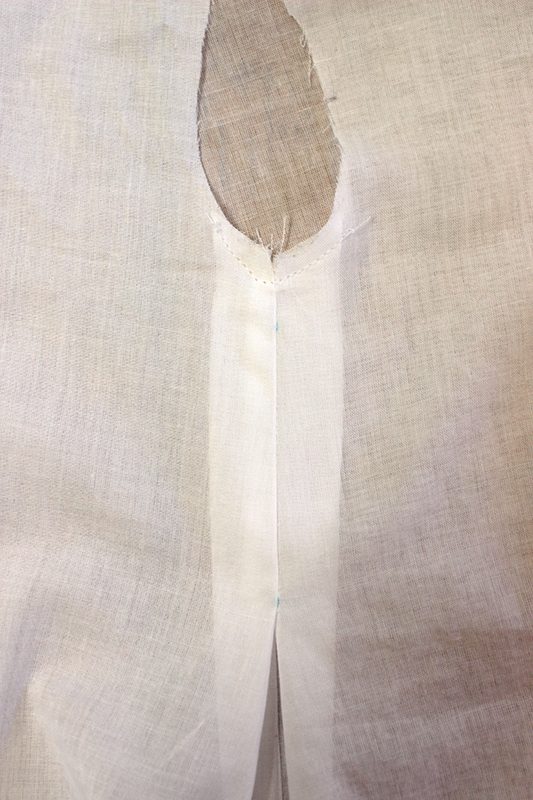
That’s it! Here is the release tuck at the side seam as viewed from the right side of the garment. Do the same to the other side and you’re done!
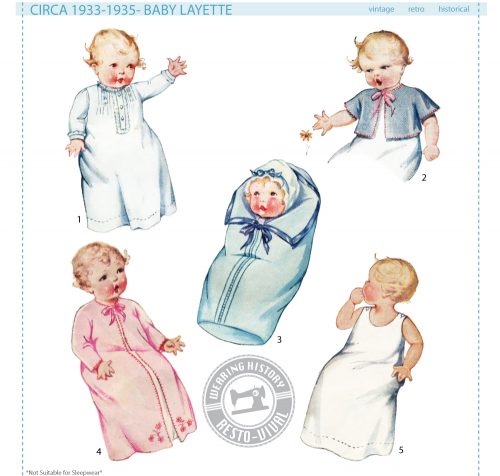
This tutorial was created for the 1930’s Baby Layette pattern.