
Do you find a center front placket intimidating to sew? This tutorial was created to help you navigate how to put in a center front button placket, a method which is used often for the front fastening in vintage garments.
This method can also be used in other projects, but this tutorial specifically was made for the 1930’s Baby Layette pattern for the baby dress, and we will follow the instructions as given for that pattern.
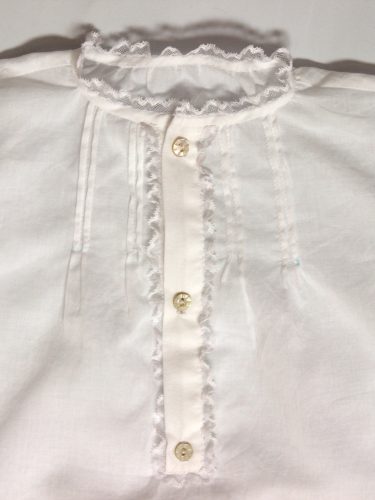
The placket is the button band that you see above. It is created by slitting down center front and then applying (in this case) two strips of fabric.
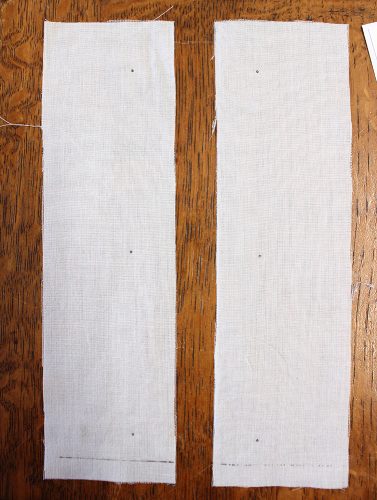
The original pattern had you “Cut 2 strips of material for lap, each 2 3/8” wide and 8 1/2” long.” I have added a supplemental pattern piece so you do not have to draft this piece unless you want to. I also have added button markings, etc. You can change the button placement if you desire larger, smaller, or more buttons- or if you want to convert to snaps.
Interface this piece, if desired. Many vintage originals were NOT interfaced, which is why the period pattern does not call for it. I personally prefer the stabilization for the button and buttonhole that comes with using a fusible interfacing. I use tricot interfacing for everything, not just knit fabrics, so that’s what you’ll see in my sample.
Mark the bottom in 3/8″. I used a fabric pen that comes out with heat. Test your method before committing to your final fabric.
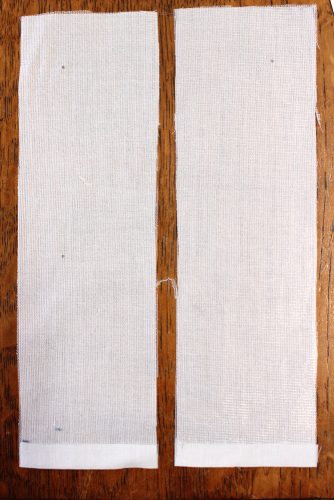
Turn up the bottom at the 3/8″ mark you made. Press.
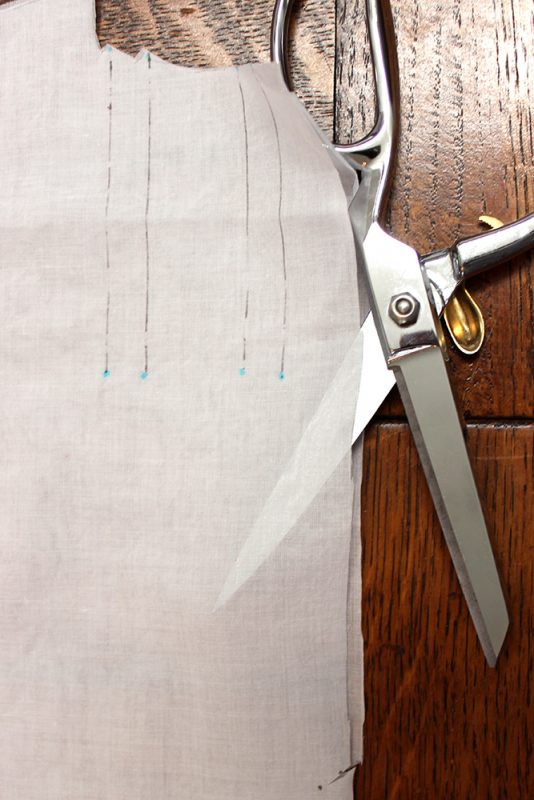
Slit down the center front, then clip in diagonally at the bottom close to the dot marked on the pattern. Leave a little room there and clip closer if you need to. It’s better to clip too little now than to overclip and then be left with fraying edges on a final garment.
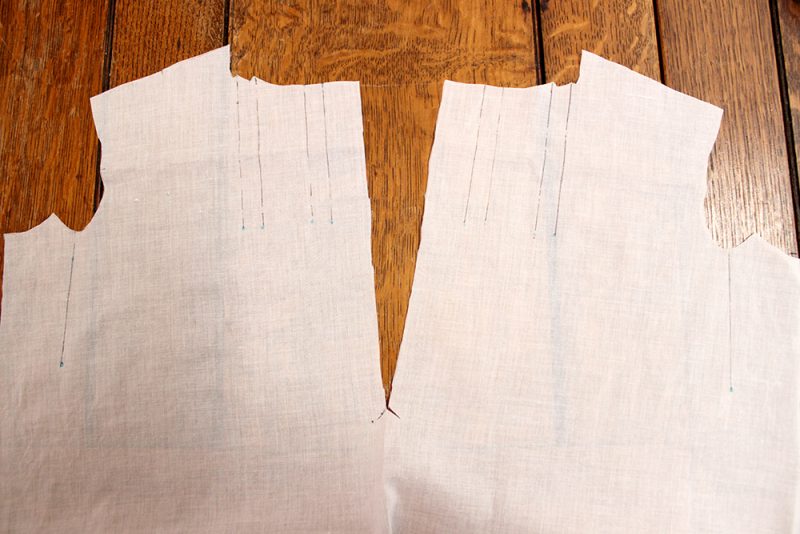
This is what the piece looks like after the slit was created. (You should have your pintucks finished before sewing the placket if you’re using the original period instructions. I did these steps backwards when making the samples).
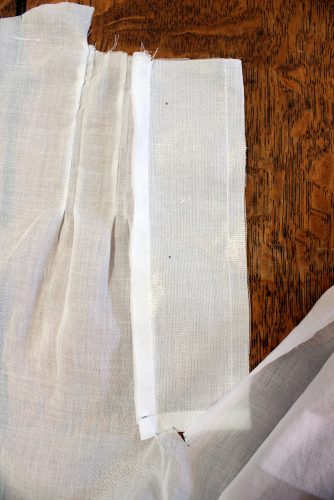
Use 3/8″ seam allowance and stitch one placket to the seam, right sides together. Stop at the dot.
Closer view of the bottom. You can see the turned up edge is where the dot is.
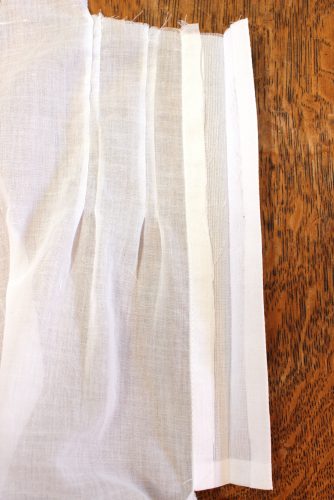
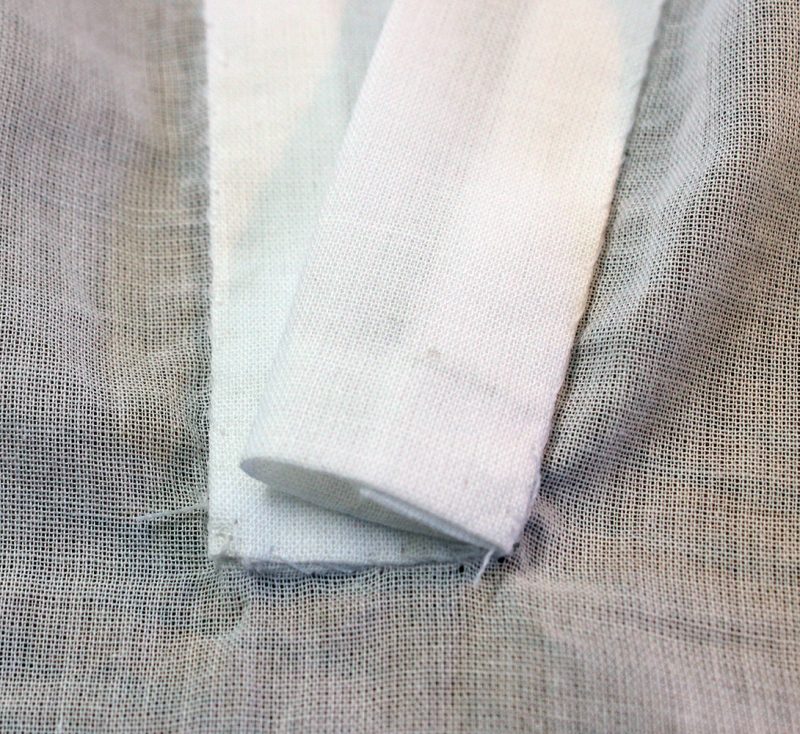
Turn under the raw edge of the placket 3/8″. Press. Then press it in half (you can see the crease running down the middle of the placket piece in this image to help you visualize.
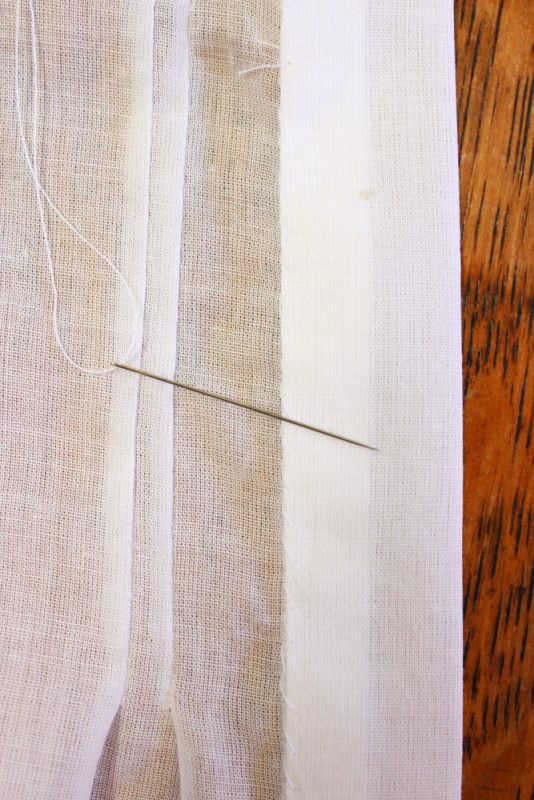
Now align the folded edge where you just pressed under the 3/8″ seam allowance with the seam line of where your attached the placket. Hand sew this to place.
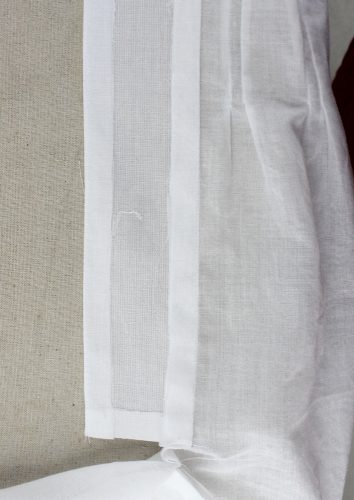
Stitch the other side of of the placket, using 3/8″ seam allowance. Turn in the 3/8″ seam allowance on the remaining free placket edge.
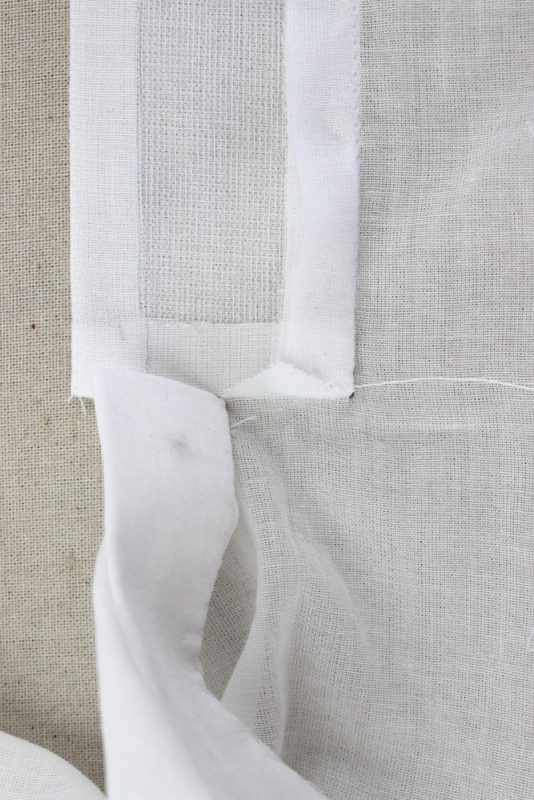
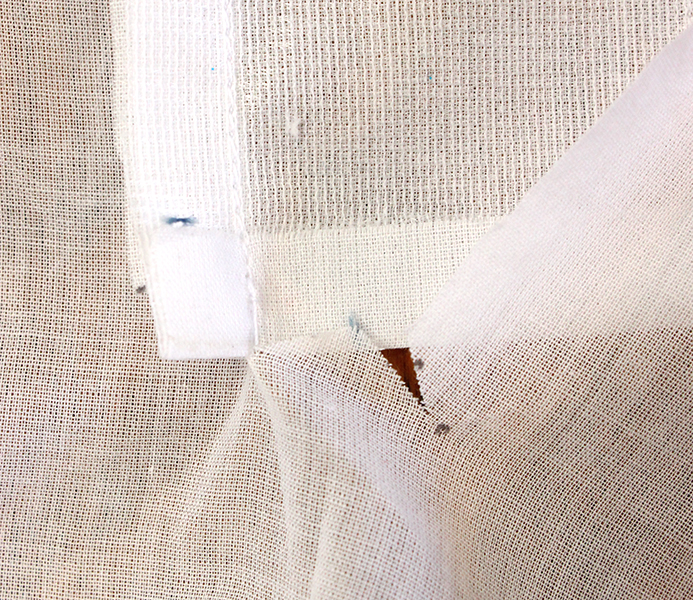
Now it gets a little tricky. You see where the triangle is of where you clipped in at an angle at center front? That needs to be ENCLOSED within the bottom of one of the plackets. (If you’re not sure which placket, play with it, right side up, and decide which way you want your placket to lap. Have it be encased within the placket that sits ON TOP.)
Placket folded over, sandwiching the raw triangle in the middle.
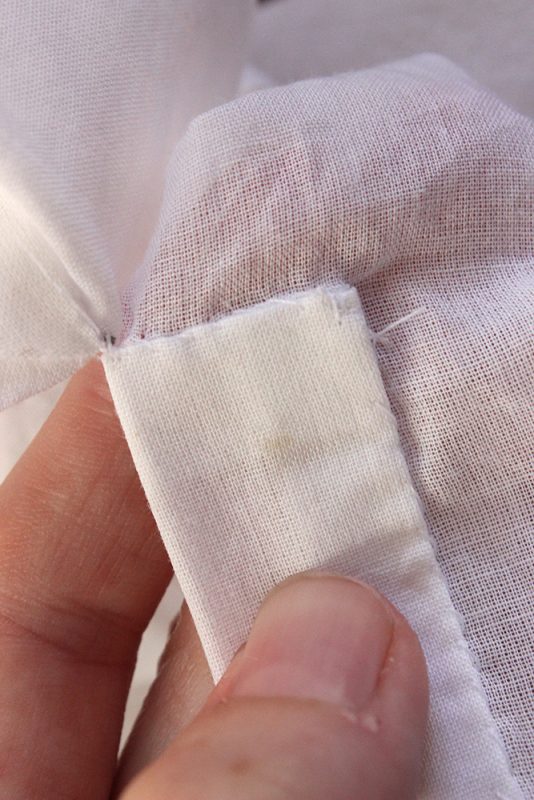
Stitch this to place. Pay extra attention to the corners to get them nice and smooth and prevent any puckering. You can clip a little more to the dot, if needed, but avoid overclipping or else you’ll get fraying.
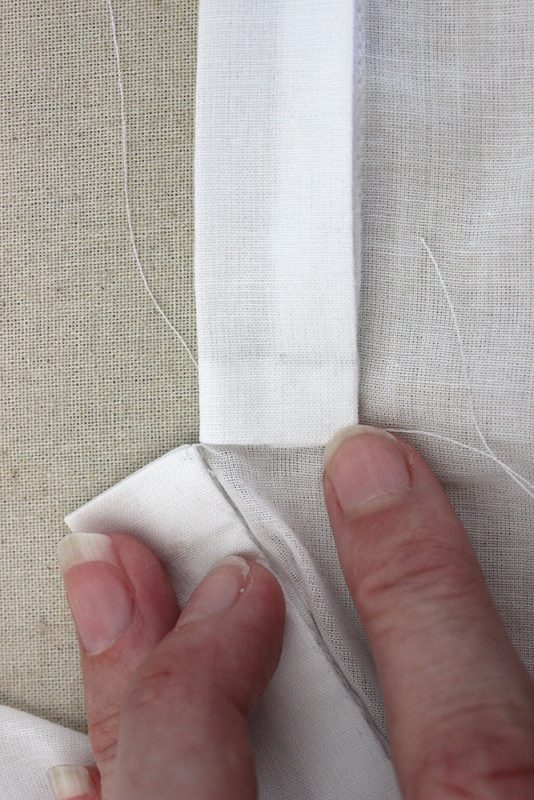
Now lap the other placket BEHIND the one that was just stitched. This is the WRONG side of the fabric. (I think I switched which one I stitched the triangle into partway through. So if you noticed that- no, you’re not crazy.)
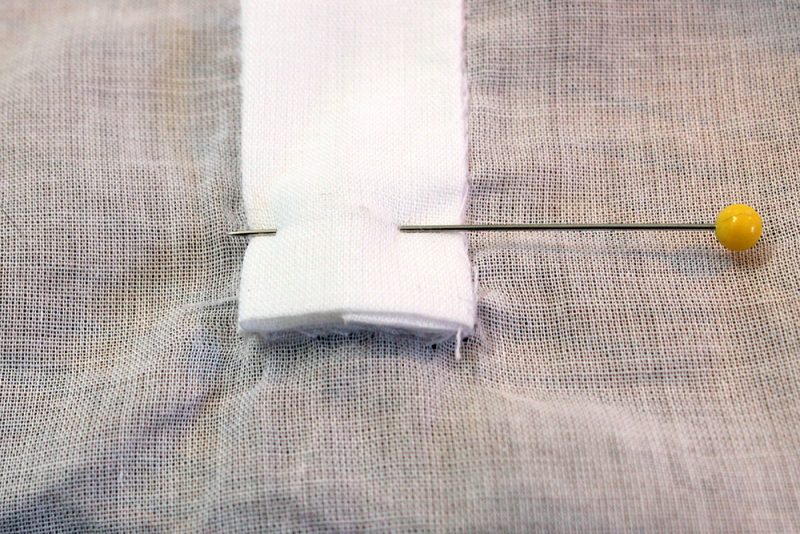
Pin it.

Stitch it by hand.
Add that’s it! Placket made!
If you’re sewing the 1930’s Baby Layette, the buttons and buttonholes go on AFTER you finish the neck edge. Then it looks like this!
Hope you find this tutorial helpful for making a button placket.
raquel from JC
September 16, 2016 at 4:38 pm (8 years ago)Beautiful! It reminds me of my mother in law. She is native from Spain but lived in Morocco and studied and worked with nuns there hand sewing baby clothing, embroidering linens and things. She was very good, so do you!
Lauren
September 22, 2016 at 2:49 pm (8 years ago)That is so neat!