
Continuing the Air Raid Suit Pattern sewing tutorials. In this tutorial we’ll do the side buttons and buttonholes.
Last time we did the back belt and buttons. You can see the back buttons in this image.
First, work your buttonholes on each side. These are pictured in the image above.
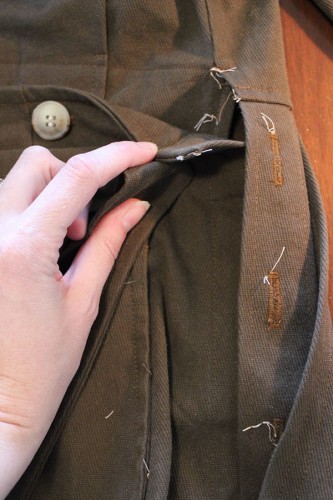
Next, we’ll place the placket so that we can mark the button placement. To do this, tuck the side extension behind the buttonholes. You will tuck the extra length inside the side, as I show myself doing above.
It should tuck under and look like this.

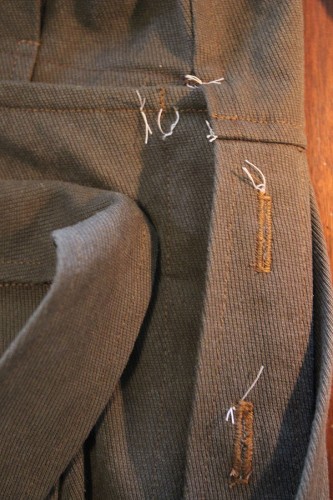
Another view. Now clip your buttonholes.
As we did with the belt, put a pin through the center of the cut buttonhole, pricking the pin through the extension underneath.

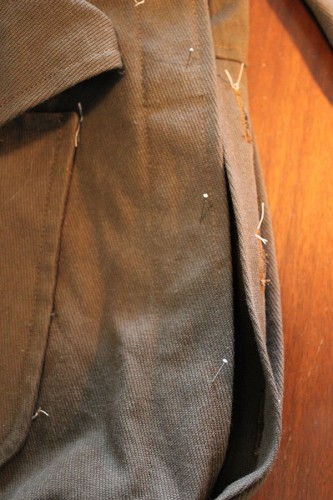
Mark this placement with chalk or your preferred method.
Then sew your buttons on that placement.
Button them closed, and you’re done with the back and side fastenings!
Congrats, you’ve made a real 1940’s drop seat!