
How’s your Air Raid Suit coming? I hope these have been helpful.
Today I’ll cover how to do the side facings and back facing on the trousers. Remember these are drop seat, so we’ve got to finish all those edges!
Front Side Facing
First, make sure your buttonholes and fold line are marked. You should have already done this.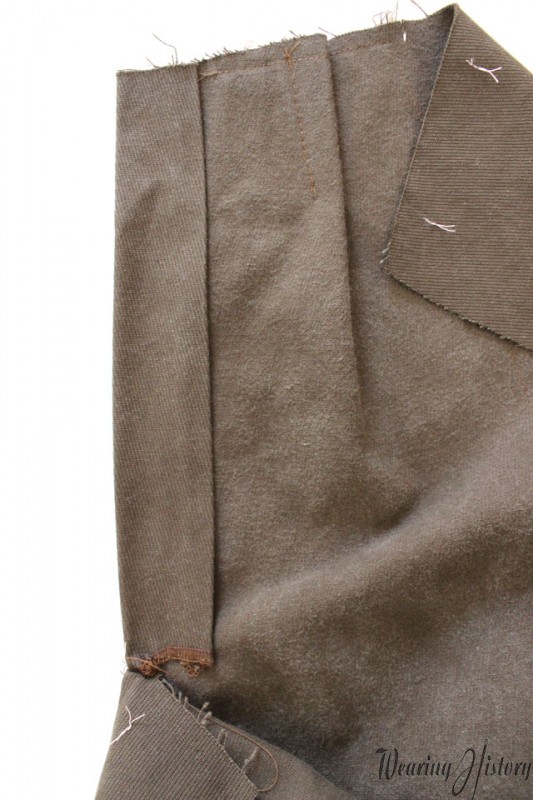
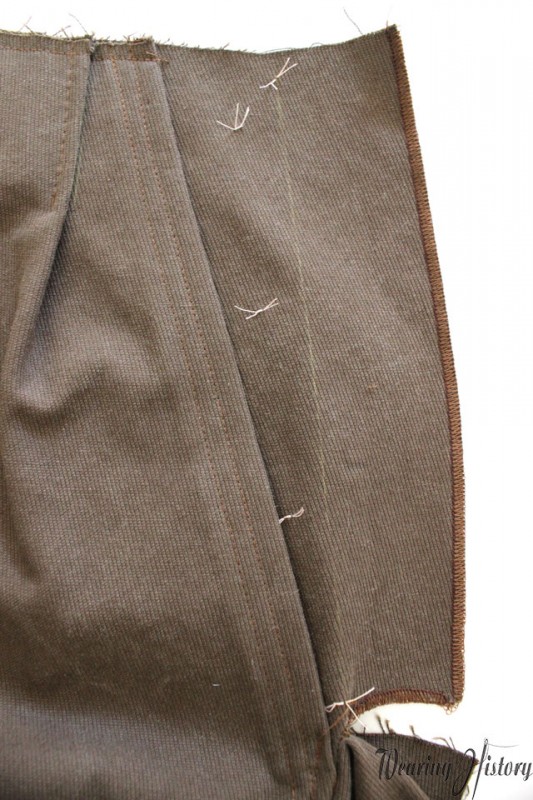
Turn the raw edge under 1/2″, and then under again on the line given for the fold line.
 Stitch this in place close to the hem, being careful not to catch the pocket.
Then top stitch 1/4″ from the folded edge.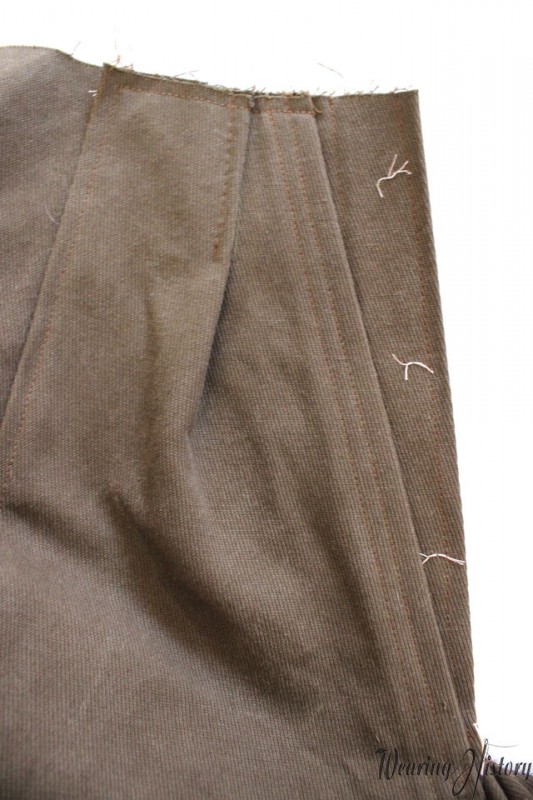
From the outside it looks like this. Do it to both sides.
Back Side Facing
Turn under 1/2″ on the back extension. Press.
Now, fold on the line given, right sides together, and stay stitch across the top. This will be flipped out to the right side after you attach the waist facing.
Prepping the Back Slacks Waist Facing
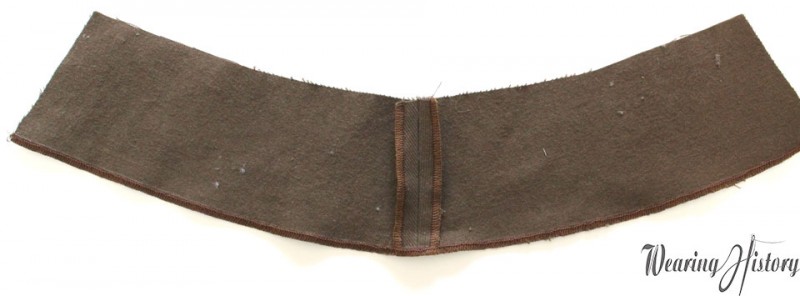
Join the back slacks facing pieces at center back. Press open.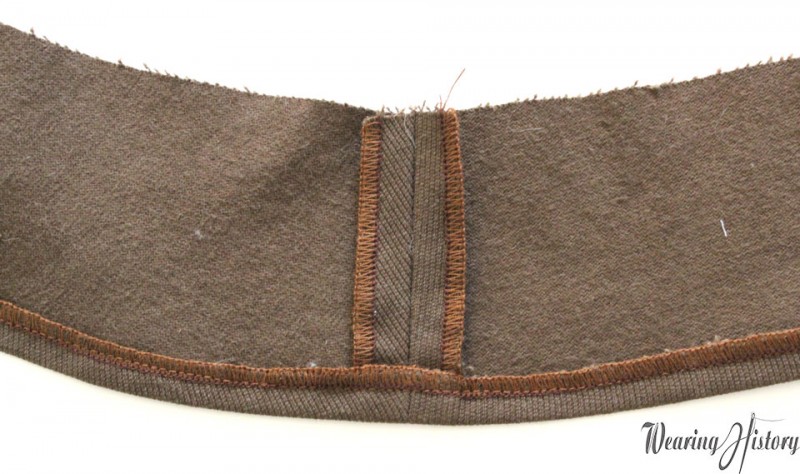
Turn up the bottom edge 1/2″ and press. Then topstitch 1/4″ from the edge.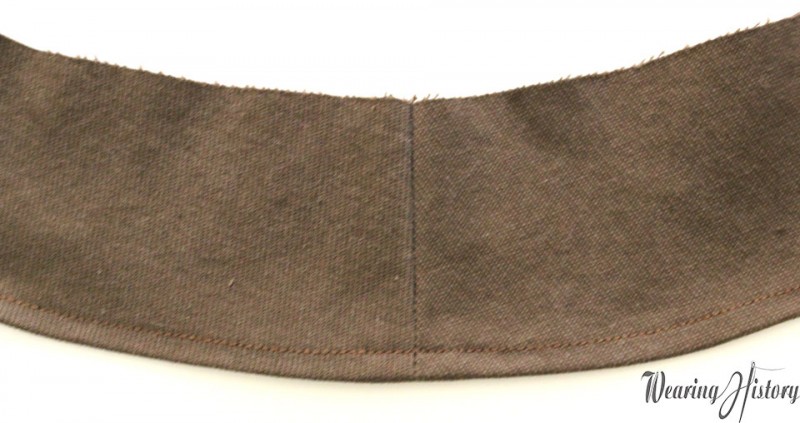
From the right side it looks like this.
Attaching the Back Slacks Waist Facing
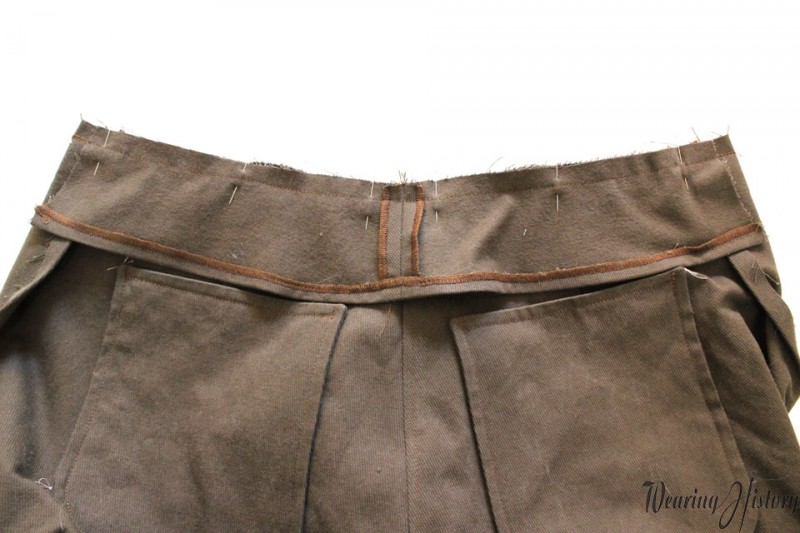
Now, pin the back waist facing to the back slacks, matching center back seam. It won’t reach all the way across the waistline, as you can see in my photo. That’s in order to reduce bulk under the side facing pieces, don’t worry.
Now stitch all the way across the waist, through all layers, in one continuous line. Clip your corners and curves, turn and press.
It should look like this. See, the waist facing is encased within the side back facing pieces. Clever, isn’t it?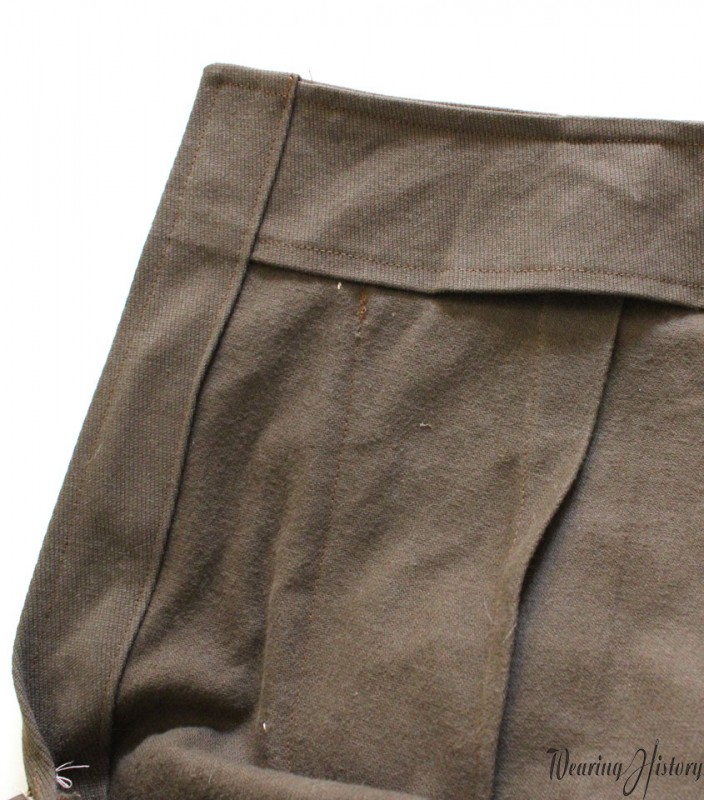
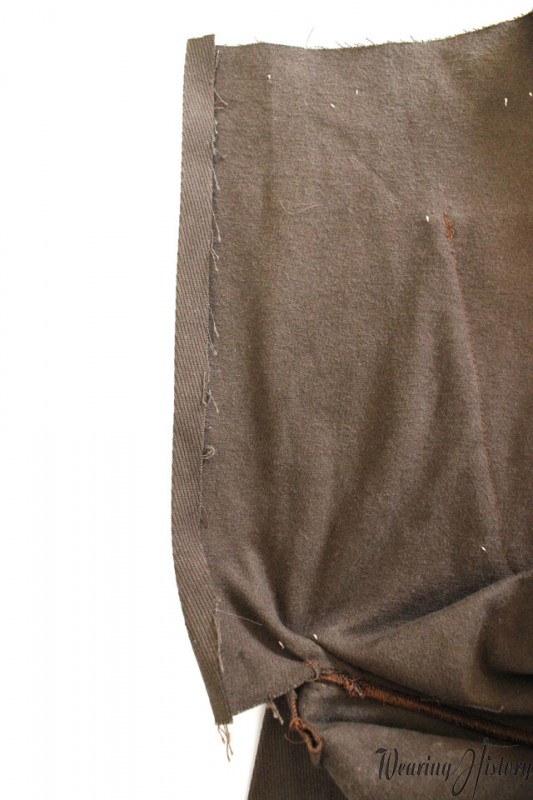
Now you’re going to stitch your hem of the side back slacks facing pieces down 1/8″ from the edge, just like you did on the front side slacks facing pieces. And then, instead of just stitching 1/4″ from the edge on the slacks side facing piece only, you’re going to stitch 1/4″ from the edge up the side back slacks facing, across the waist, and down the other side facing piece- (top stitch 1/4″ from edge on all three layers).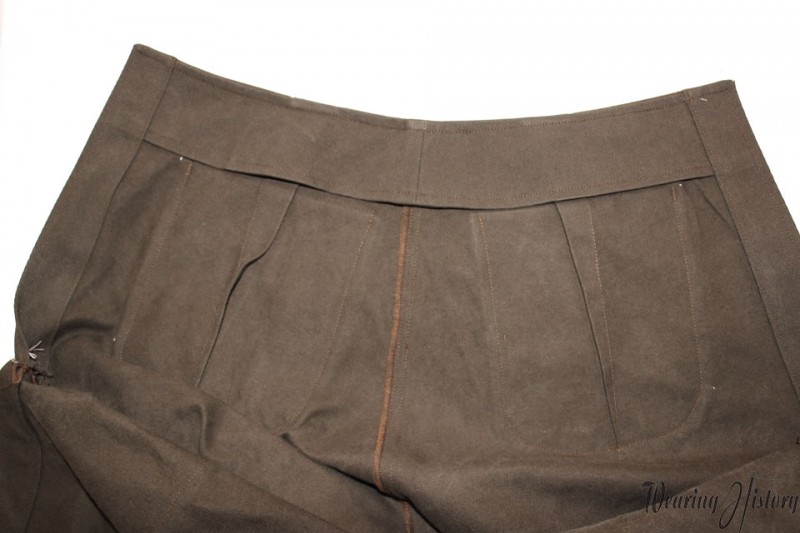
Finished it should look like this.
More next time!