
Continuing on the sewing photo tutorials for the Air Raid Suit pattern.
Oh my goodness, it’s actually going to look like a garment after this! Aren’t you thrilled? I know it’s been a long journey, but there’s just a few steps left. You should be proud!
In this post we’re going to attach the front bodice to the front slacks.
This step is pretty simple, but I’m adding photos so you can better visualize it.
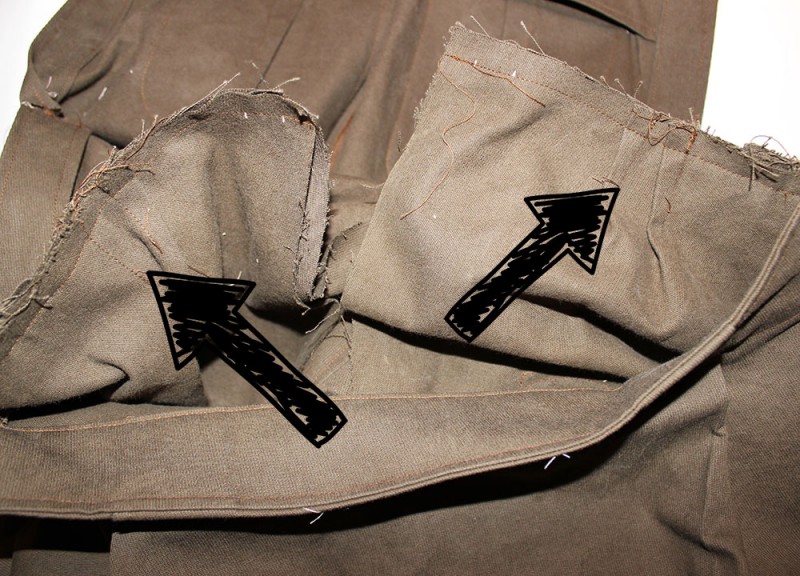
Pin and sew the bodice at the waistline. I’ve added big arrows here, since that photo’s a little hard to tell heads or tails of.
Make sure your center fronts match up so it doesn’t get all twisted. Pin them right sides together and then stitch across.
 Then you finish by doing a flat felled seam OR serging and topstitching with the seam allowance facing UP. That’s important. If you try to force it to face downward it will be too bulky with the pockets.
That’s it for this time! Next time we’ll attach the center front facings.