
Sorry for the delay in posting! I’m back at it, showing more tutorials for the Air Raid Suit.
Today we’ll be doing tabs and showing how to attach the tabs to the sleeves and creating the tucks at the sleeve wrist.
I want to apologize ahead of time for the photo quality. I started squeezing in sewing when I could, so a lot of these were taken at night when the light wasn’t so good.
If you’re doing the short sleeve version of the Air Raid Suit, you don’t need to do these steps. But if you want to add tabs to the pants, you’ll still need to make yourself two tabs.
Tabs
The tabs are used to button the fullness out of the wrist and the ankles. This was used during WWII to keep the garment from getting caught in the machinery, which could cause serious injury, or even death, to the worker. To keep safe, You needed your garment to fit snuggly to your body.
It’s worth noting that I needed to make the tabs longer on the pattern (the original pattern was missing the tab piece, so these were drafted off of the piece layout). I have small ankles and wrists, and they were pretty snug even on me. So your tabs may look slightly different.
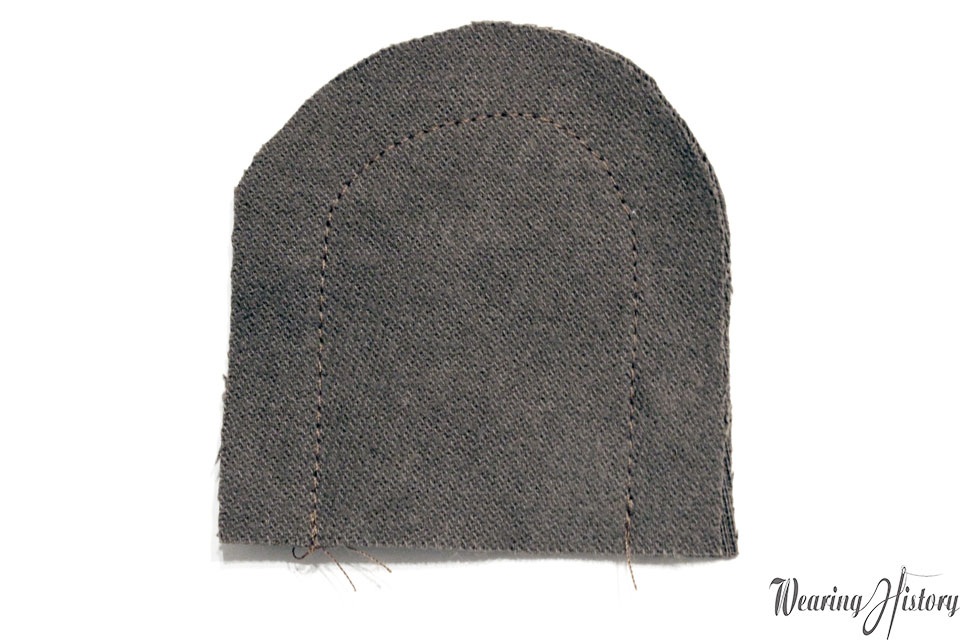
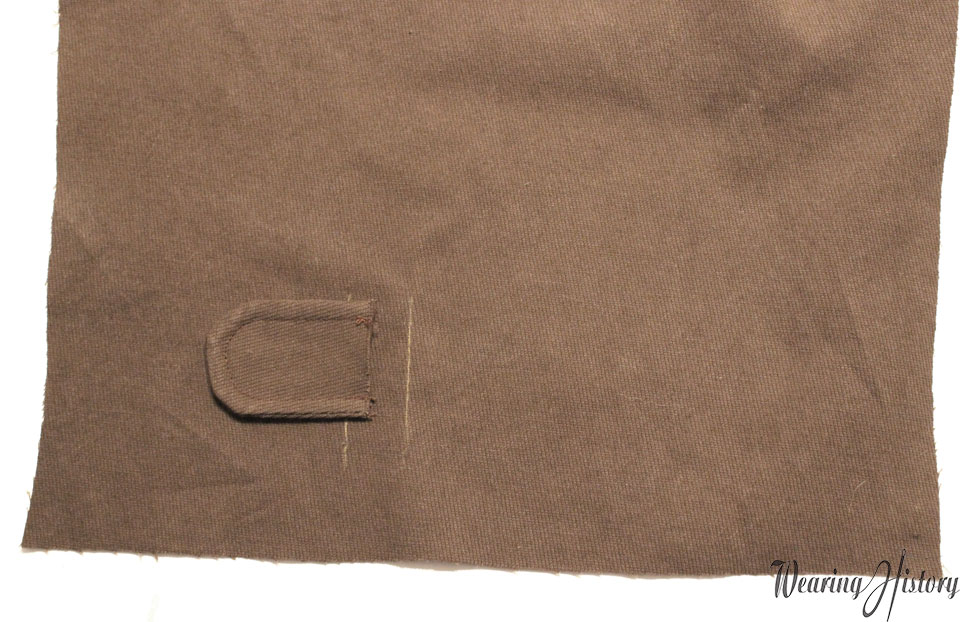
First, stitch all the way around the outside edge of the tab. Use 1/2″ seam allowance.
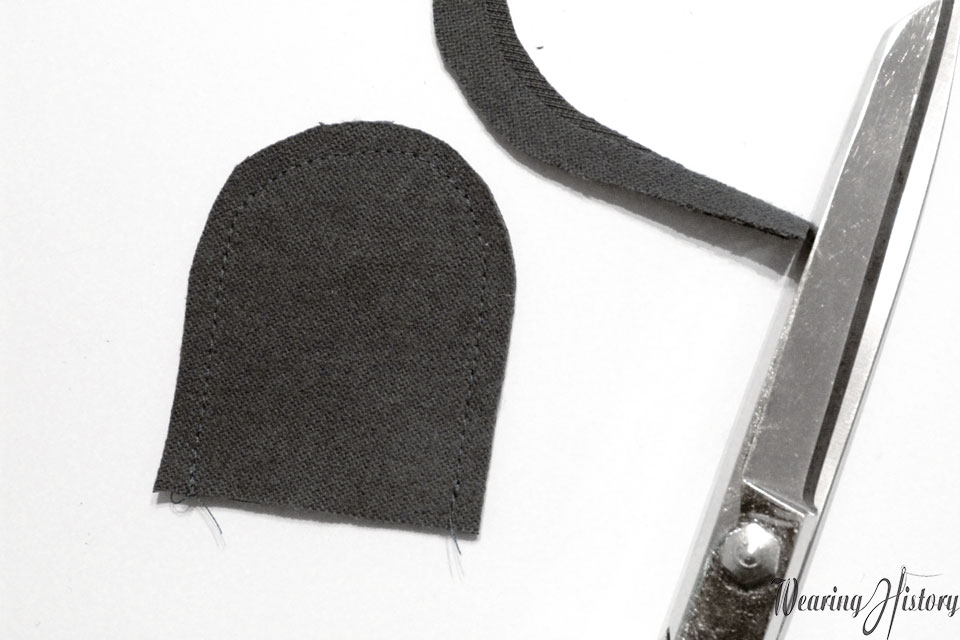
Trim your seam allowance down to about 1/4″.
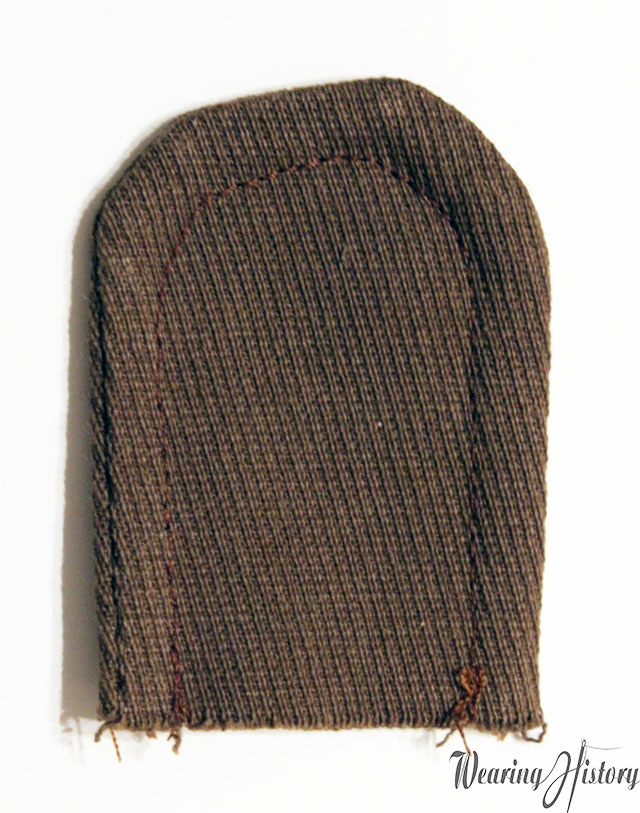
Turn, press, and then topstitch 1/4″ from the edge.
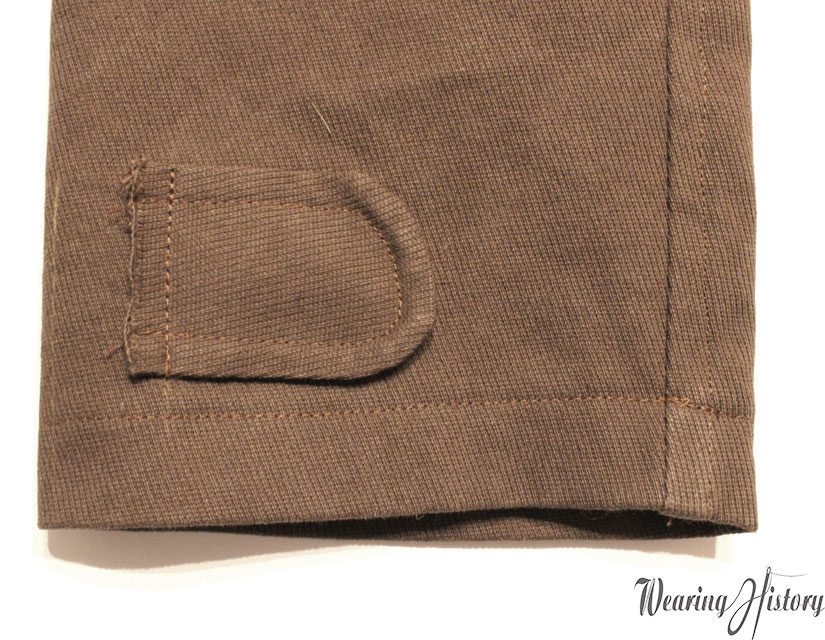
Make two if you only are making them for the pant legs and doing the short sleeve air raid suit. Make 4 if you’re doing the long sleeve version of the air raid suit.
Attach the Tabs to the Sleeves
You can do this after you sew the underarm seam and do the hem of the bottom or before. I did it before, because I found it easier to do it when the sleeve was laying flat.
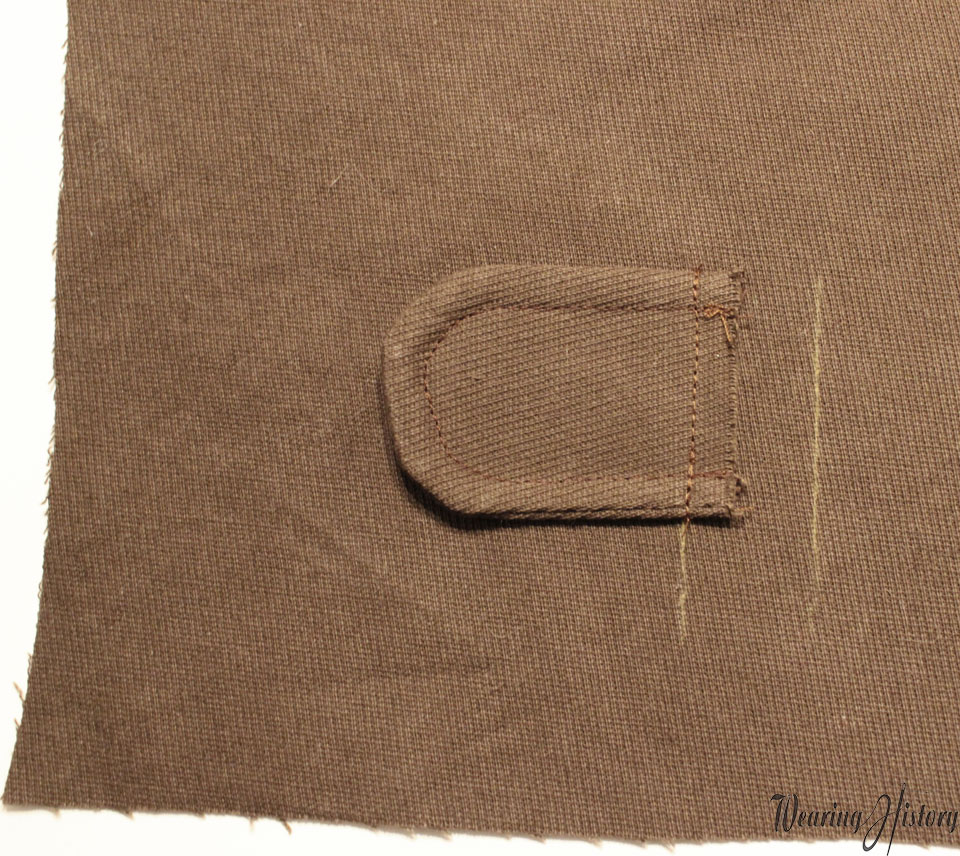
Stitch the tab to the sleeves, as shown. Align it with the top of the tuck, extending 1/4″ past the line.
Showing the full width here. Make sure you point them in the right direction. It’s important for the next steps.
Now, if you haven’t already, sew your underarms seams and hem the bottom of the sleeve. It should look like this.
Creating the Sleeve Tucks
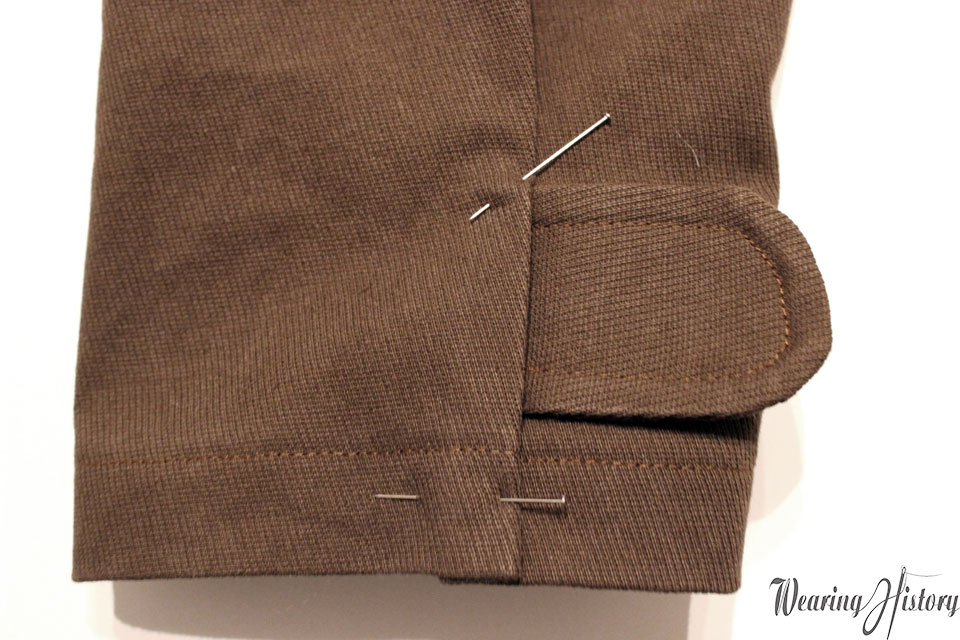
Fold on the line that the tab is not attached to, and bring it to the line the tab is attached to. Pin this.
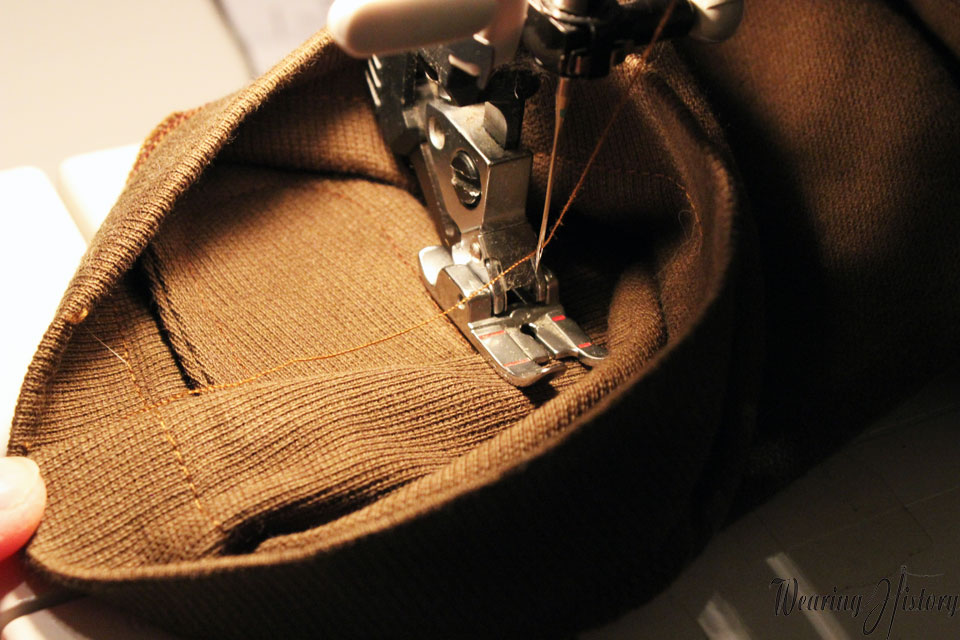
Now go to your sewing machine. I found it easier if my sleeve was inside out, because then I could stitch on the right side. Starting from the TOP of the tab, stitch in straight until you’re 1/4″ past the tuck. Make sure you back stitch when you start this stitch.
Turn it to a right angle, and stitch 1/4″ from the fold, all the way down to the bottom.
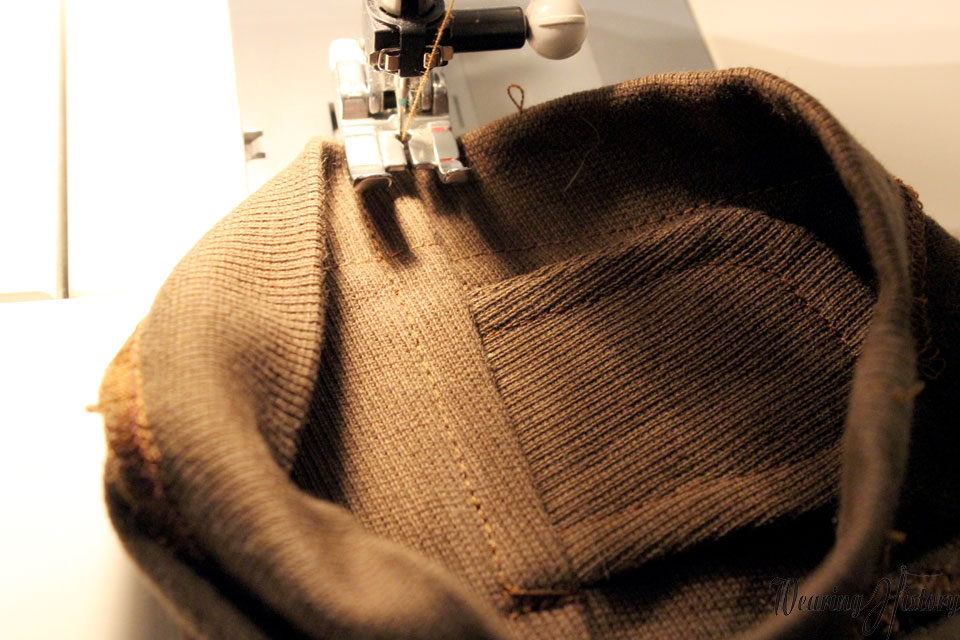 Stitch across the bottom, through all the layers. Then go back up, very close to the fold. Back stitch.
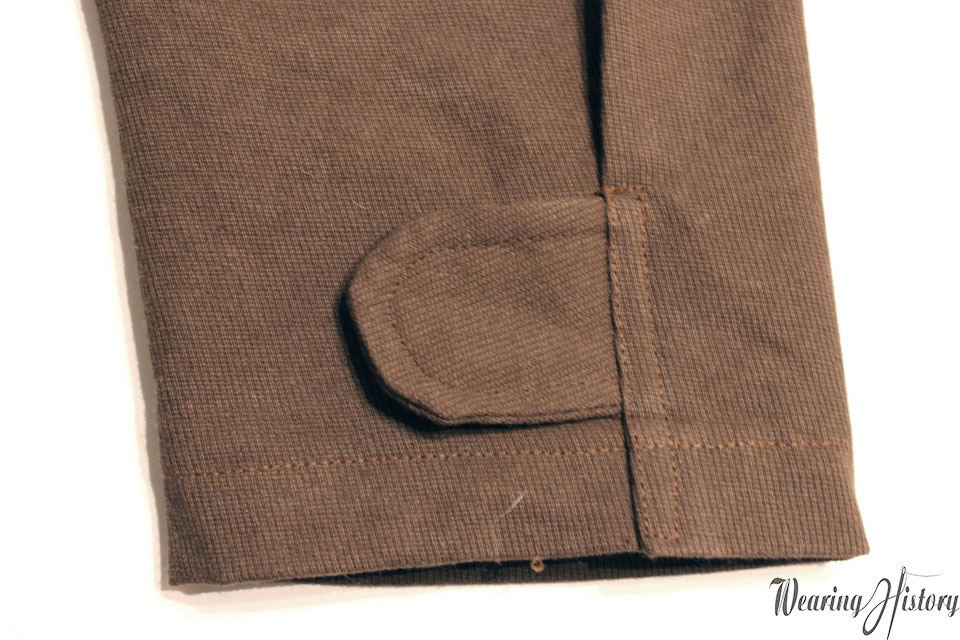
Here you can see that this creates a rectangular shaped topstitching that secures everything in place.
When you attach your buttons, they’ll be on the underarm seam, so the tab will pull in the excess. But that’s a future step.
Hope you found this helpful! More next time :)