
This is kind of a “catch you up on steps in between the hard bits” post, so none of these steps are gone over in detail but will help you visualize what to get done on the way to where we’re going.
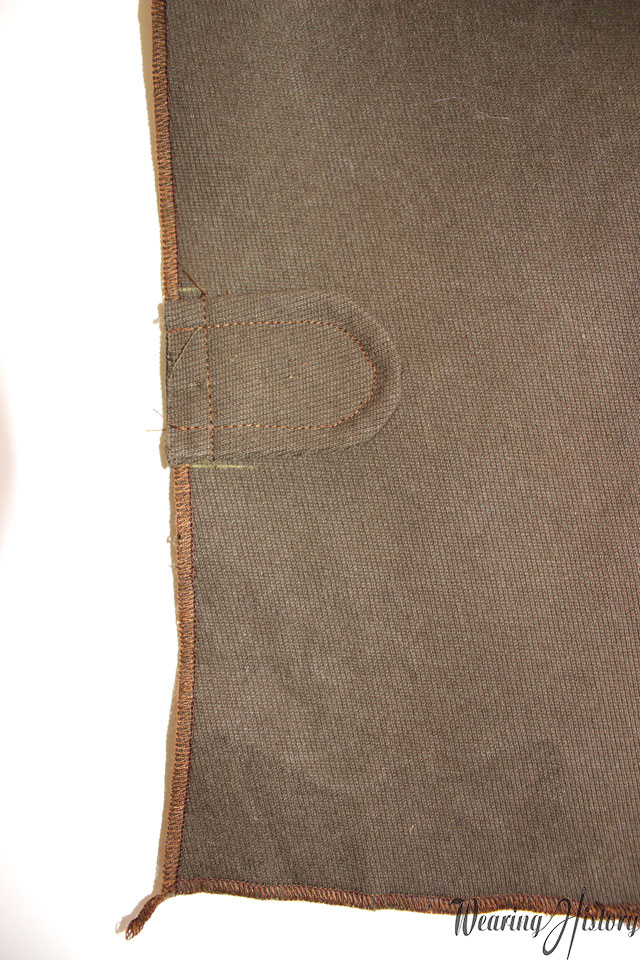
First, attach the tabs to the pants if you want them. For how to make the tabs see this post. You want the tab to be at the inside leg, because if you put your buttons on the inside leg they’ll hit each other when you walk and that would be annoying ;)
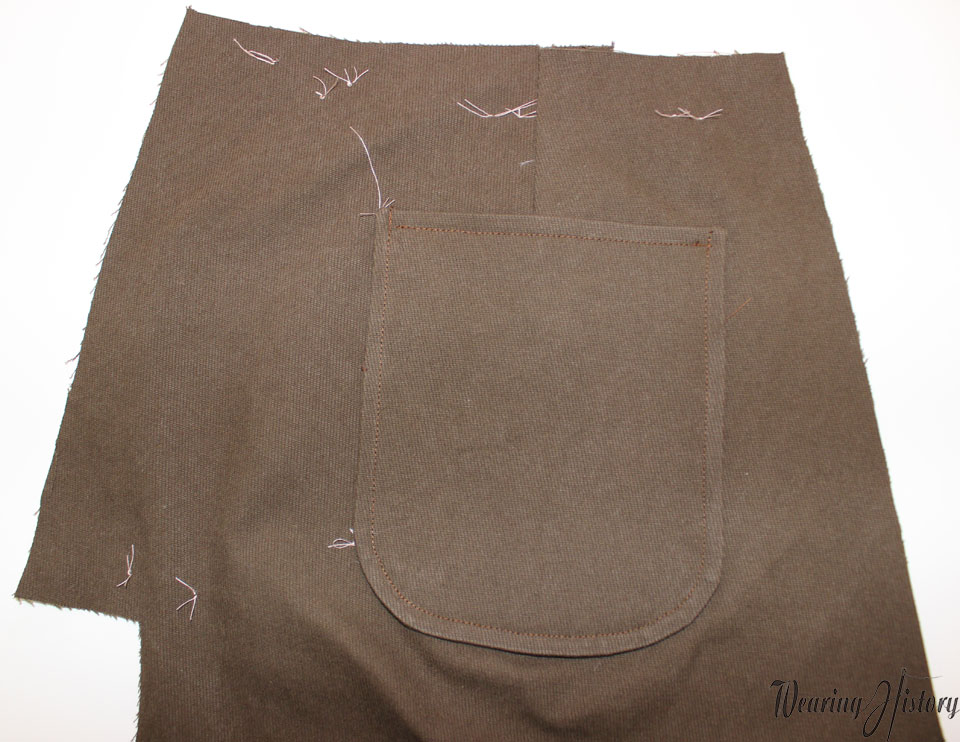
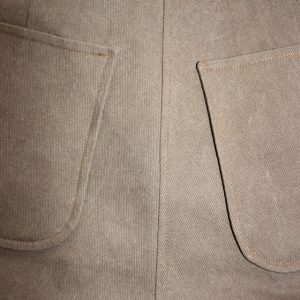
Make the back darts and then attach the back patch pockets. You’ll attach the back pockets in the same method you used for the front bodice pockets, but omitting the pencil holder stitches. See this blog post.
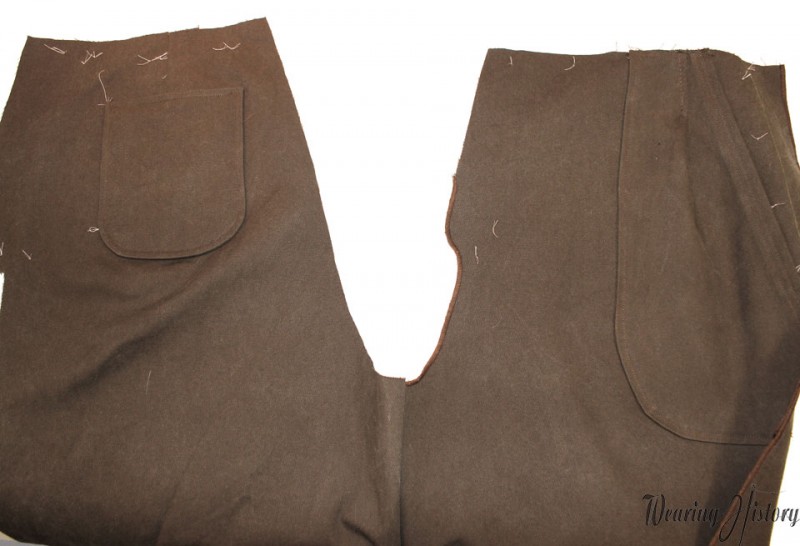
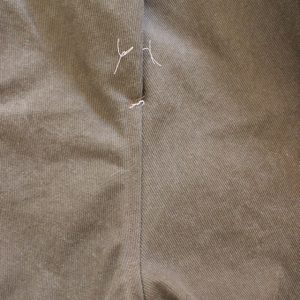
Join the inside leg seams. Make sure it looks like this, sewing a back pants piece to a front pants piece when you attach them, so you’re not making yourself a skirt instead of pants ;)
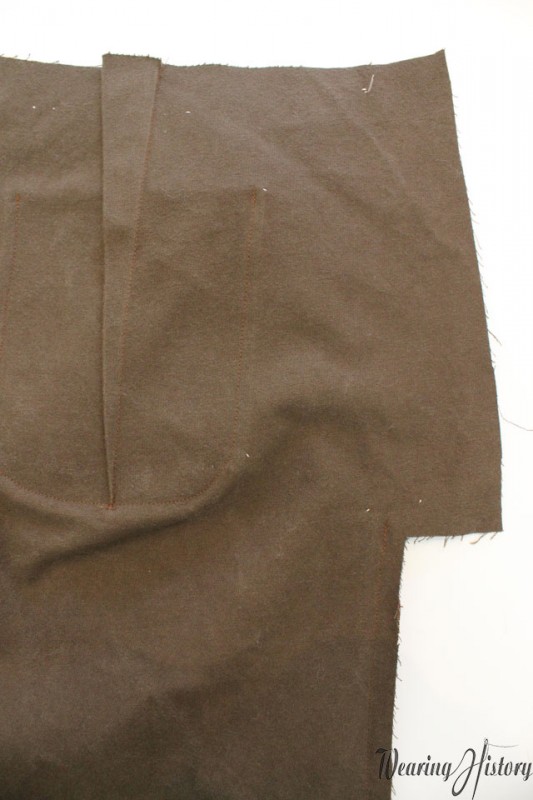
Then attach your side seams, up to the dot by the extension, and then clip in. Do the same for both sides. Flat fell or fake flat fell these seams.
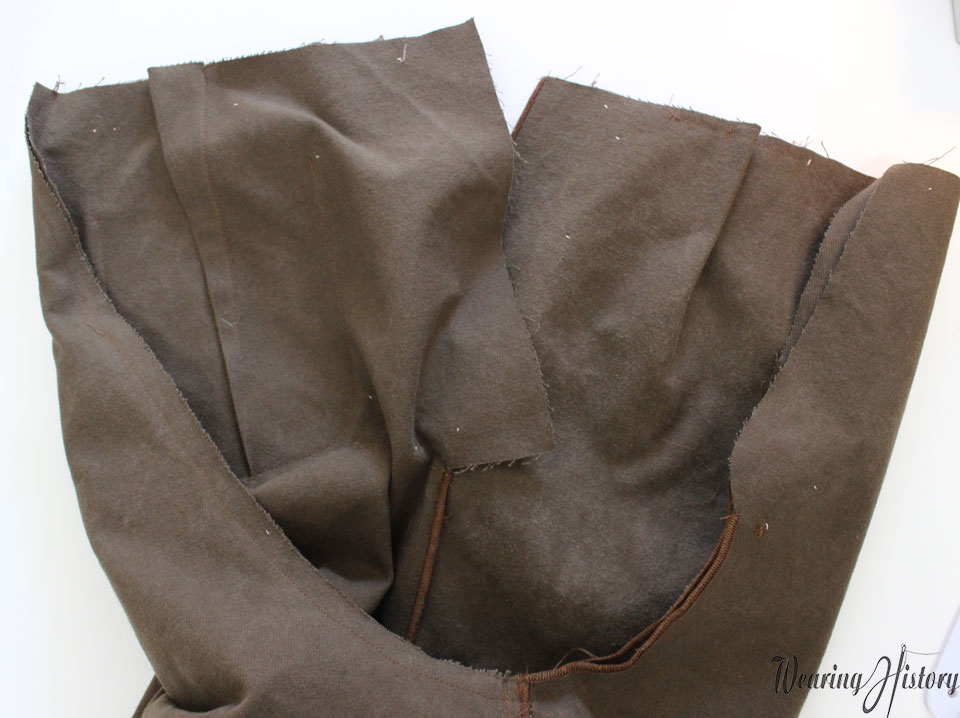
Then you’ll sew the crotch seams together. Go all the way from the center back, match the leg seams together, and sew up until the dot at the front fly.
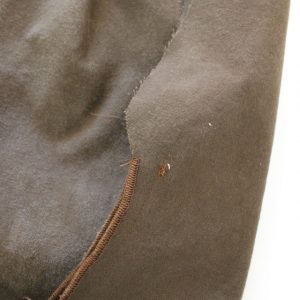
Make sure you stop at the front fly, like this. Clip and then flat fell or faux flat fell the whole crotch seam.
From the outside it should look like this.
And this.
Next time we’ll get to more challenging steps! But look at your progress! It looks more like clothing now :)