
>Continuing making a large collar from a recycled vintage fur coat. This is part of my Vintage Pattern Lending Library coat project.
After sewing together my pelts in the last post to create pieces long enough (this is quite a long collar), I had to continue construction. You can see the first part here.
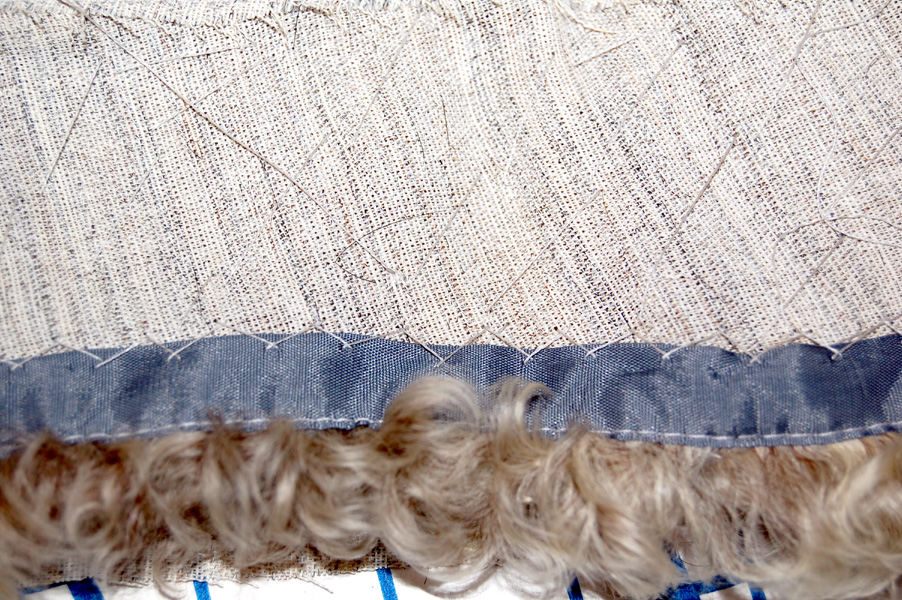
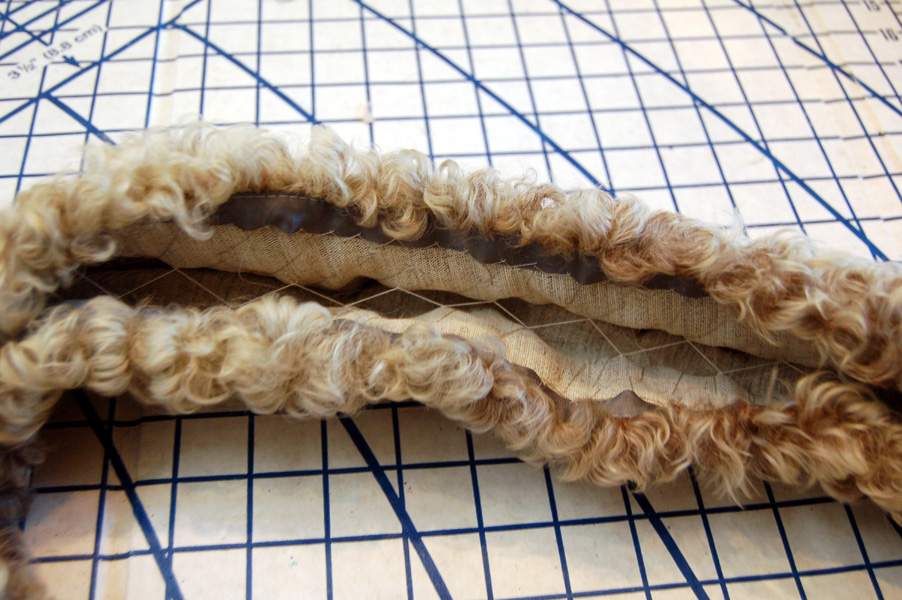
After the pieces were put together individually it was time to sew them together. I used size 4 stitches on my machine. All references for using fur that I can find suggest hand stitching the pieces together but since my vintage fur was quite soft and supple I decided to use my sewing machine. After the long outside seam was finished I picked out the fur from the seam using a needle, just as done for the first time. Then, using scissors over the trash can I snipped all the long fur from the seam.
When using the interlining the original pattern called for flannel and then some sort of interlining. The original vintage coat I repurposed for this project used felt. I didn’t have either flannel or felt so used a lightweight hymo I had on hand from a previous project. I sewed the outside seam and then zig zagged the seam allowance into place. The original instructions said to cut the seam allowance from the edge of the flannel so I zig zagged 1/2″ from the edge (to keep my hymo from fraying) then clipped the allowance. After this I flipped my hymo and ironed it flat, then matching edge to the center seam of the outside edge of the fur I basted the two together. I forgot to take a picture so I had to undo some of my stitching so you could get a peek inside. You can see the fur seam allowance opened and the hymo is basted right in the middle of that seam using long whip stitches.
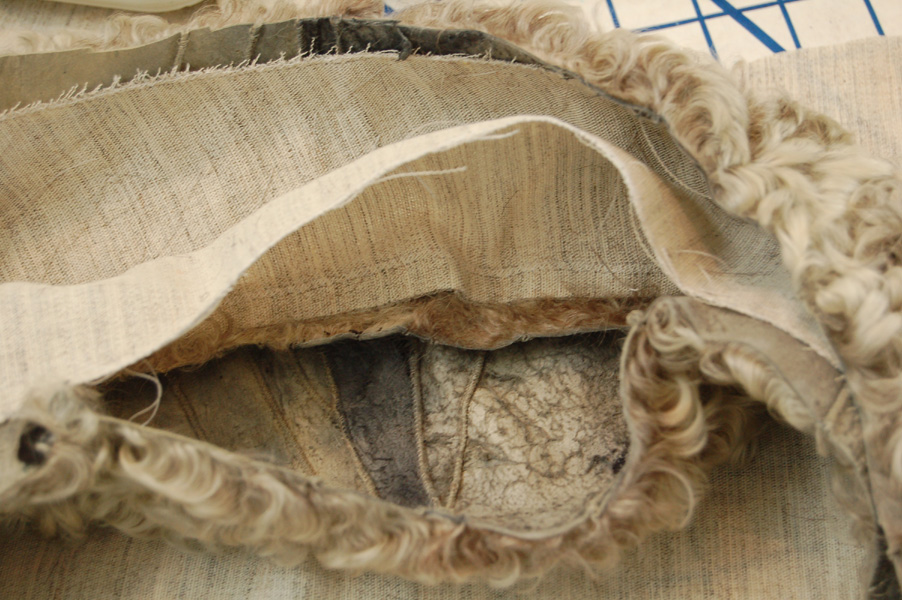
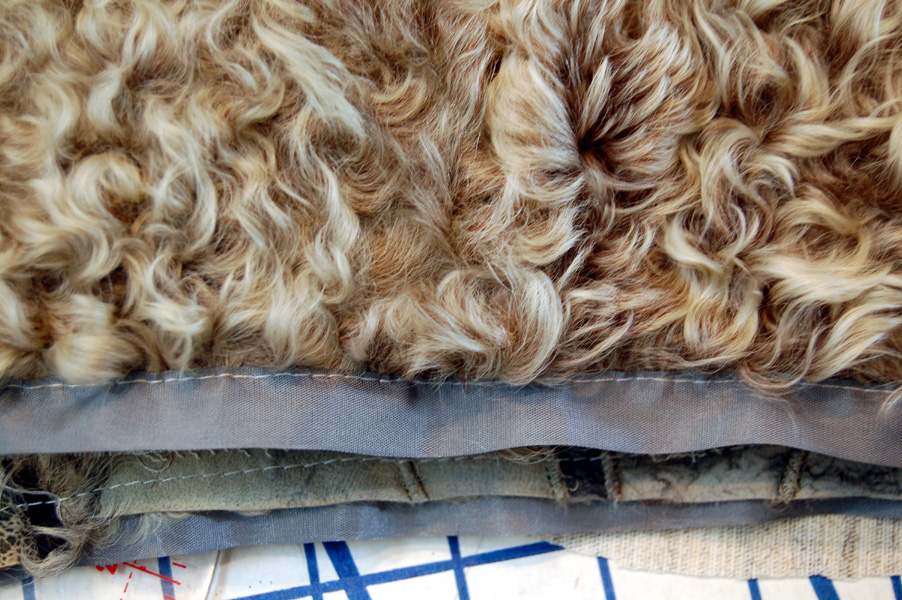
After this I laid it flat which was quite a chore- the hymo wanted to disfigure. If I were to do it again I would stick with wool felt like the original vintage coat had since it wouldn’t be as fussy to work with. Using the fur piece as a guide was helpful when placing the hymo inside, and it was very difficult to get into the curve. It’s not possible for it to line up correctly if you simply flip it inside out since the curve including the fur is so wide- it would make the hymo buckle when you flipped it back. It was necessary to work on the inside of the piece, which was interesting. The original instructions did not include this step, but I fumbled the idea together from previous tailoring I had done and looking at the original coat when I took it apart. I used VERY large (and somewhat sloppy) padstitching to attach the two together. If a coat was in the least bit dry I wouldn’t do this step since it would probably just make a bunch of little holes.


Ta da! That part’s finished! Now on the cuff accents and this part is done. Yay!
**As mentioned in the last post, my apologies to ladies who are against vintage fur. I know there’s a lot of debate on views of faux or vintage fur, and I respect everyone’s opinions, but it is my sincerest hope that this will not turn into a debate on the subject. If you want to express your views there is a long thread on the Fedora Lounge devoted to this subject.
Steph
October 20, 2010 at 9:44 pm (14 years ago)>Really cool, I don't have anything else to say… :)
Debi
October 20, 2010 at 9:49 pm (14 years ago)>Ohhhhhhhhh…I am so excited! I absolutely love the pattern and can't wait to see it all made up!
BaronessVonVintage
October 20, 2010 at 10:21 pm (14 years ago)>I'm in AWE. Fantastic
eileensbasement
October 21, 2010 at 1:11 am (14 years ago)>I really enjoy these "process" posts. So often you see the finished product and the process is glossed over completely (which I'm guilty of!) I can't wait to see the finished project!
Meg
October 21, 2010 at 3:10 am (14 years ago)>That fur is gorgeous. I'm glad it is getting a second life instead rotting in a closet or a trash heap — the coat is going to be a treasure when you're finished!