
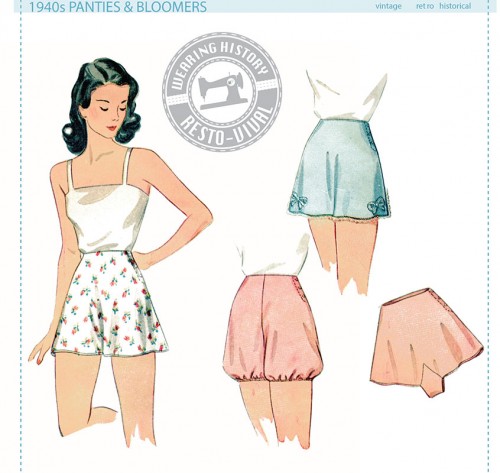
This tutorial is for the 1940’s Panties & Bloomers Pattern, Wearing History #4005.
If you purchased your pattern prior to 6/22/16, please see this post before continuing.
To make the 1940’s Panties you will need to insert the crotch piece into the panties front and panties back. This is applied similarly to a gusset at an underarm. The panties front, panties back, and crotch piece are all cut on the bias, which means you must ease the pieces into one another since none are on straight of grain.
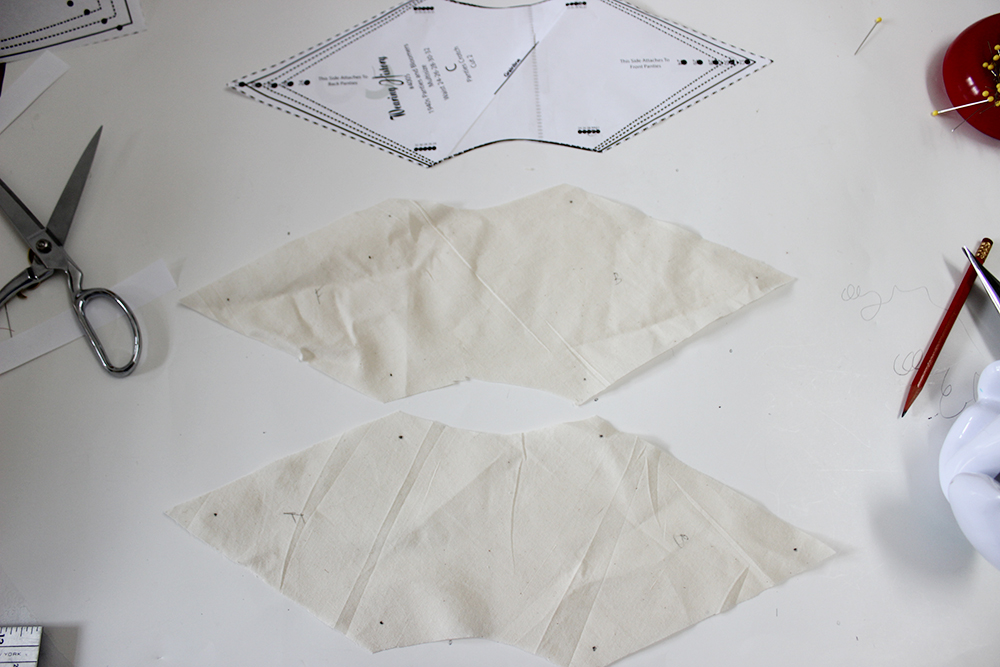
For this tutorial you will need your pattern, your mock up fabric, thread, a method of marking, scissors, and pins.
NOTE: I sewed the tutorial using muslin fabric. I suggest you try this on a mock up fabric as well to become familiar with technique before attempting on your final fabric. If you use satin or another wiggly, slinky, fabric, you may require more pins and easing when you sew.
ALSO NOTE: Test your method of marking on your fabric before attempting to sew, so you make sure the marking will come out of the final garment. Since this is a mock up I used pencil. For your final fabric you may chose to use chalk, removable marking pen, or thread marking- whatever comes out of your final fabric.
We will cove two techniques that can be used. The first will be the one as used in the original period pattern. The second is an alternate method which can also be period accurate, but was not included in the original sewing instructions. Use whatever method is the easiest for your fabric and application.
Prepare the Panties Front & Back
No matter whether you chose the first or second method, prepare the panties front and back the same way. We will be marking the WRONG SIDE of the fabric. It’s very important you don’t mark the RIGHT SIDE.
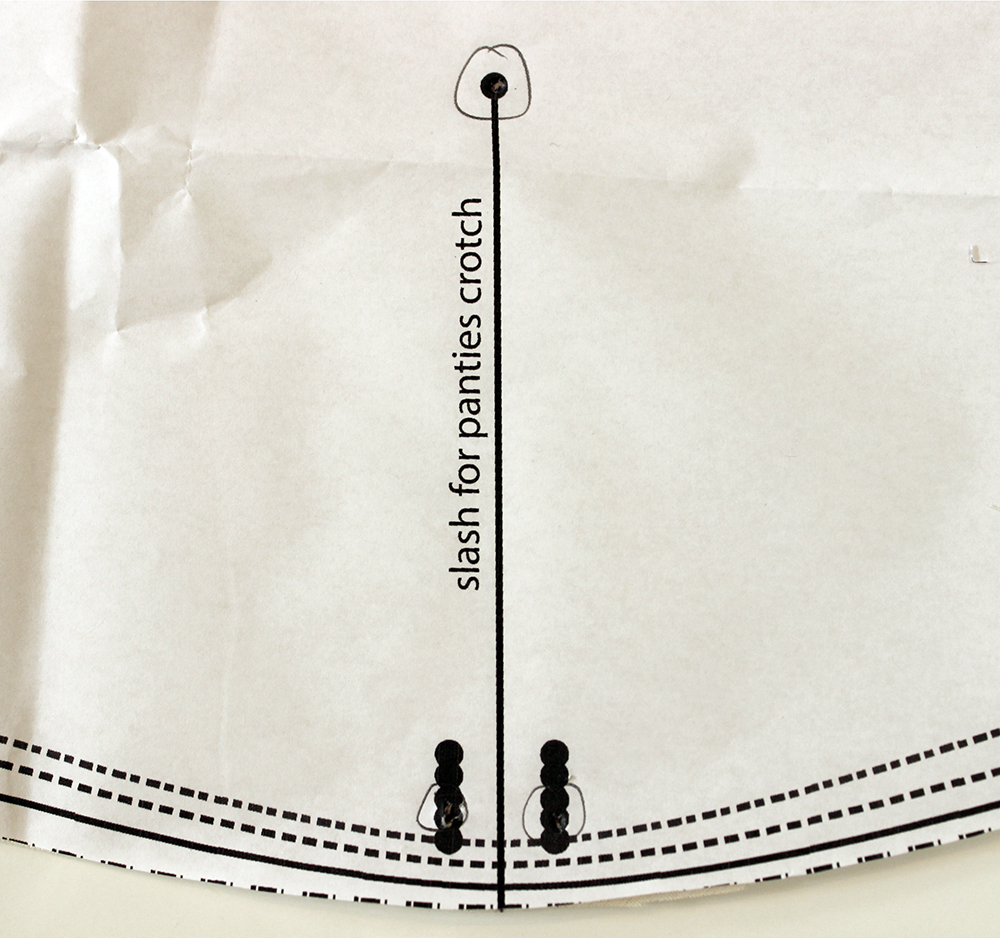
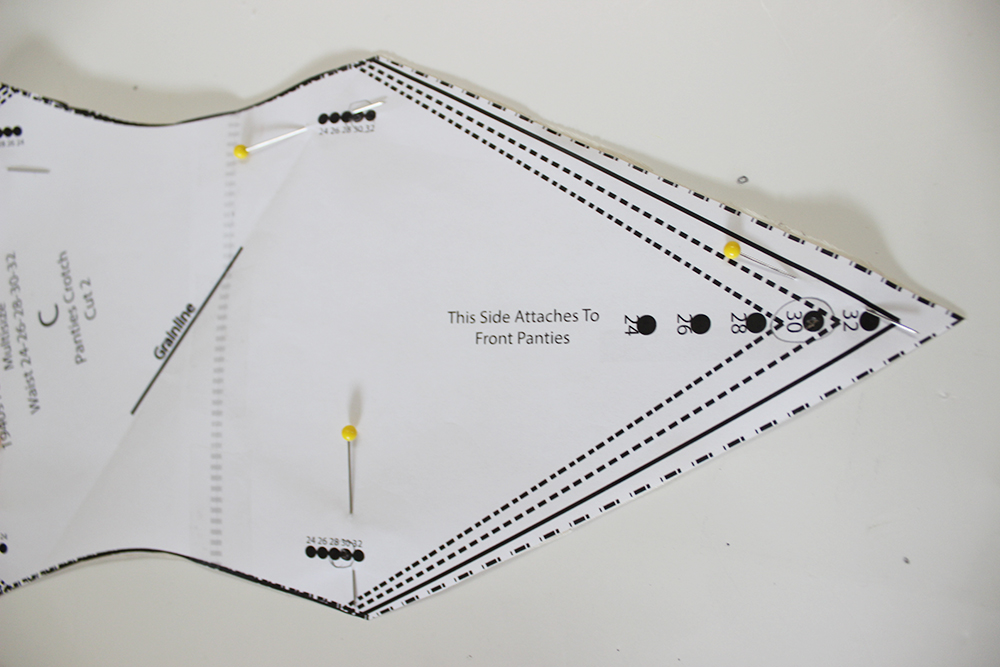
Circle the dot that marks the size indicated. My pattern is cut for size 30″ waist. It is the second to largest size, so I marked the second to bottom dots and the top dot (the top dot is the smallest size 24″ waist, second is size 26″ waist, etc). These are the dots you will transfer to your pattern. Poke through the dots and mark on your pattern. Also mark the bottom of the slit.
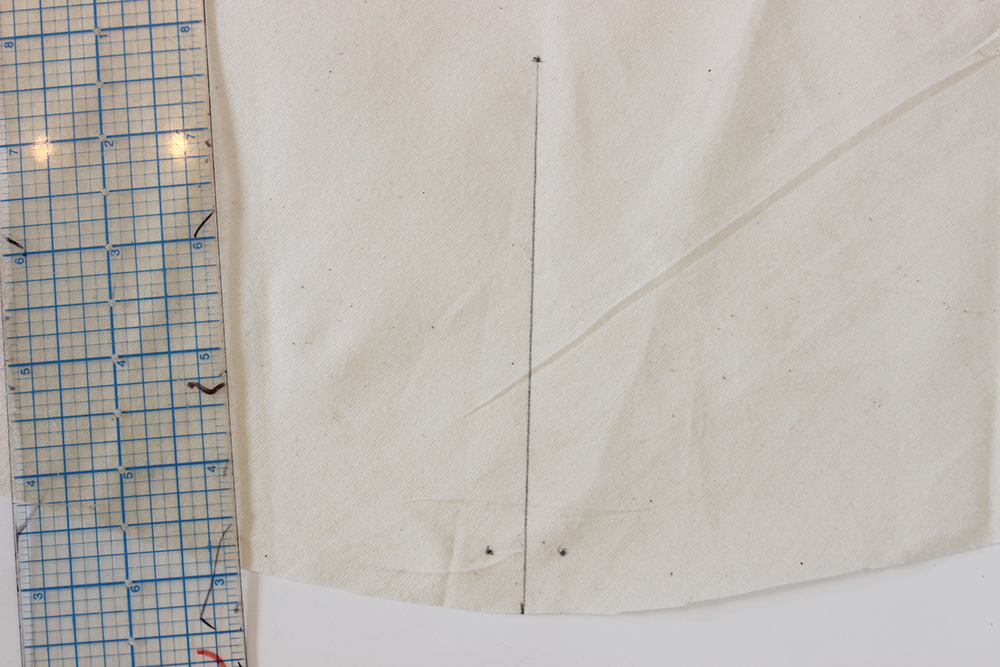
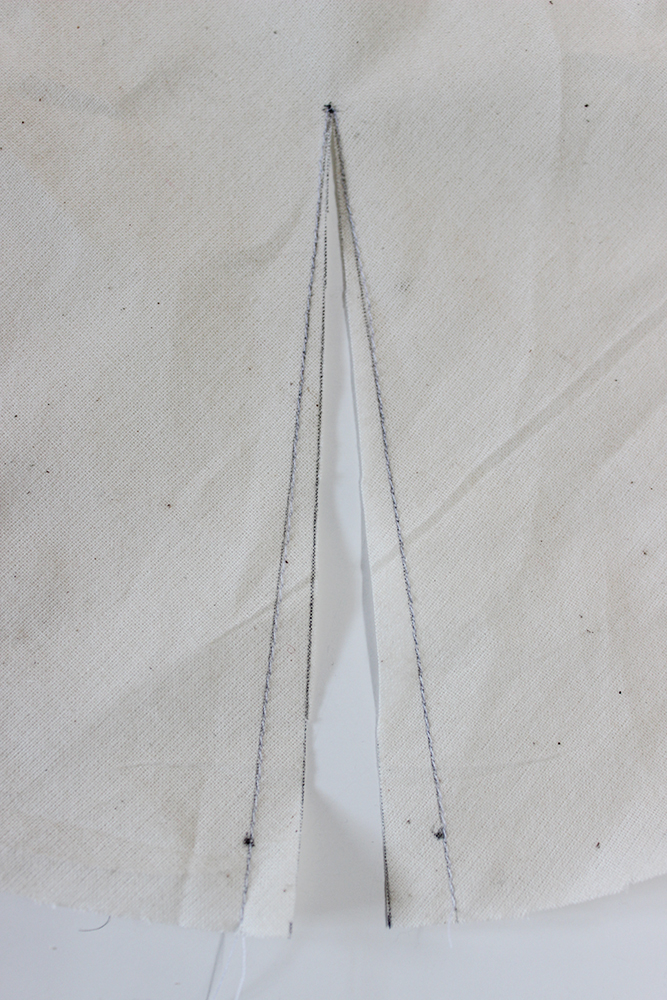
Connect the top dot to the bottom slit. Make sure your dots are visible for you to work with.
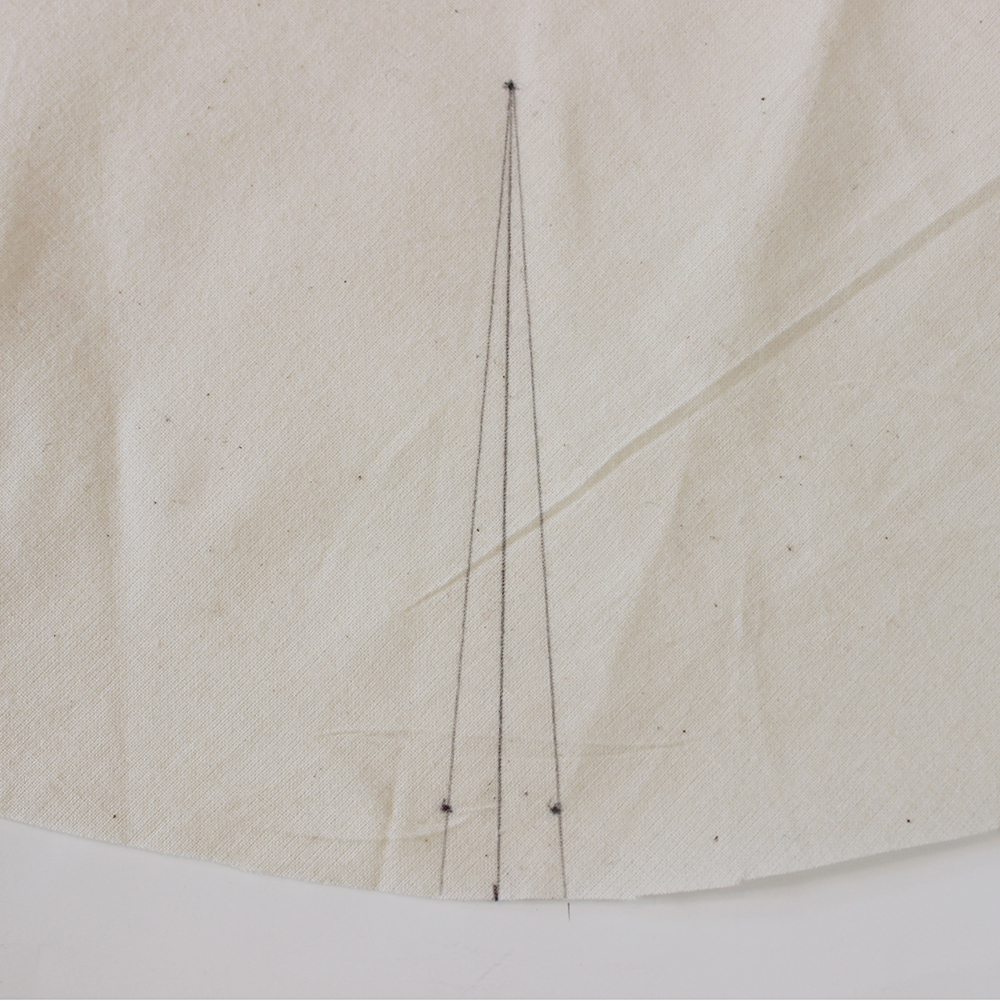
Now connect your dots to the top dot, as shown. These lines will the the STITCH LINE. The center line is the CUT LINE.

Mark both the front and back the same way. Note that the back slit is longer than the front slit. This is how the period pattern was originally drafted and is how it’s supposed to be. Remember, these markings should be on the WRONG SIDE of your fabric!

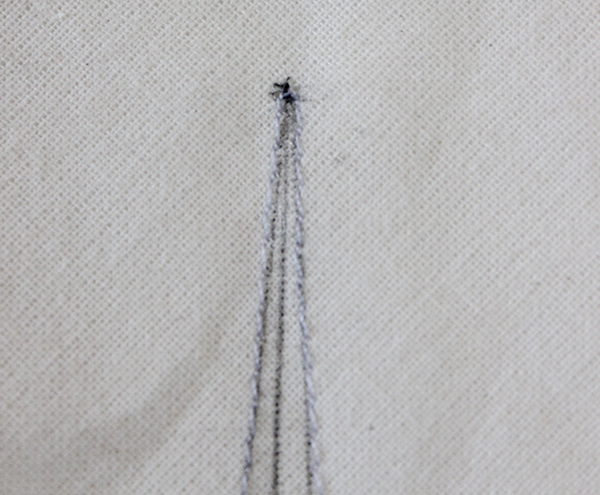
STAY STITCH on your stitching line. I went up one side, went over at a right angle one stitch, and went back down the other side. I allow one stitch across at top because it makes it easier to get in there and cut my slit.
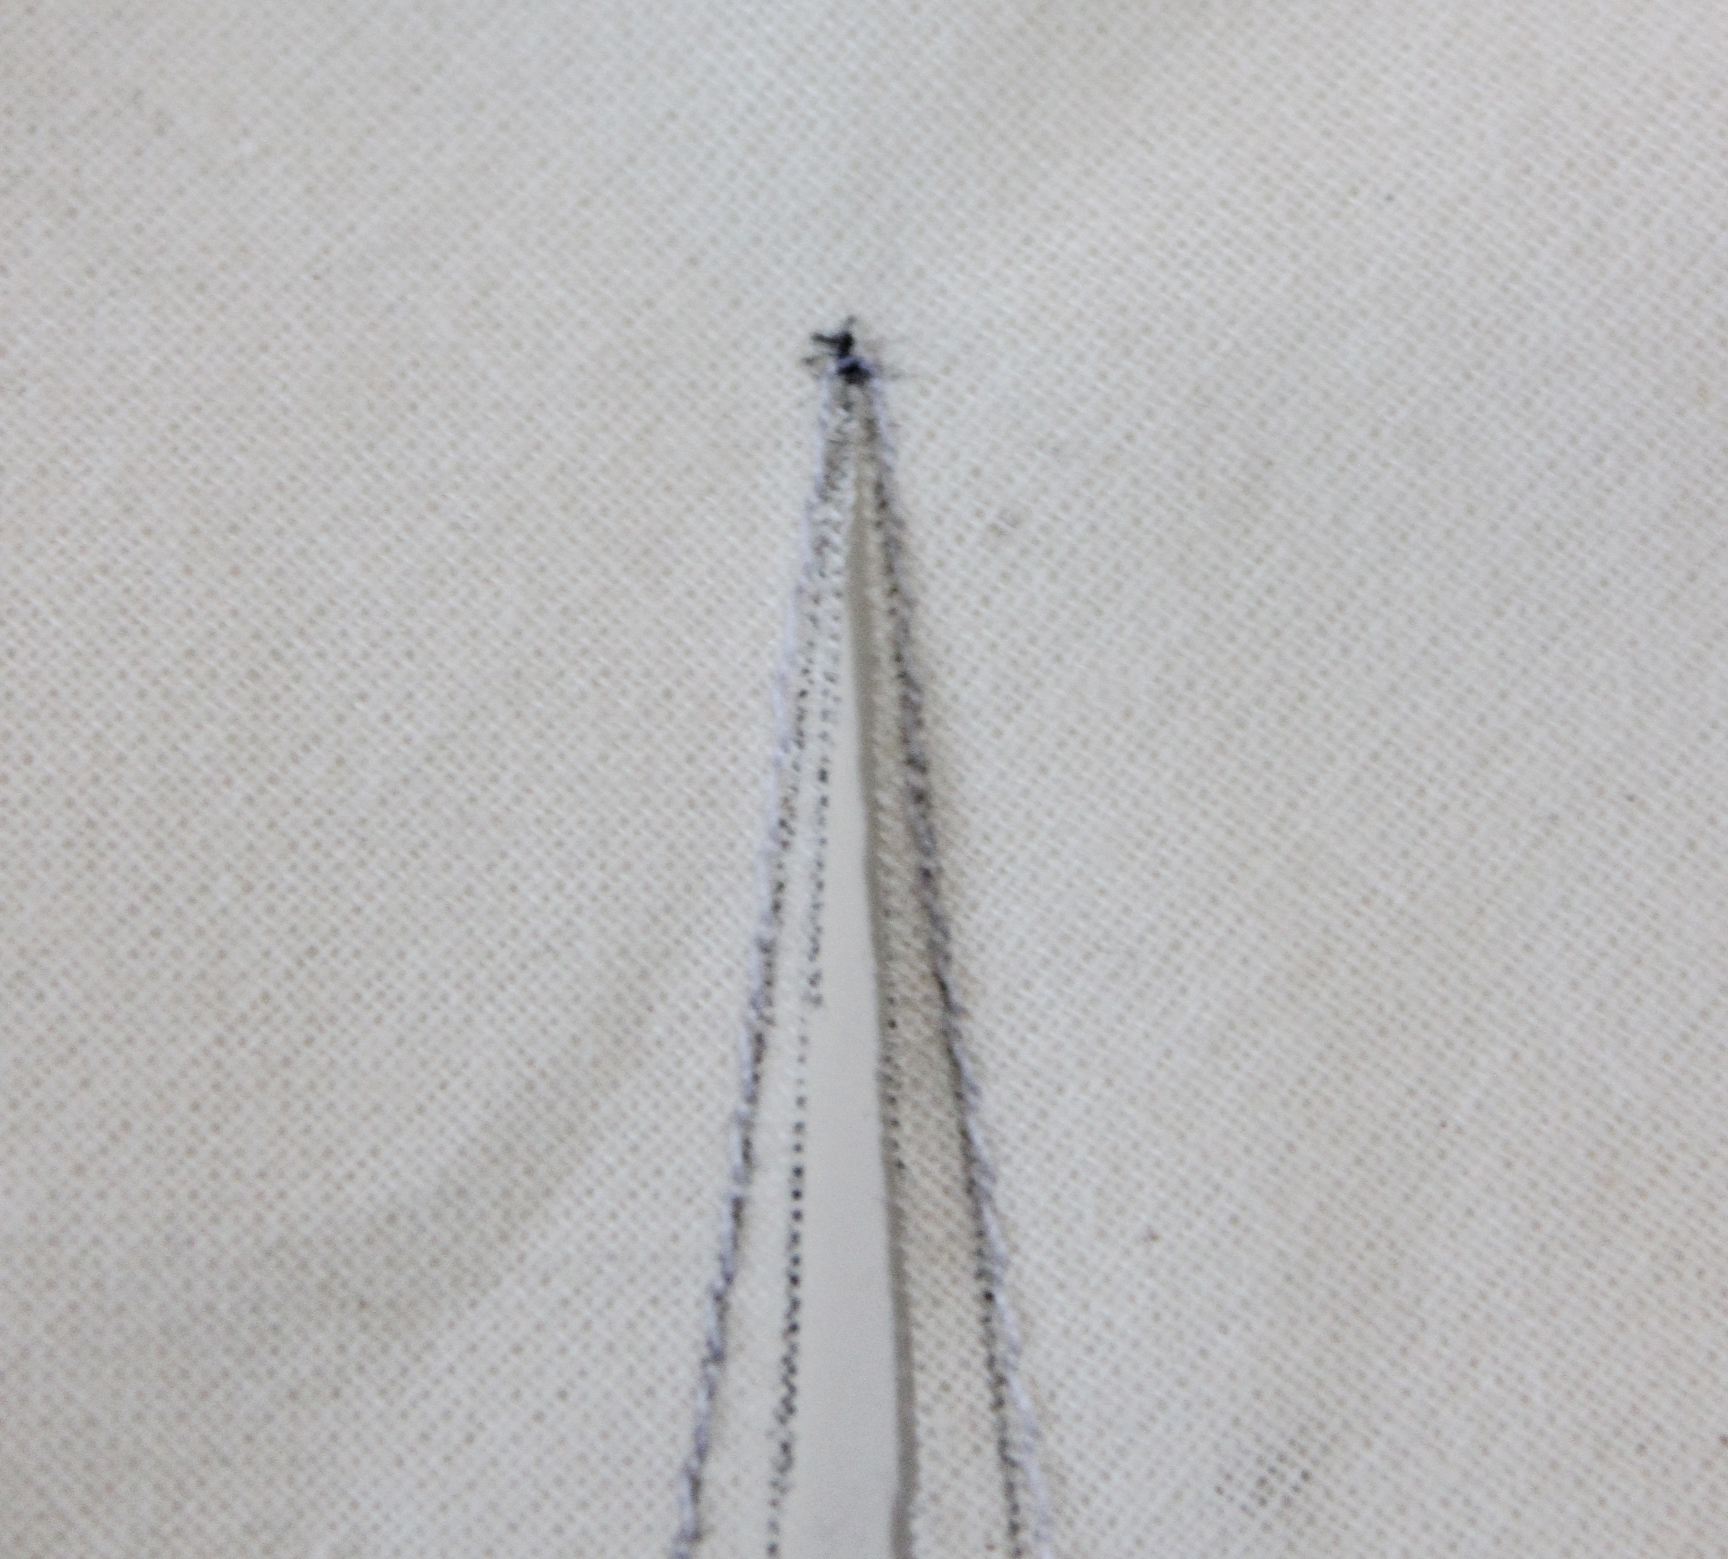
Now cut up the center mark for the slit, stopping close to the top dot, but NOT SO CLOSE AS TO CLIP THROUGH IT! Make sure you allow a little bit of thread there.
SIDE NOTE: If you’re concerned about fraying you can add a little circle of fusible interfacing to the top of the slit BEFORE you do your stay stitching. Stay stitch and then clip. The fusible interfacing will help with stability. You can also try some fray check at the top of the slit, but be careful because it may bleed into your fashion fabric and be visible. Test it out first.
Set the front and back panties aside while you assemble the crotch piece.
Assembling the Crotch Piece
Mark your dots on your crotch pieces, just like you did on your panties front and back, marking the WRONG SIDE of the fabric.
Remember, you’re cutting two mirrored pieces. Mark both.
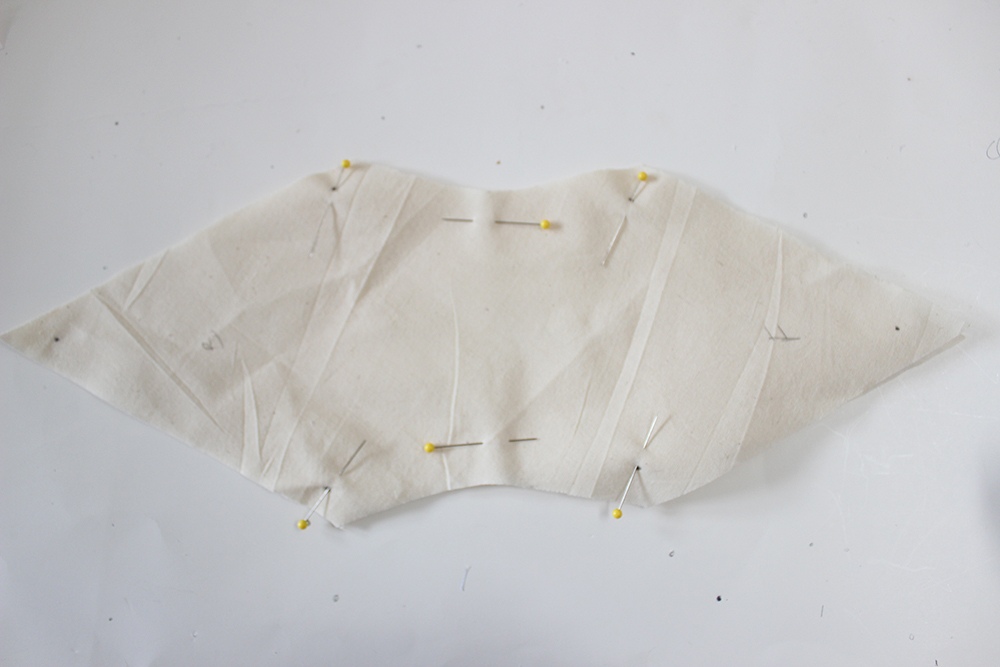
Pin the pieces RIGHT SIDES TOGETHER from dot to dot on the inside curves.

Stitch starting at the dot. Stop ending at the dot. Make sure you back stitch before starting and after stopping. Clip your curves.
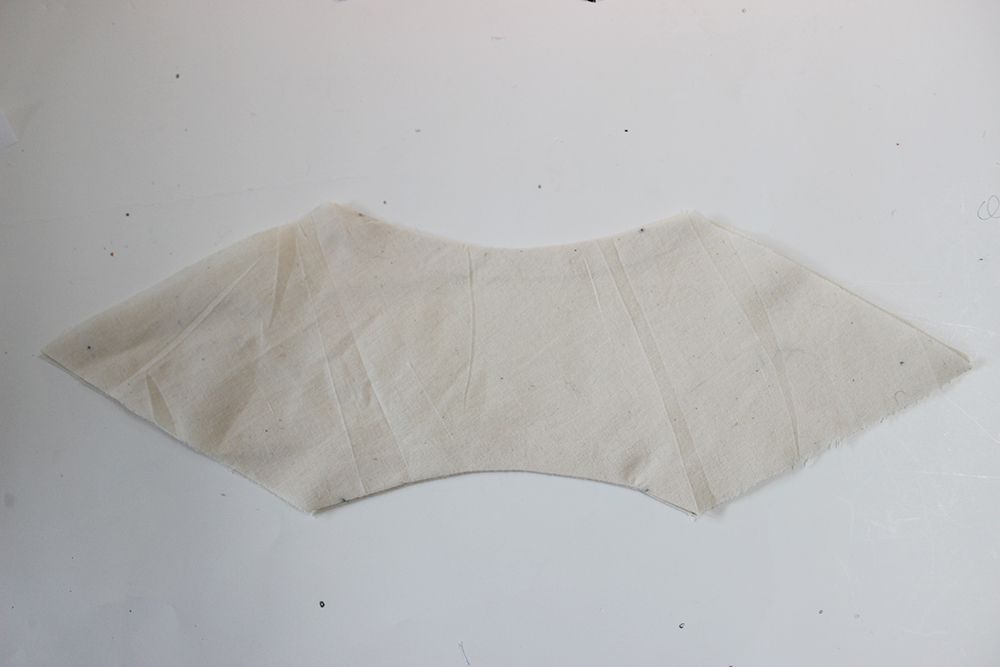
Turn the crotch piece RIGHT SIDE OUT and press.
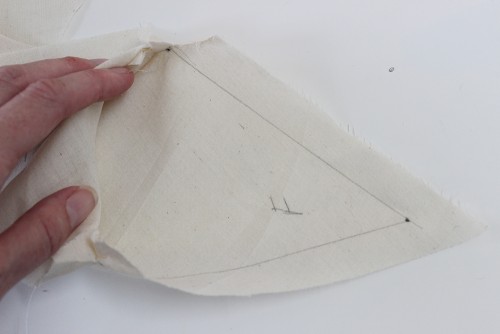
Mark a stitch line on both the front and back on the WRONG SIDE by matching the dots. It might be easier if you do this before sewing the sides, but I forgot and did it afterwards. I also marked an F for FRONT and B for BACK. Note that the inset for the back is longer than the front, so this helped me keep track of them. I also marked an F on the front panties and B on the back panties on the inside. If doing this in final fabric, make sure your marking method will come out!
Period Method Of Sewing Inset
The most crucial parts of sewing the inset will be marking the STITCH LINES and the DOTS. That’s why marking them, as in previous steps, is so important. Because the slit has little seam allowance, notches were not included in the period original as it would weaken the seam. So match those dots and seam allowance!
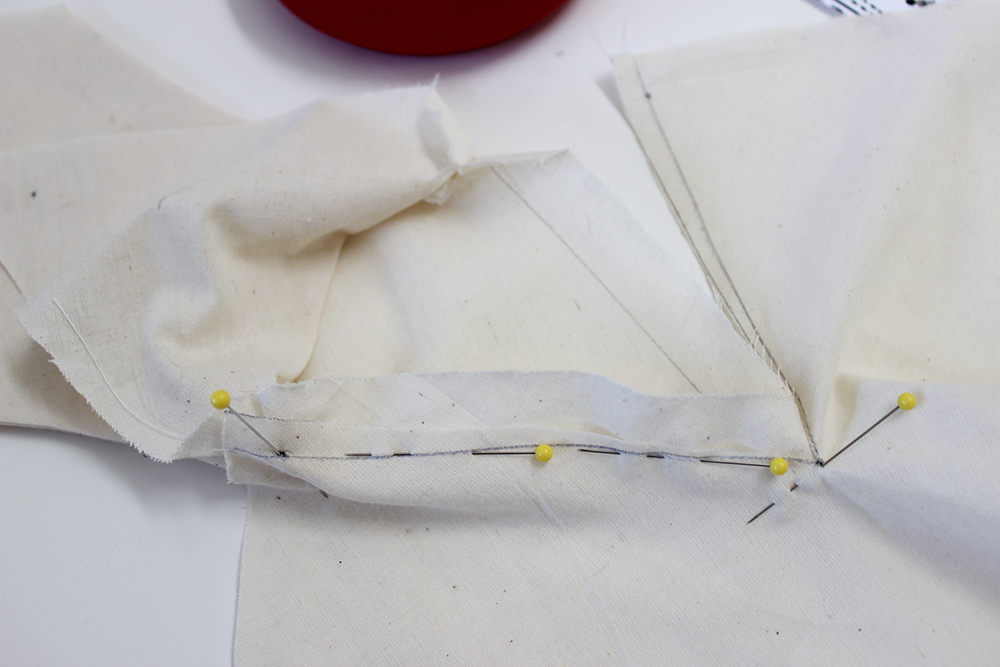
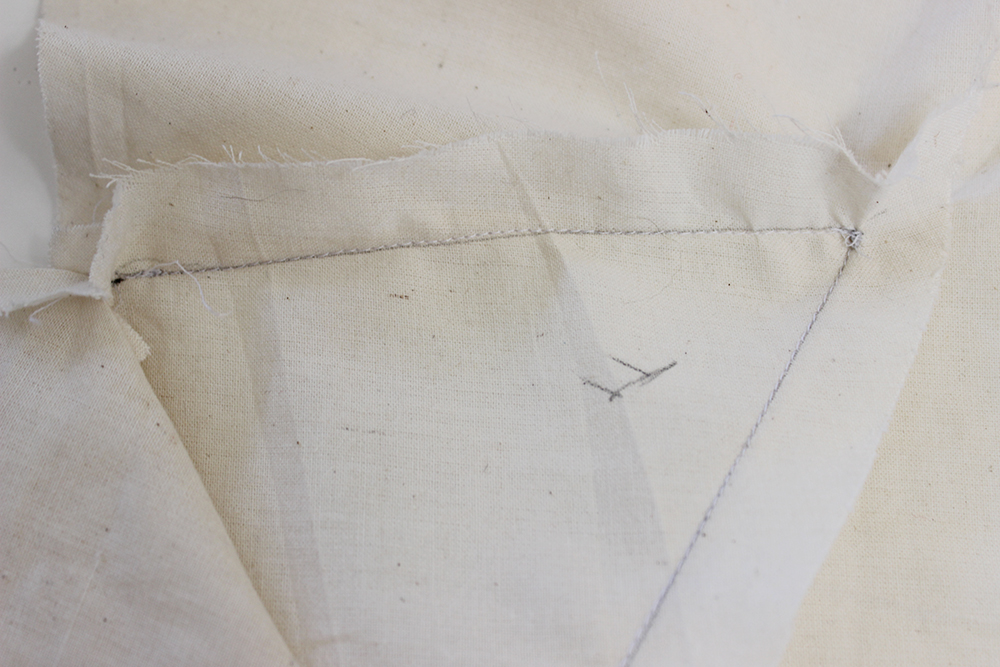
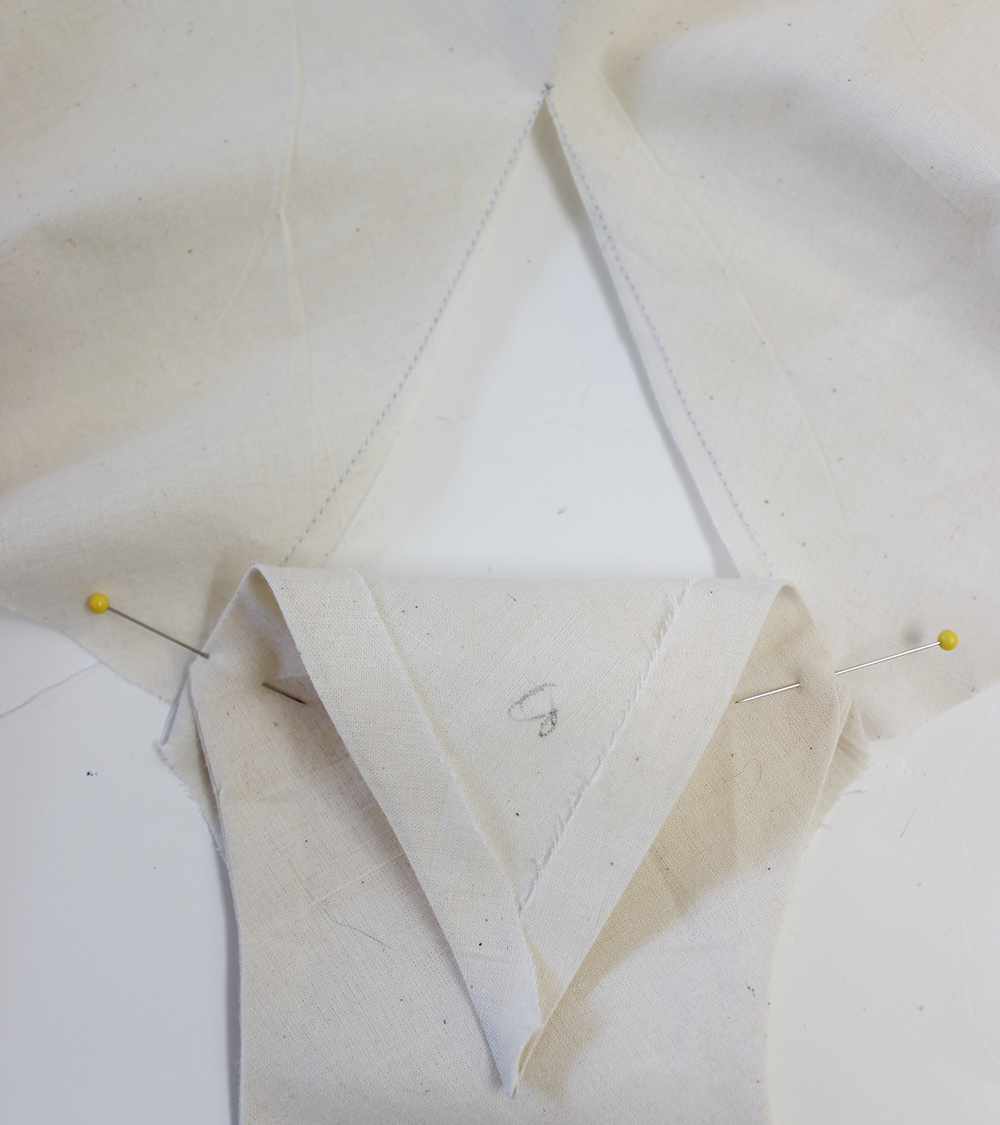
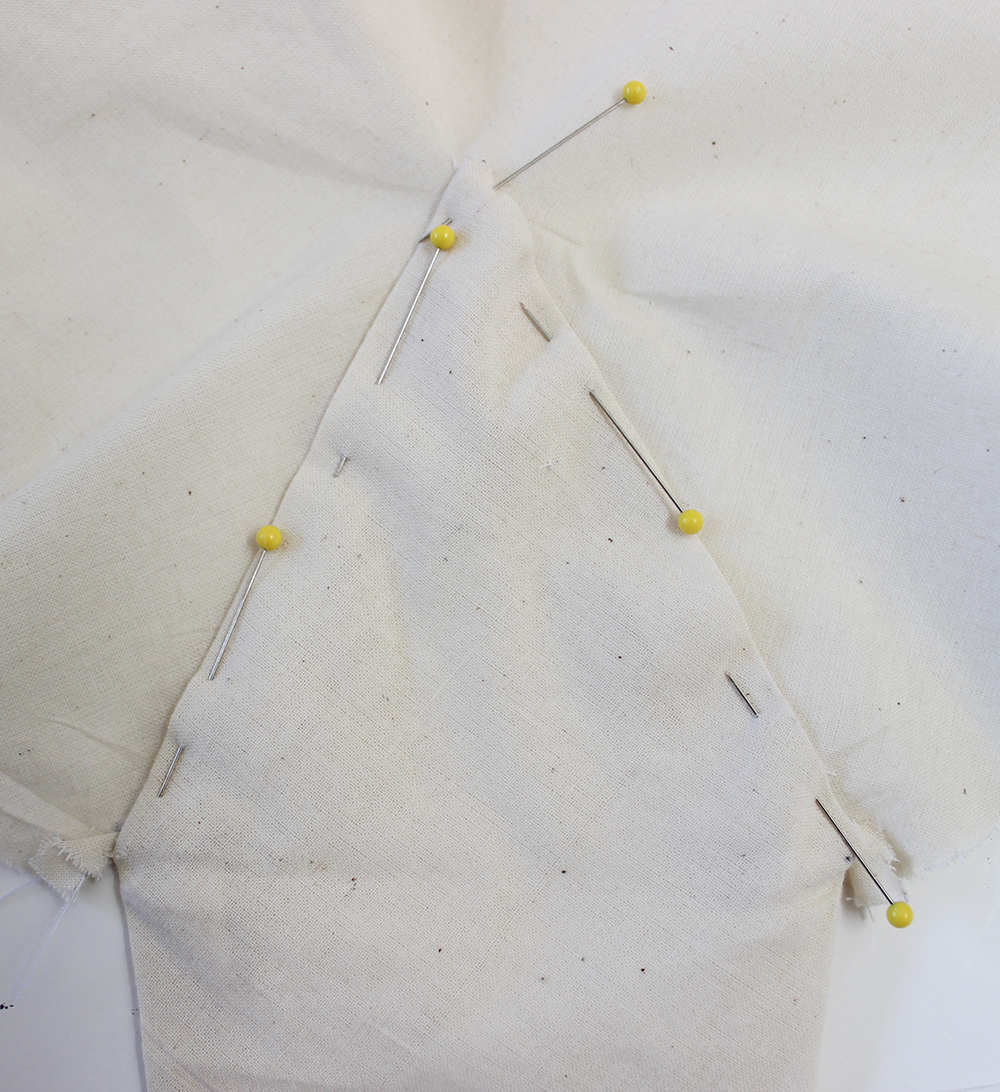
We work in this method with one side at a time. For the first seam, match your dots on the panties piece at the bottom of the slit and top of the slit, as shown. Make sure you’re matching RIGHT SIDES TOGETHER and working on the WRONG SIDE of the fabric. The seam allowance will be different on the panties crotch inset than it will be on the slit. That’s perfectly right. After you’ve pinned the top and bottom dot, pin along your SEAM LINES, as you marked on your pieces.
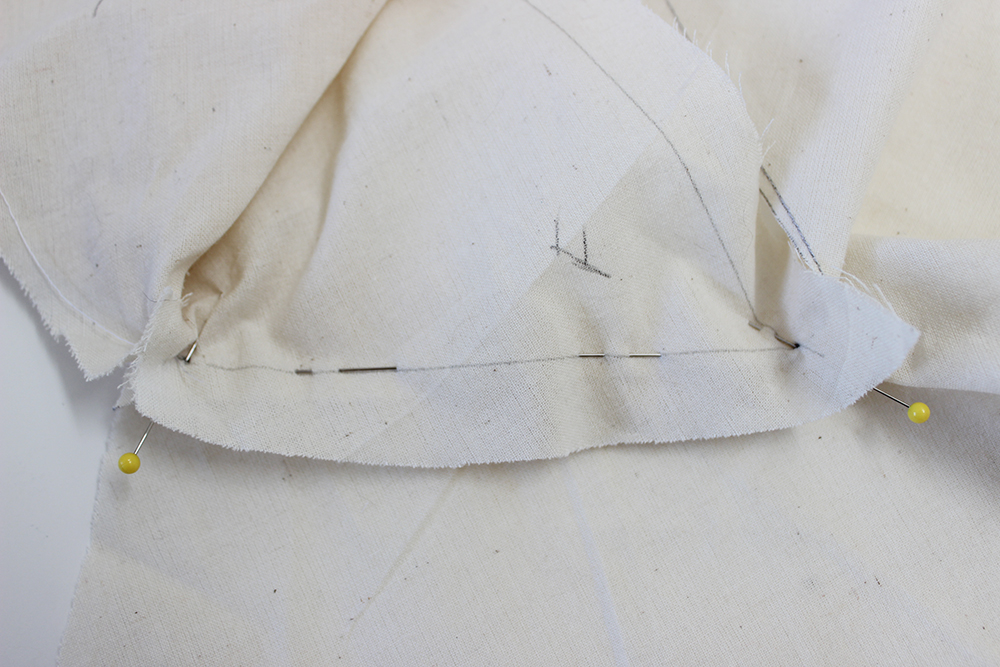
This is what it looks like on the panties crotch when you’ve pinned correctly.

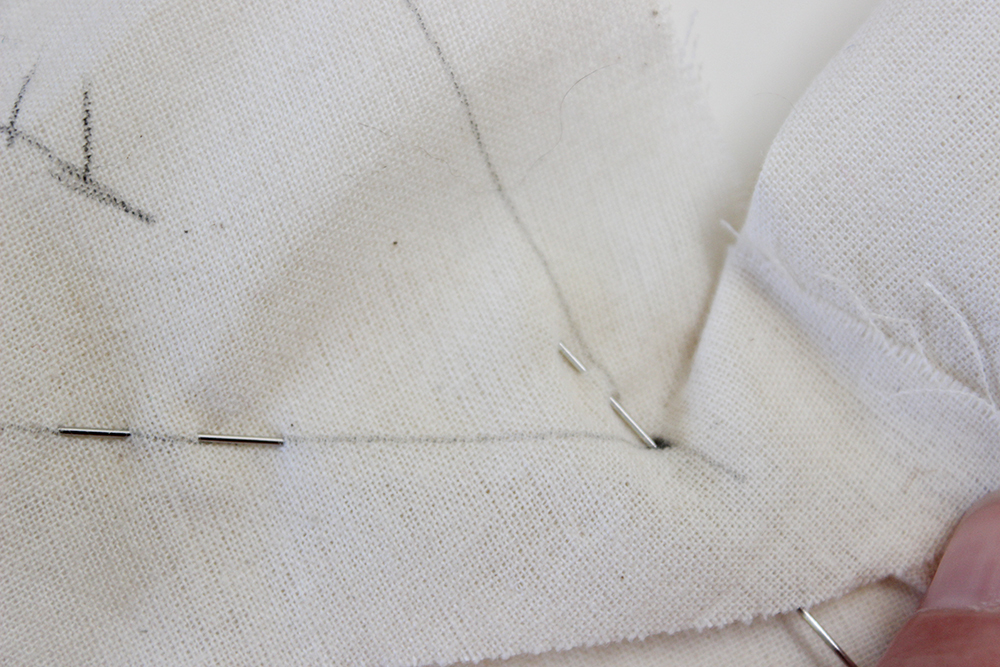
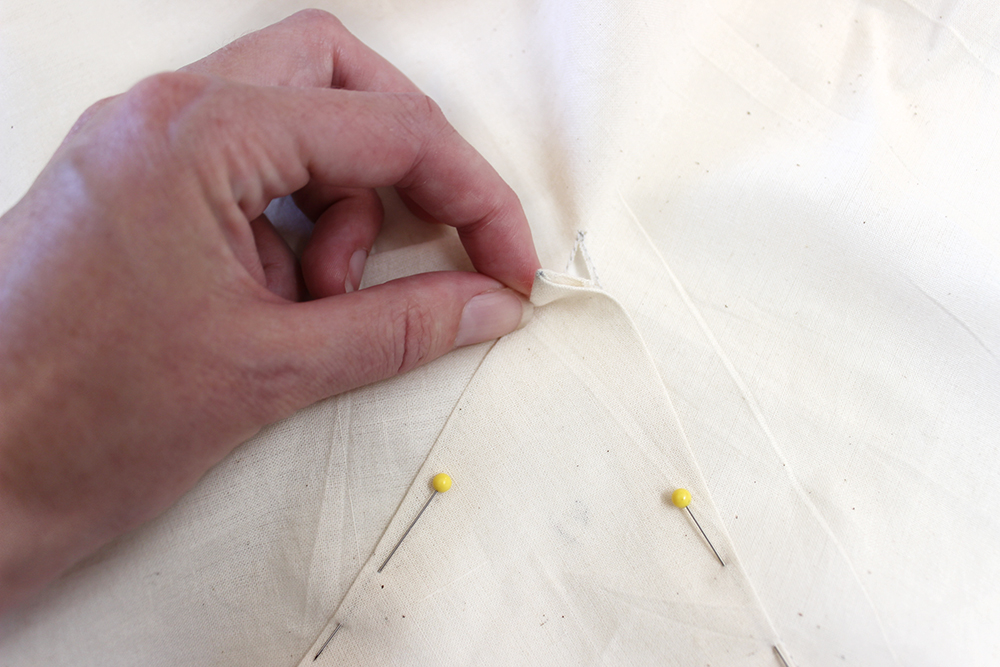
Here’s a close up of the top of the point when properly pinned to help you visualize.
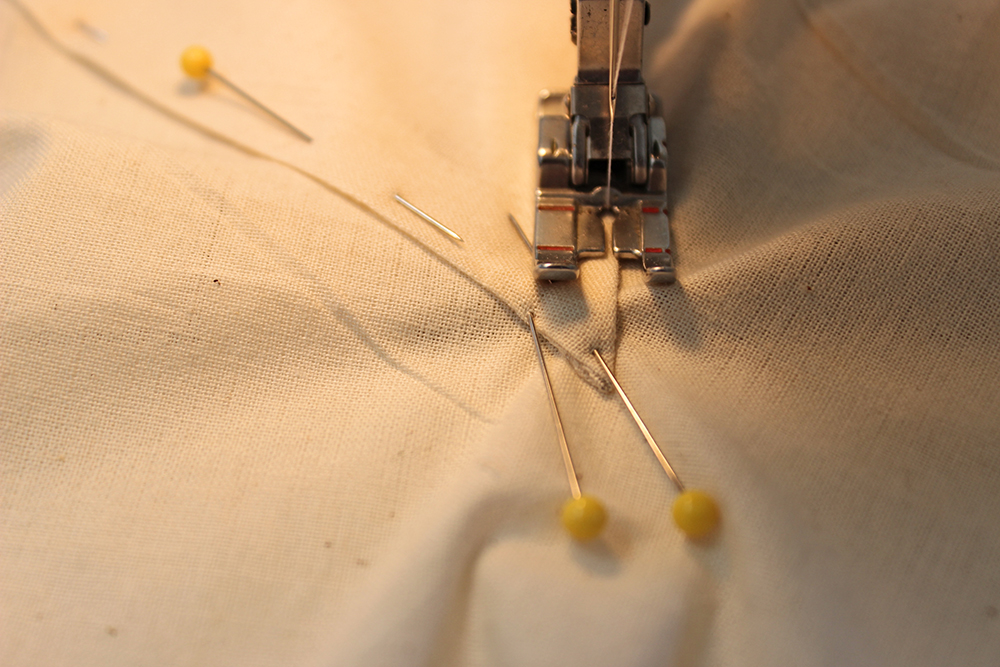
Machine stitch starting at the dot by the panties hem. Back stitch. Stitch slowly along stitch line. Stop stitching at the top dot. Back stitch. MAKE SURE you catch fabric there at the top. It’s fiddly work, but if you can get close it will make turning easier. Stitching as shown, with the smaller seam allowance visible to you while you sew on the machine, is easier.
Now, PIVOT on that point. Match the bottom dot of the panties hem on the other side. Pin at the dot and the stitch line, as done on the previous side. Make sure you smooth out near the point so you don’t get a pleat or gathers there. Slowly stitch from the top of the point and down to the hem. Back stitch at the start of the stitch line and at the end.
Because this can be hard to visualize I made a quick video to help explain what you do after you’ve sewn the first side of the inset:
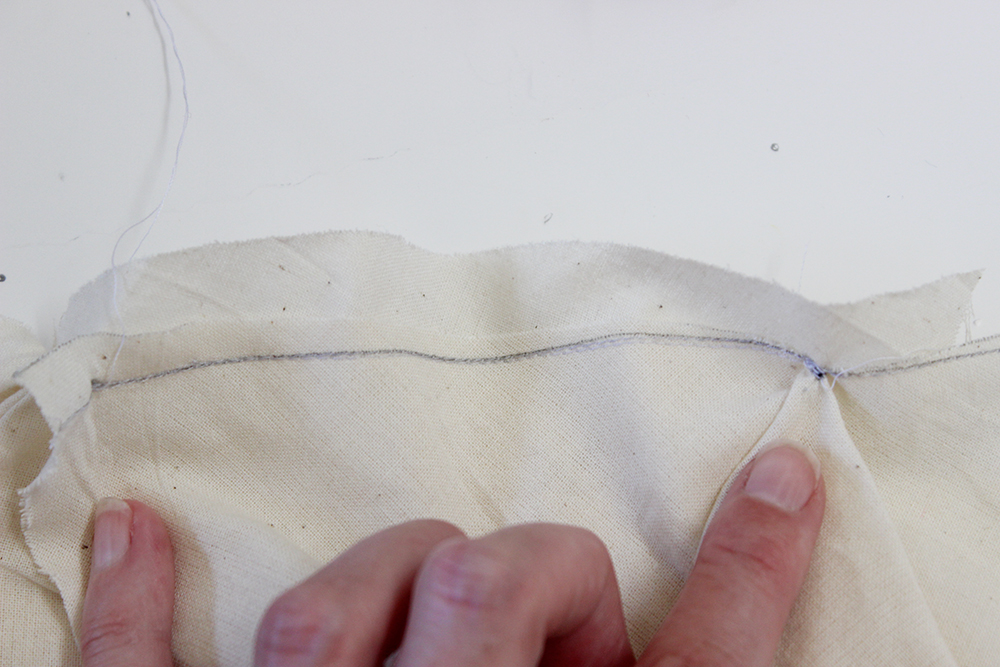
This is how the inset should look from the inside after you’ve finished sewing it.
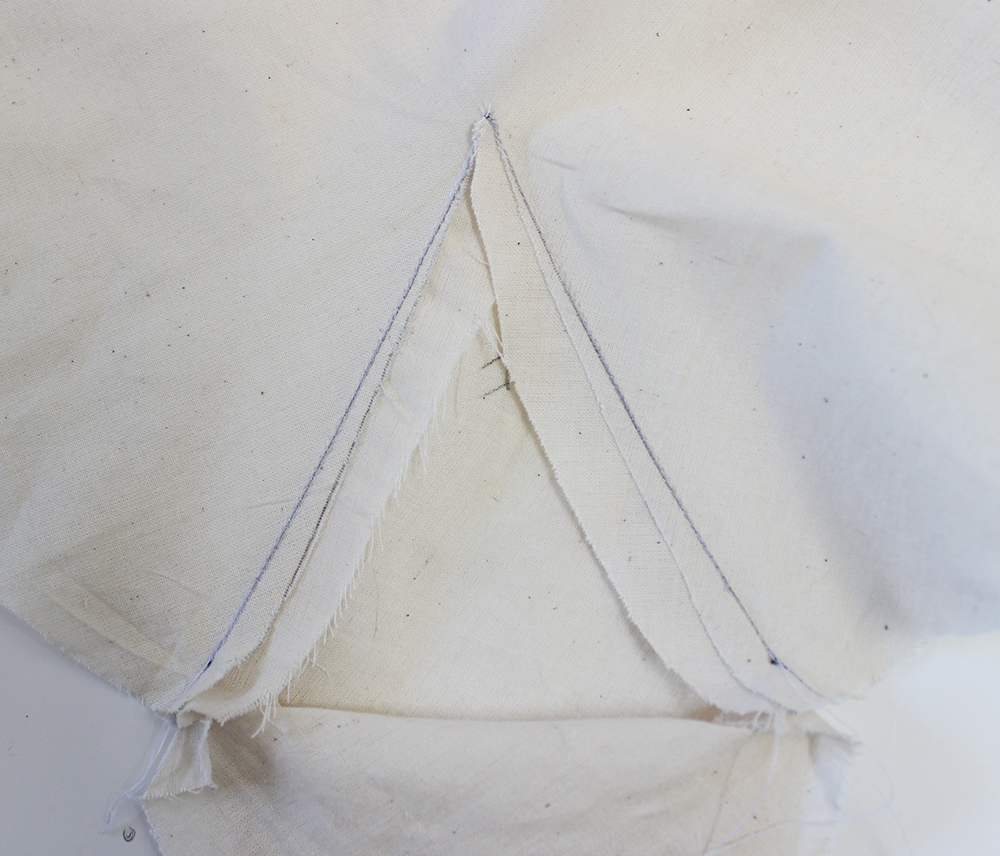
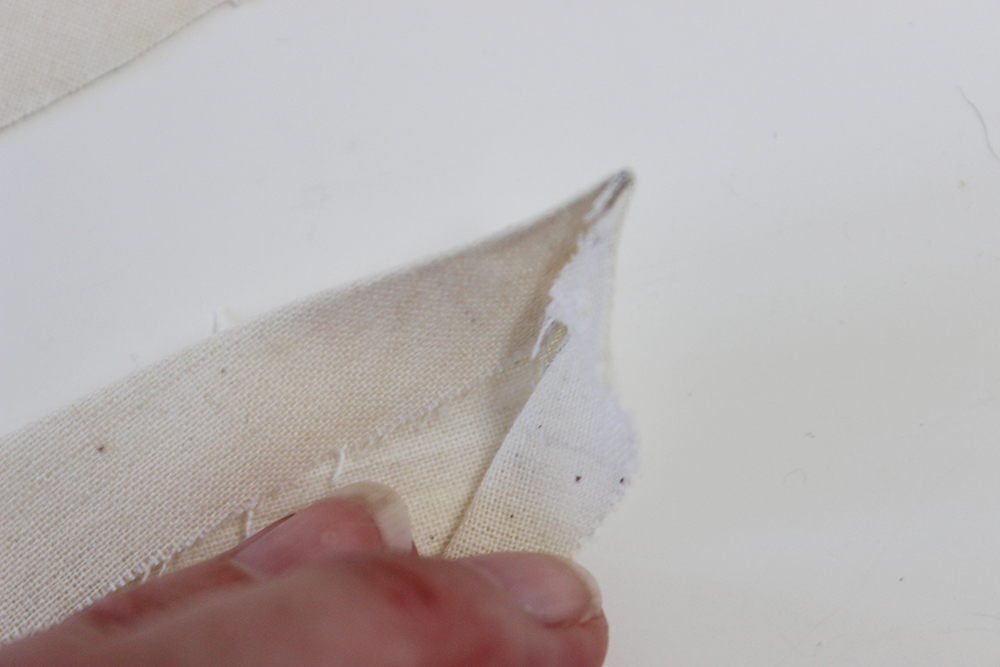
Now press the seam allowance TOWARD the crotch inset/gusset thingy. Clip the top of the point so it can become enclosed in your crotch facing.
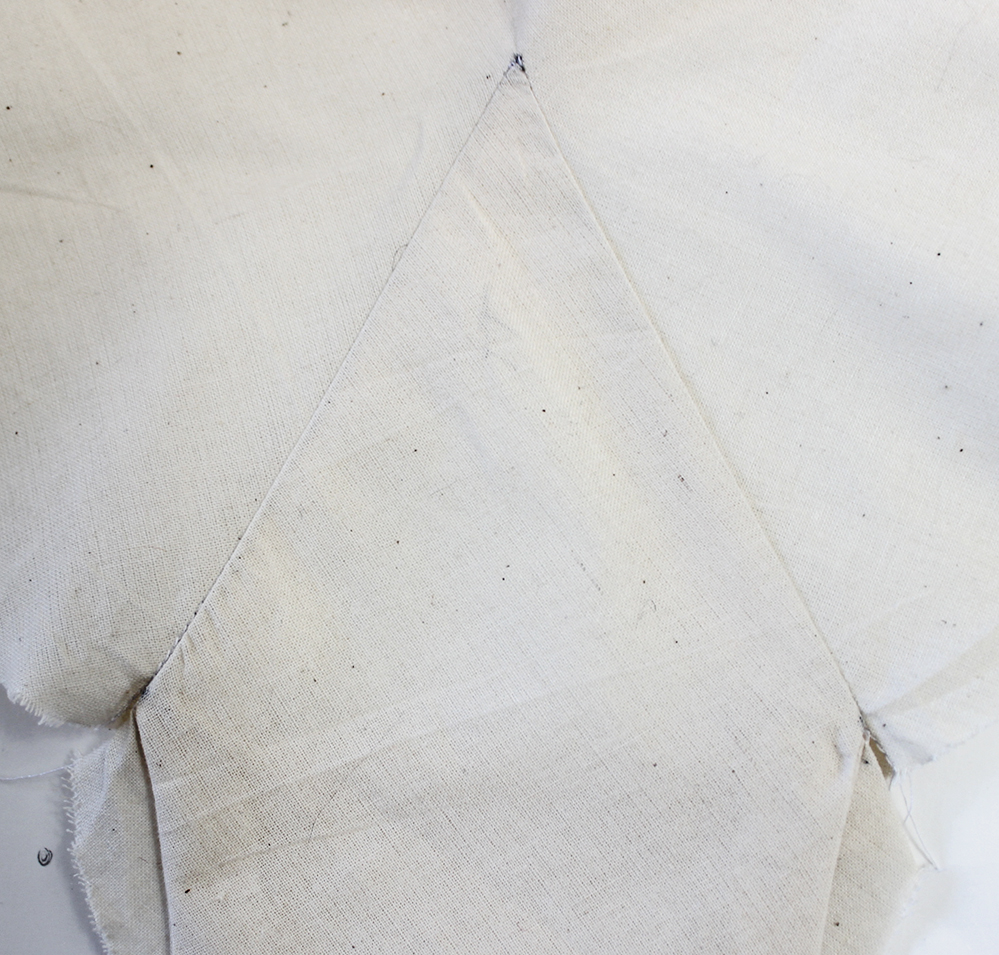
This is what the gusset should look like from the OUTSIDE when you’re finished. Look at that nice, clean point!
If you’re worried about fraying at the top of that point, I suggest interfacing at the top as mentioned previously. I have also seen period originals with a little satin embroidery stitch around the point there to secure it (you can see the same on some Victorian corsets with gussets). I’ve also seen a little flower or lace appliqué applied there to help prevent fraying. It looks risqué, but it had a purpose!
If you don’t like the idea of the close slit, I suggest you try the modified version, as given next:
Lapped Seam Application
Lapped seams were quite the thing in vintage eras. It’s how you got all those fabulous pointed insets in bias cut 1930s dresses. It gives a nice, clean edge and can sometimes help ease in those hard to fit pieces. This method was not included in the original period instructions, but it’s a perfectly acceptable technique and could be period appropriate.
First, make sure your stitch lines, dots, etc, are marked as with prior applications. Also make sure your stay stitching on front and back panties are done and cut up the slits.
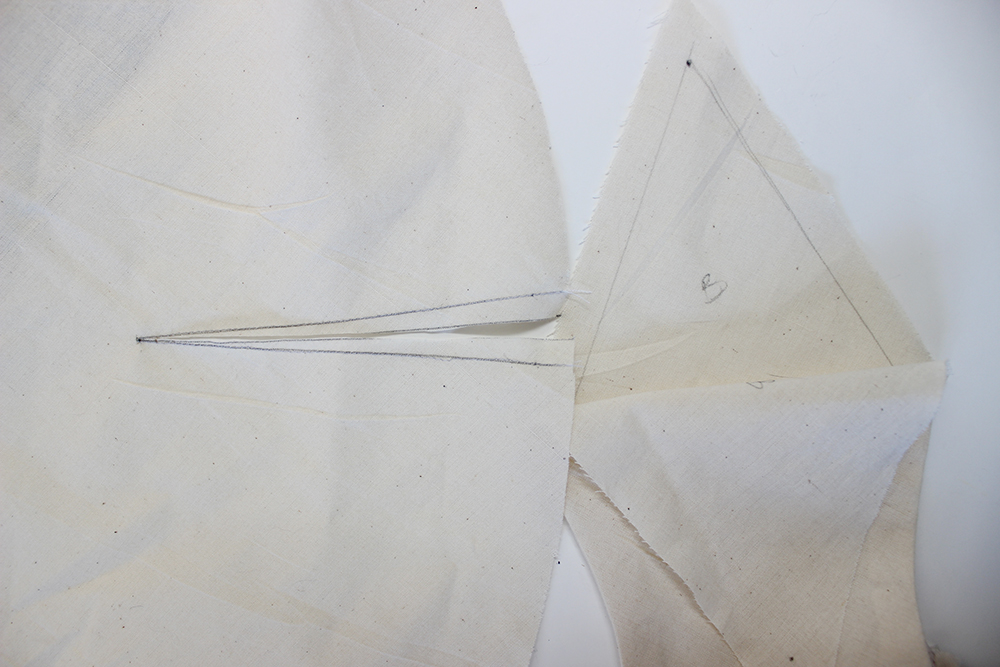
Grab your panties piece and the crotch piece, as done before. I’m working with the back panties this time.
Press under your seam allowance on the crotch piece point. I didn’t grab a photo of this, but you’ll be pressing under on the stitch line you marked.

Clip the top of the point. You’ll need to clip this because the seam allowance needs to be tucked inside the point and not fray.

It should look like this. My seam allowance is tucked in at the edge as well, so no fraying will happen at all, kind of like a rolled hem. The second photo shows the really narrow edge I turned in. When stitched down, that will contain all the seam allowance and keep the top from fraying. It takes a little bit of fiddling and pinning to get that point without having a cut edge stick out. Just keep playing with it until you get something that works for you.
Now we’ll do similarly to the last technique. Match your dots together at the hem of the panties and bottom of the panties crotch gusset. Clip in at your corners and hem so you don’t get bulk down there when you sew.
Center your point and pin it down. NOTE- mine was a little longer than the slit, as I could not ease in the excess like in the previous method. This is TOTALLY OK. The top of the point doesn’t matter for fitting. And that extra seam allowance at the top will prevent the slit from fraying.

Pin the point into place. Make sure you place the pins in the direction you will sew.
Stitch your gusset/crotch piece in by topstitching very close to the folded edge. Start at the dot, go up to the point. Put your sewing machine in “needle down position”. Make sure the extra seam allowance at the point is tucked in (I find the point of a pin useful for getting it in there while sewing). Pivot at the top of the point on the needle down position, and continue down the other side, stopping at the dot.

This is how your gusset/crotch piece should look when sewn in from the outside.

And from the inside.
Finishing the Panties Facing
For either method you use, your last step in the crotch inset is to finish the facing.
Work from the INSIDE.
Now turn under your seam allowance on the panties facing that’s been hanging out there, waiting for you to use it.
Pin the panties facing into place, covering all the seam allowance of the gusset. It encloses it all within the facing. Isn’t that clever?
Now just hand stitch that into place.
You’re done!
Hope this helps you master your points!