
Continuing the tutorials for the Air Raid Suit Pattern. We’ve come to the most difficult part, in my opinion. In this tutorial we sew the front fly of the pants.
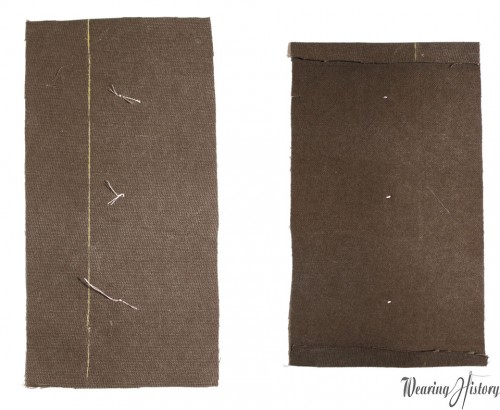
The first thing to do is mark the fold line and the buttonholes.
Secondly, turn under the top and bottom edges 1/2″. Press.
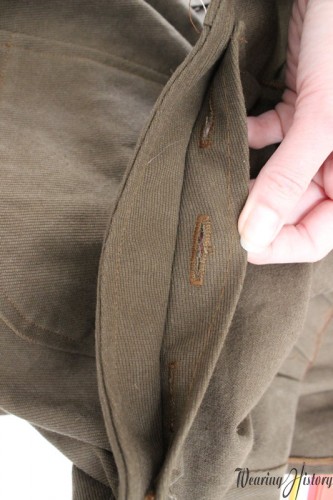
Now you’re going to turn in and press at the line you marked. Here’s a view of the front and back.
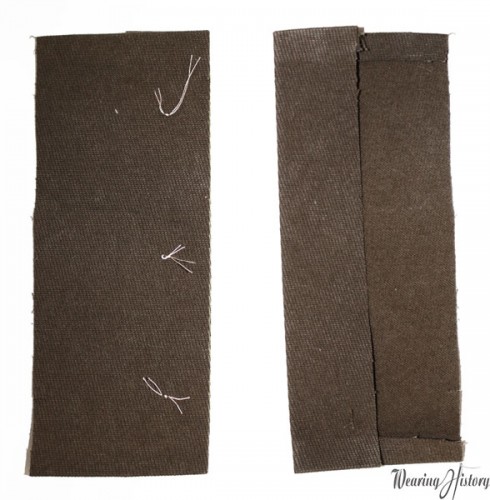
Baste the fold into place so it doesn’t wiggle around when you make the buttonholes.
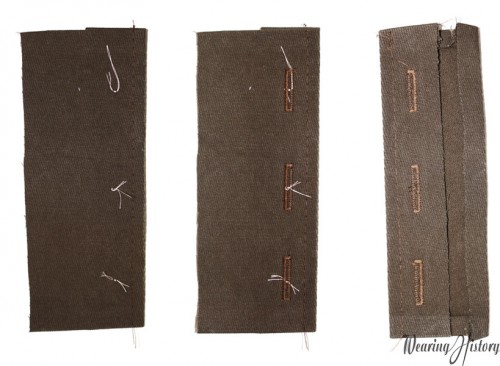
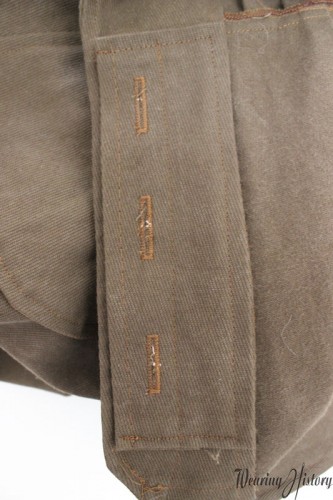
Work buttonholes so they go up and down (not side to side) with the dot being at the center of the buttonhole.
Now fold under the remaining free edge 1/2″ and press (this is the side with the notch on it).

Now you’re going to baste the fly to the facing. Match the notch (see where the arrow points).
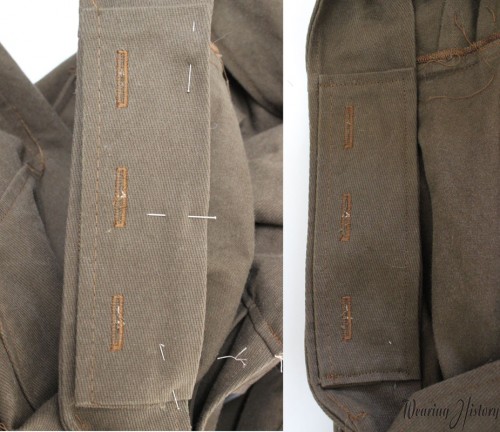
Pin the facing so it aligns with the edge of the facing. Pin it.
After it’s pinned, stitch around three edges of the fly, leaving the front edge open (see photo above on the right).

Then hand stitch the fly and facing to the body of the air raid suit. The instructions say to do a blind hem, but I did a quick whip stitch.
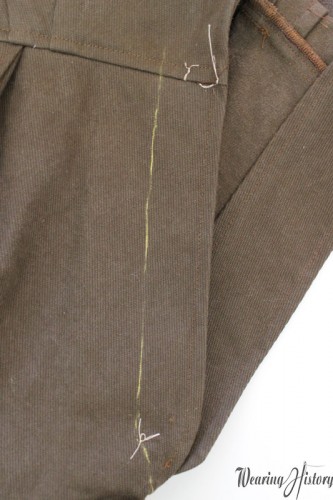
Now turn the Air Raid Suit so you’re looking at the outside. Make sure you’ve marked your stitch line for the fly.

Now you stitch down the line you marked, attaching the FLY and the FACING to the RIGHT FRONT.
Then you lap the right front over the left front. Pin. And stitch through the RIGHT AND LEFT FRONT at the bottom of the curve, securing both together, as shown on the right.
Make sure you don’t catch the back of the air raid suit in these steps!
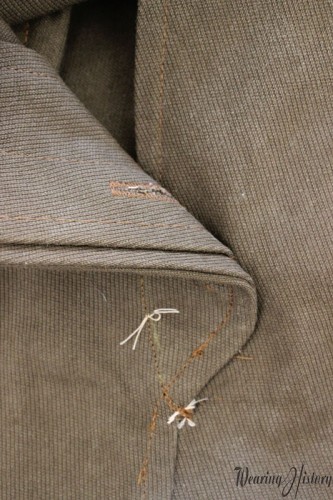
This was taken before the fronts are lapped, but you can see how the fly stitching grabbed the fly.
And on the inside, this is how it looks. It finishes off those insides! Pretty amazing, huh?
And this is how your fly should look when it’s finished!
CONGRATS on finishing this step! You now know how to make a button fly, which many have said is one of the hardest things in garment sewing :)
Next time we attach the top collar.