
Sorry for the delay in posting! It’s been busy, busy around here!
In this post we’ll show how to do flat felled seams. But I’ll also show how to fake it if don’t want to be bothered but still want the look (like me).
– Flat Felled Seams –
This is primarily a technique used in men’s clothing and workwear. Since this counts as workwear, it utilizes these techniques. This type of seam finish is generally thought to be sturdier than others. The most common place you’ll find it today is in nicely made jeans. In fact, you can go grab your jeans and flip them inside out to see if you have something in person to see to get an idea of what these are… but with more and more jeans getting made less and less expensively, more jeans are “faking it”, like we’ll do in the second part of this post.
We’re doing this the way that they did in the original sewing instructions, even though there’s more than one way to pet a cat (what? don’t you like my version better? Poor kitties.) If you want to substitute this for your method, go right ahead. Just remember, and this is important, that our seam allowance is 1/2″. Don’t go making bigger seam allowances or your garment will be too small! If you want more seam allowance you need to add it to your pattern BEFORE you cut it out.
I did these on scraps. Your pattern pieces don’t look like this ;)
You should also try it on scraps so you can figure it out before you do it on your real garment.
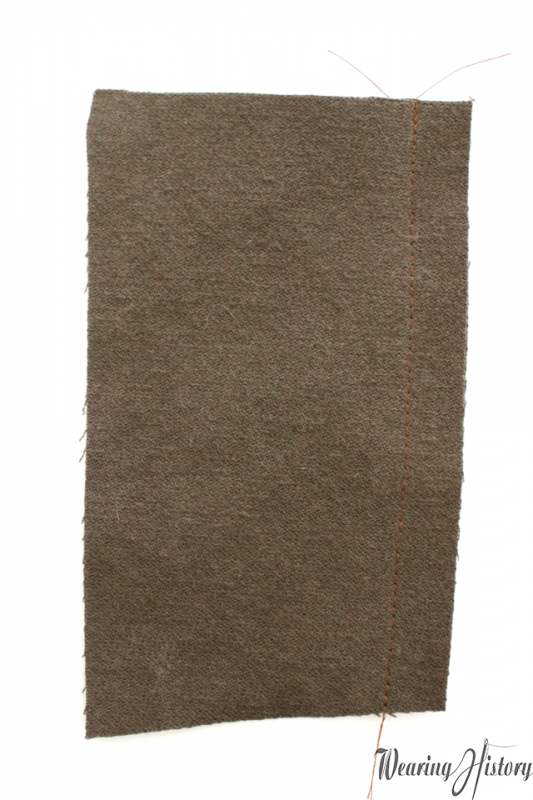
First, stitch 1/2″ from the edge, right sides together.
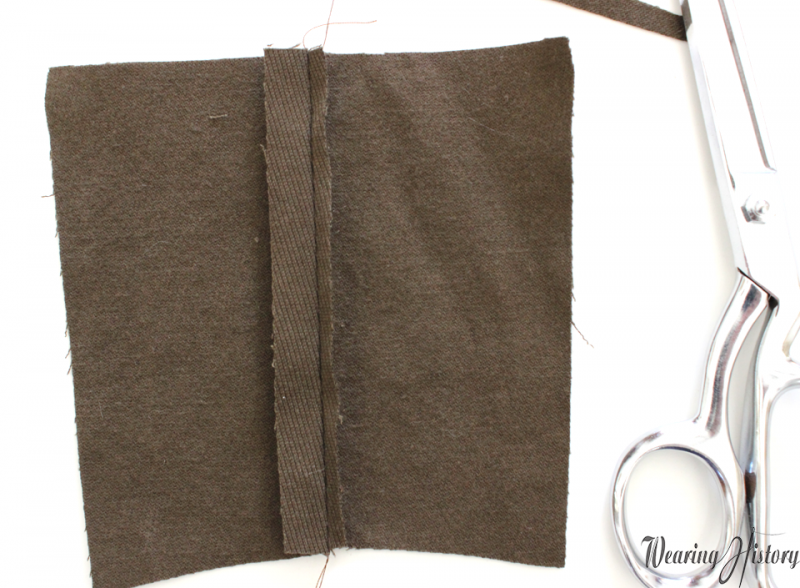
Next you clip your seam allowance to about 1/4″ (or less) on one side only
On the wider of the two seam allowance, fold the edge under about 1/8″, or 3/16″. Give it a press. Don’t burn your fingers! This is fiddly work.
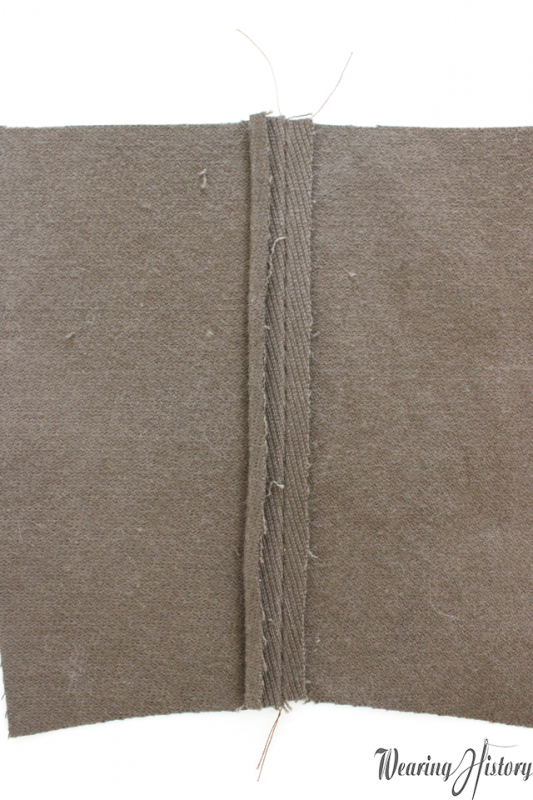
Now press that folded edge to that it overlaps your shorter cut edge. See? Wait, you can’t see it, because it’s hiding behind it. And that’s the point!
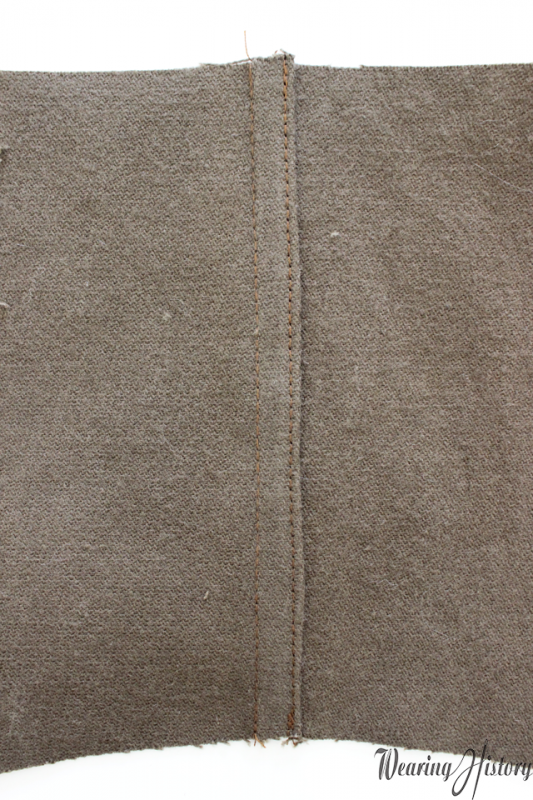
Now edge stitch close to the fold, but keeping your stitching a uniform distance from the original stitch line.
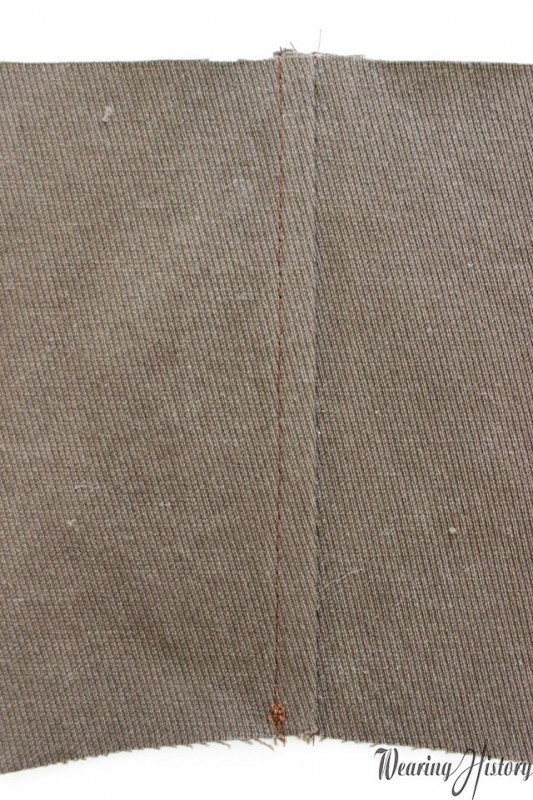
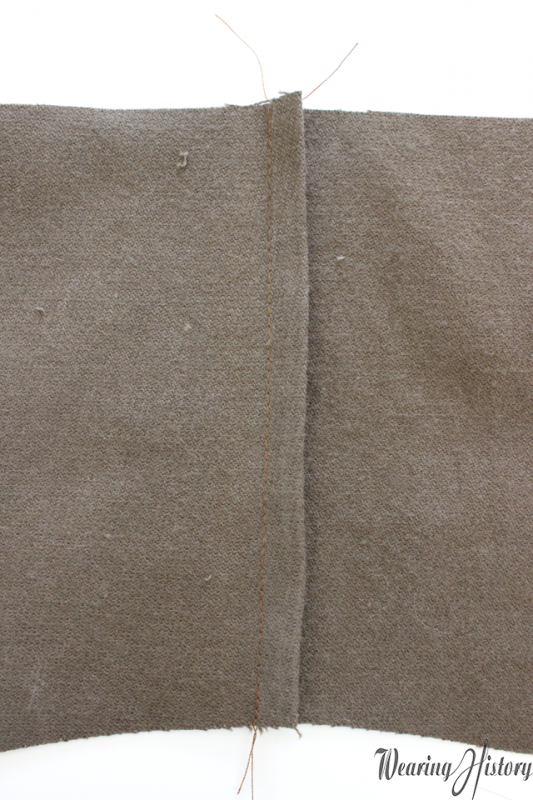
This is how it should look from the right side.
That’s it!
Practice, because it’s hard to get good looking flat felled seams without being precise on measurements. Play around until you figure what works best for you. The main thing is to catch those seam allowances so that they don’t fray, so don’t go too far from the fold or you’ll get little escapees when your garment is washed.
Now, if you’re lazy like me, here’s the cheater method.
– Faux Flat Felled Seams –
This is demonstrated on the shoulder seams of the garment. Fair warning, I did all construction with faux flat felled seams and not real ones. So from here on out, that’s what you’ll see in my construction shots.
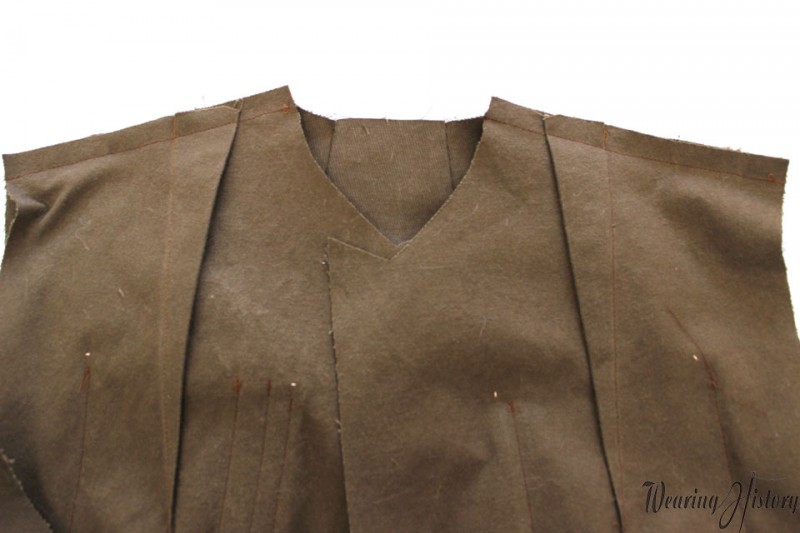
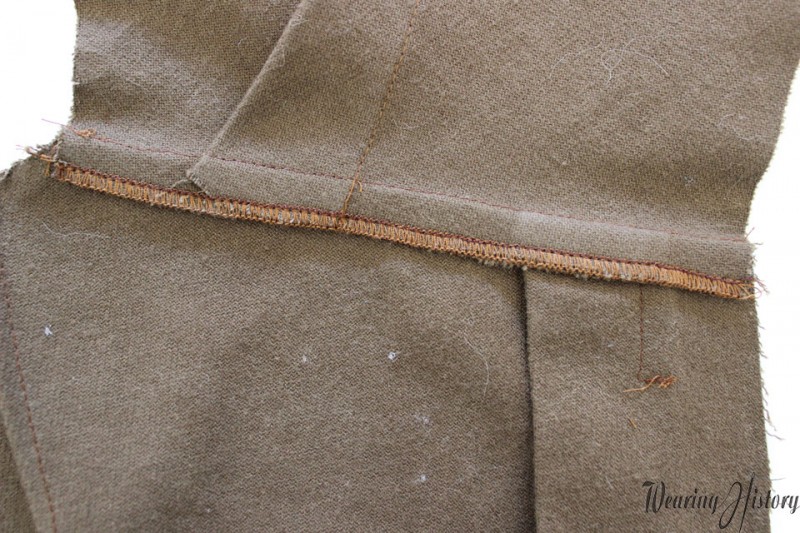
First, join your seams using 1/2″ seam allowance. I’m joining the front bodice to the back bodice shoulder seams in this photo.
After this I serged my seams together. (if you don’t have a serger, figure out another way to finish the edges).
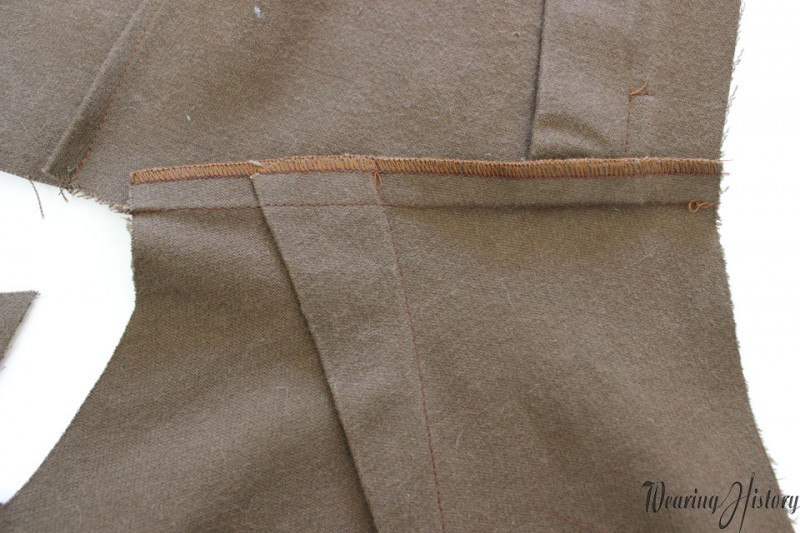
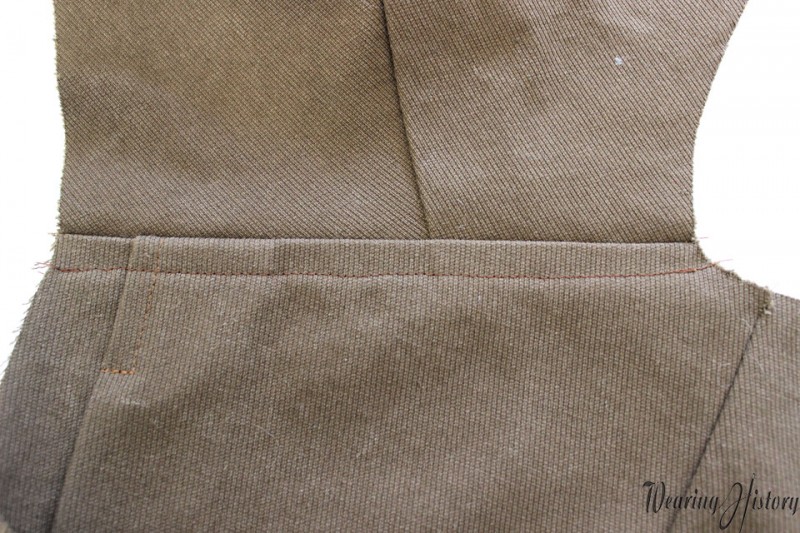
Press your seam allowance in the direction indicated in the pattern. Our pattern has us press them toward the back.
Now top stitch an equal distance away from the original stitch line. I used the width of my presser foot. You can’t see this too clearly because it overlapped the serging.
From the right side it looks like this. Pretty identical on the right side to the flat felled seams, but since I’m not going to wear this as much as someone who did war work in the 1940’s, I really don’t need the extra stability of flat felled seams.
I’ll leave it up to you, whichever method you want to use.
That’s it! Next time we’ll dive into more exciting assembly of the Air Raid Suit!