
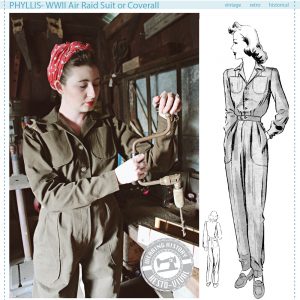
Continuing the tutorials for the Air Raid Suit sewing pattern.
This is kind of a long post, because we’re dealing with two steps. These make more sense if you do them at the same time (at least for me), so plan a block of time to get these couple steps finished at once.
We’re doing the front pants pockets and the front pants pleats in this step.
Fair warning: I was really tired when I photographed these, so my pleats on the pocket piece face in a different direction than the pattern instructs. But it will still help you visualize what to do.
Prepping the Pockets
If you haven’t already done so, mark the pocket fold line and the tuck. You’re also supposed to clip in at the bottom of the extension, but I forgot, so my picture doesn’t show it. Oops?
Turn under 3/4″, then turn in again to the fold line (like a rolled hem) and stitch once, close to the edge. I wasn’t clear from the original pattern if this meant close to the finished folded edge of the pocket, or close to the edge of the hem, so I did it close to the hem.
Do another row of stitching 1/4″ from the stitch line you just made. If you have a 1/4″ foot for your machine, it comes in handy for all this topstitching.
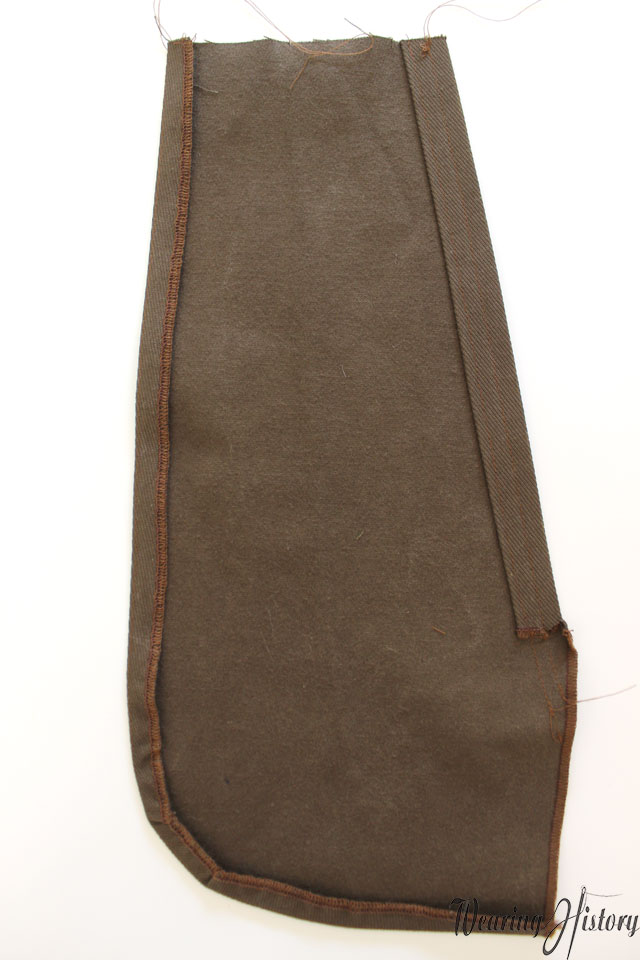
Turn under the curved edge 1/2″ and press. From the back side it should look like this.
Attaching the Pockets to the Pants Fronts
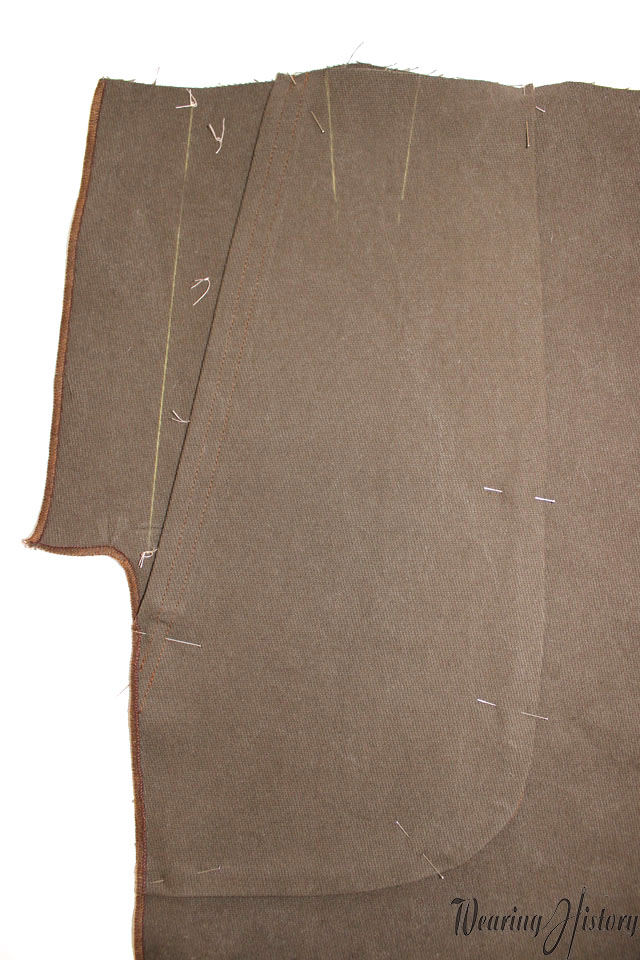
Make sure the pants front pieces are already marked with all the needed markings.
Then, pin the pocket to place.
And then topstitch the curved edge to place, stitching 1/4″ from the edge.
Also baste the top of the pocket to the pants front piece so it doesn’t wiggle around.
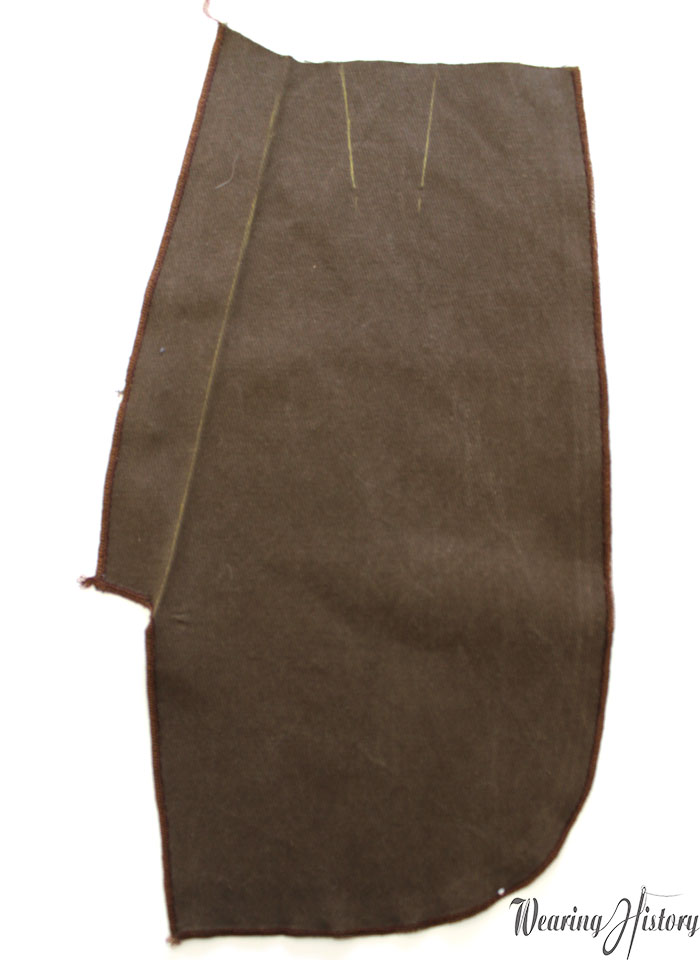
Making the Front Pants Pleats
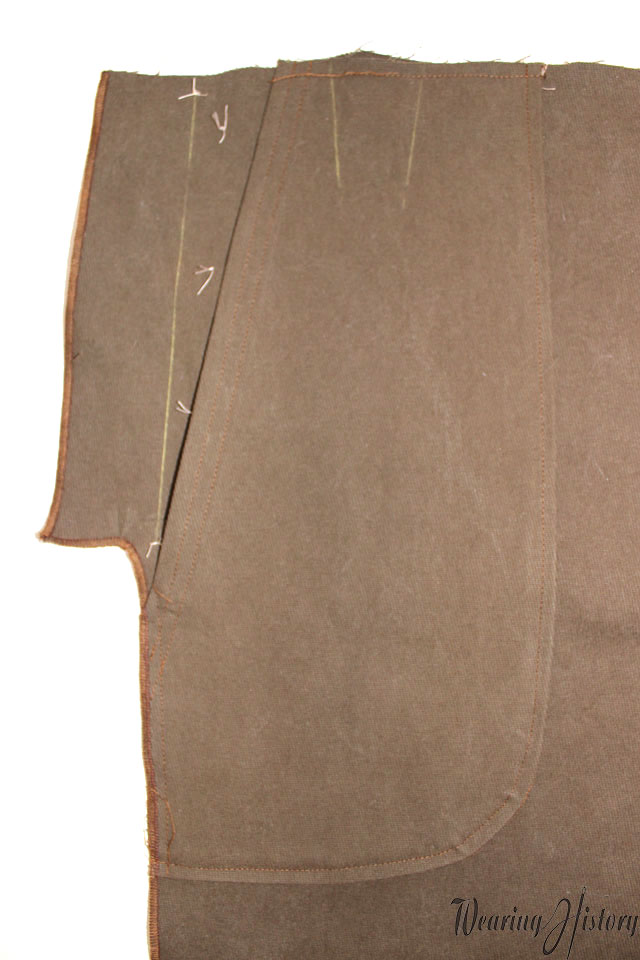
I think I did this pleat backward, so look at the instruction pack and decide for yourself which way you want the pleats to face. BUT- using the lines that you marked, crease on on of the pleat lines through both layers (the pocket and the front pants piece), and bring it to the other line. Pin it to place.
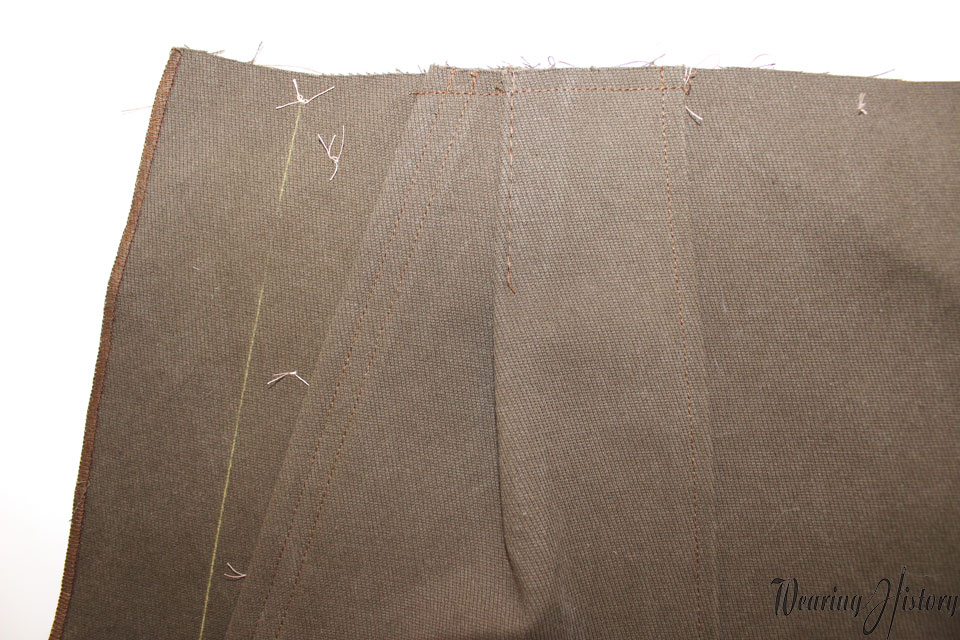
Baste it down.
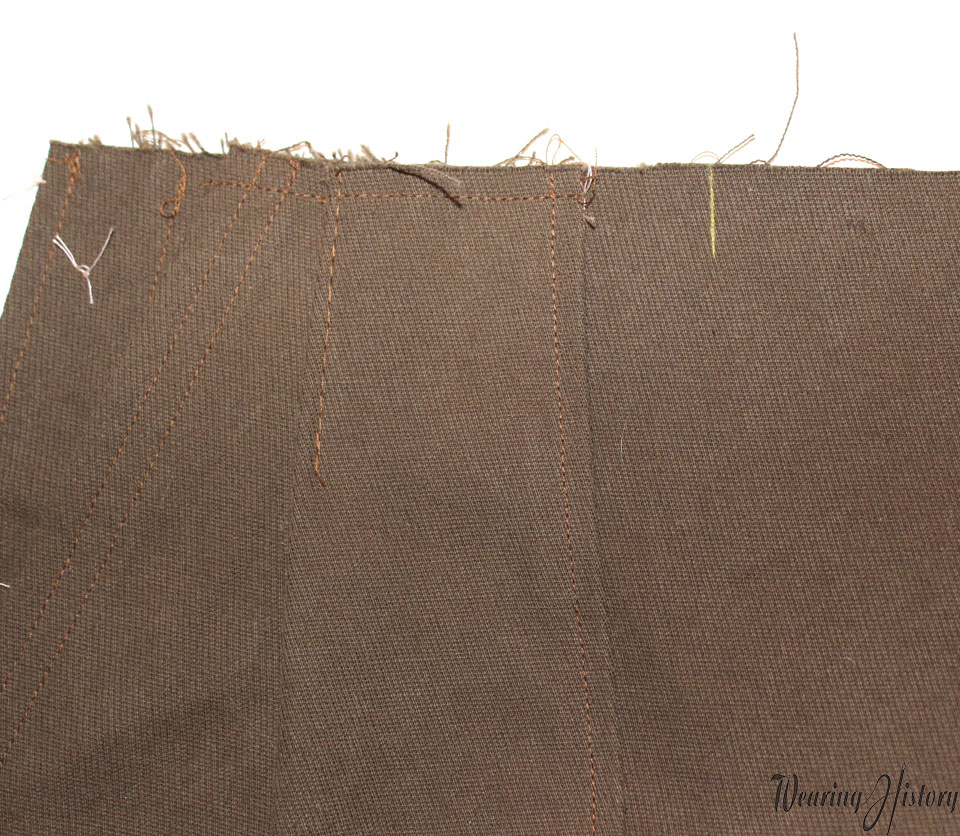
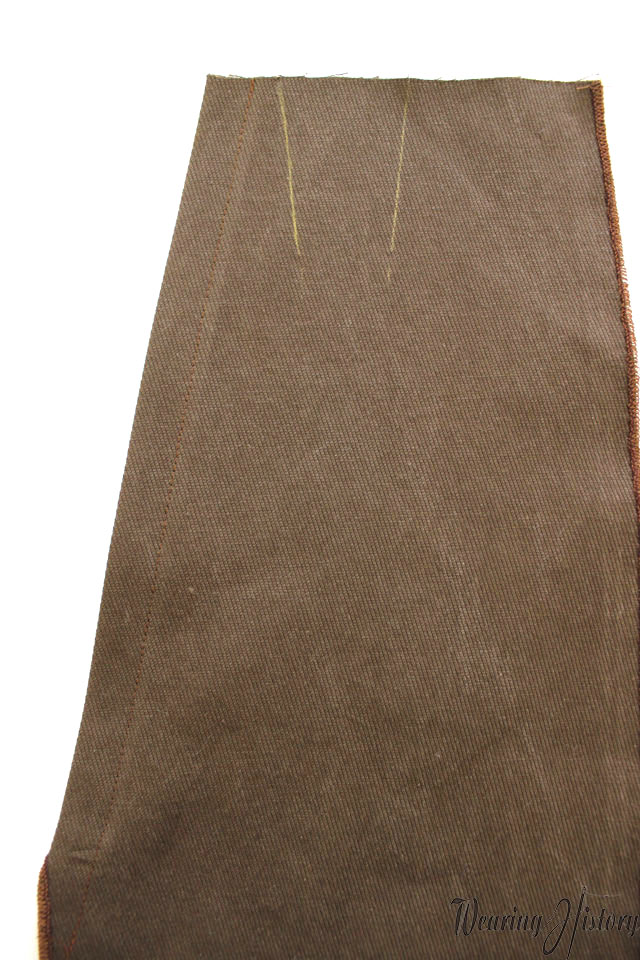
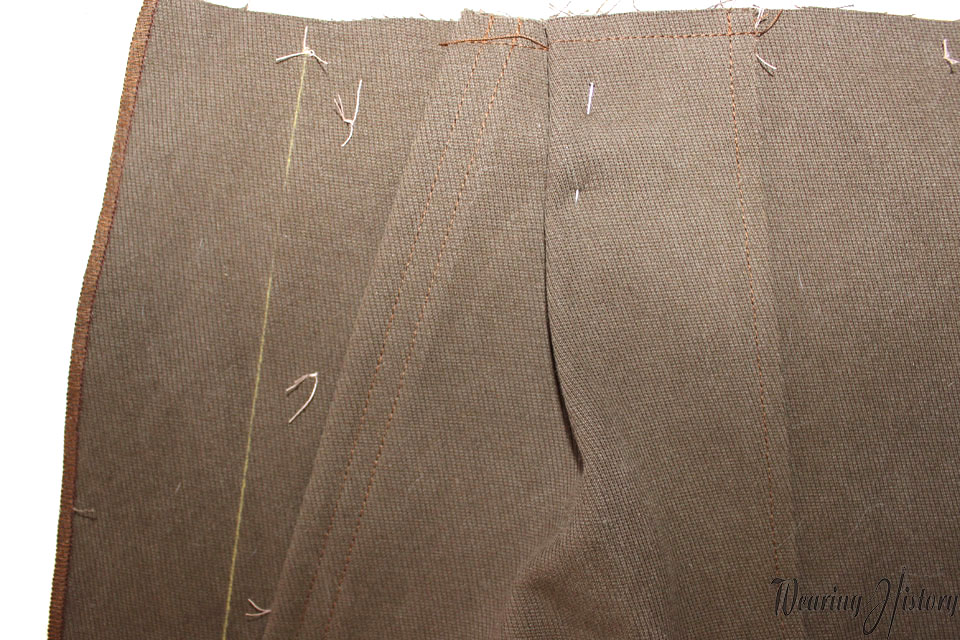
Now, using the mark for the other tuck, you’re going to pleat the front from the edge of the pocket to that line.
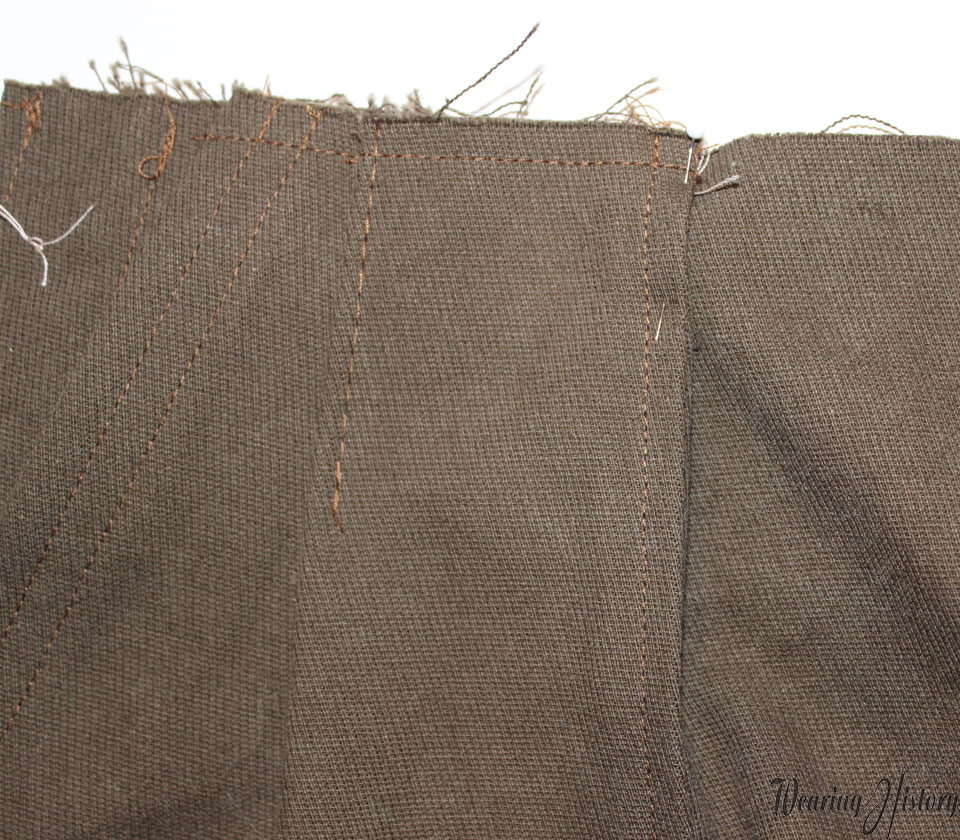
Like this. Pin it.
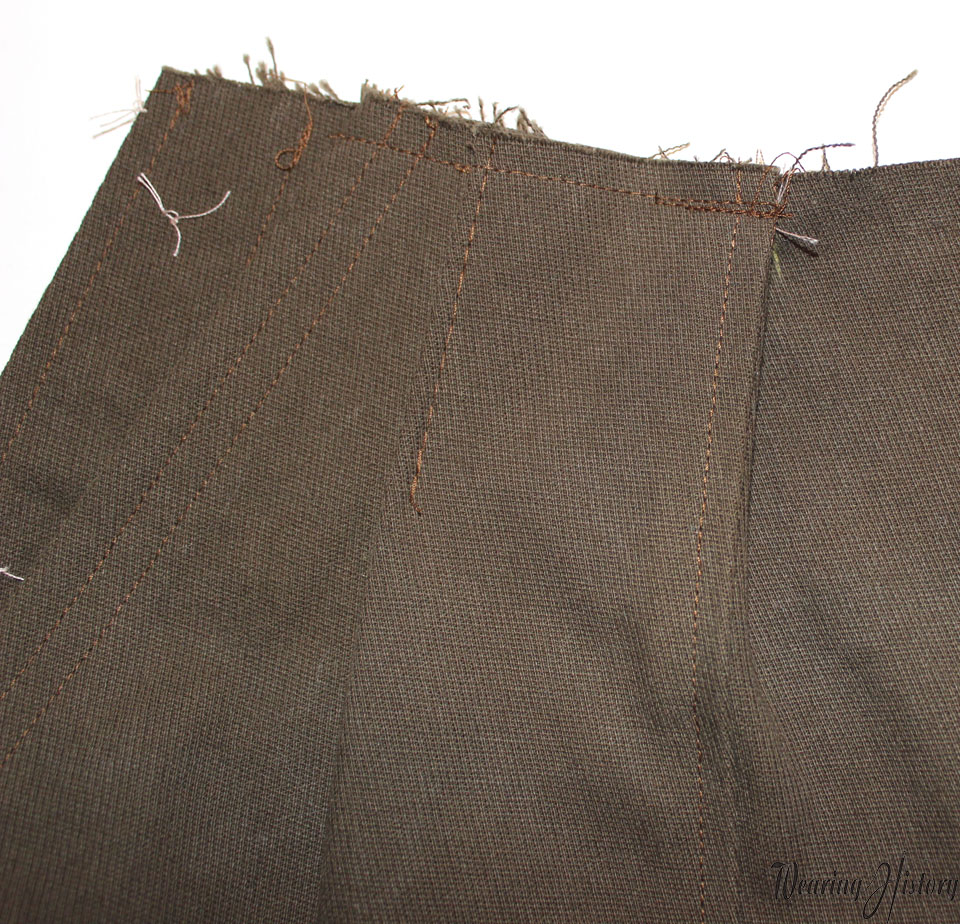
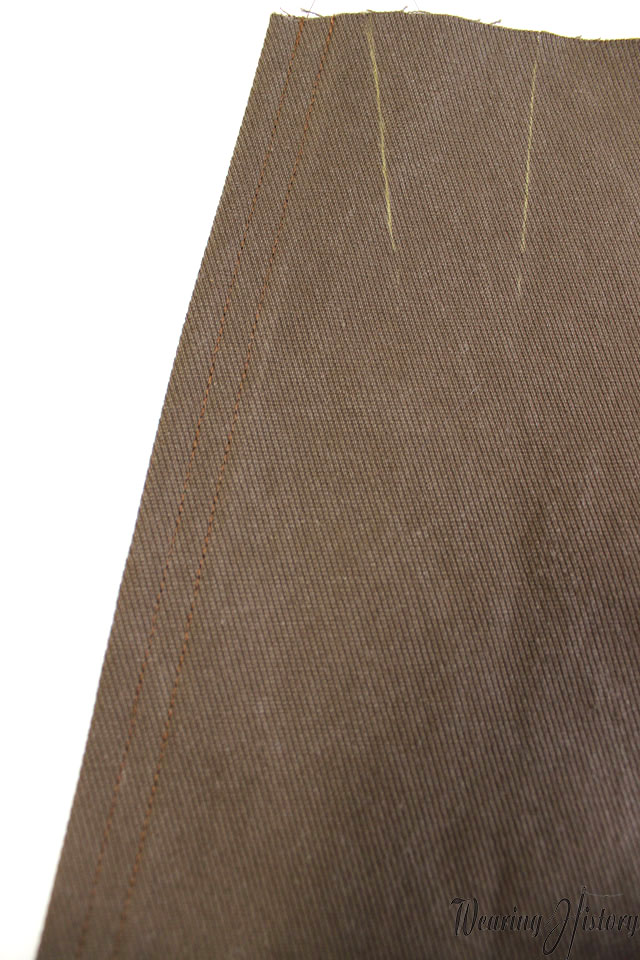
And now stitch that down at the waist. You’ll now have two pleats. Do the same on the other side.
Sorry for the disorganization of this post, but hopefully it helps you to visualize what to do. And really, whatever direction you do your tucks on top of the pocket will not affect the fit, but it might affect the way the pants drape. So feel free to do it backward like me… or not ;)