
Suit-along: The Pockets on Your Jacket.
Right then lovelies, you’ve sewn your skirts and marked all the sewing notations on to your jacket as per Lauren’s last post and you’re now ready to get your pockets sewn on. So there’s how I did mine.
There are a number of ways you can go about pockets, the original instructions didn’t go into any detail, but Lauren gave us more:
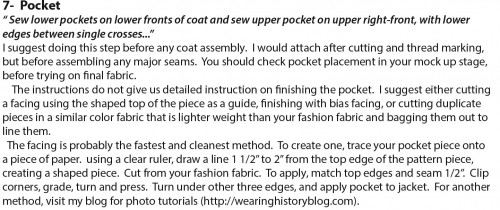
As she had already covered facing quite well and it is fairly similar I decided to do the ‘cut a duplicate piece’ method to make my pocket.
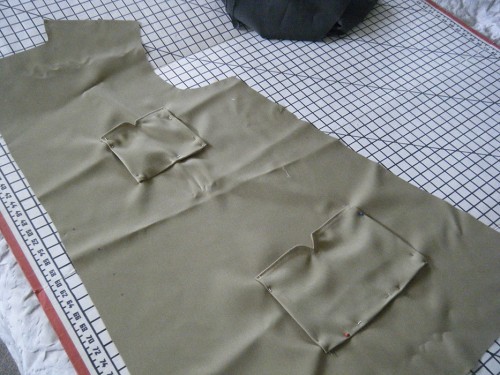
I cut the pockets out of the main fabric and then placed the pattern piece onto lining material and using the same pins pinned it to the lining material and cut out.
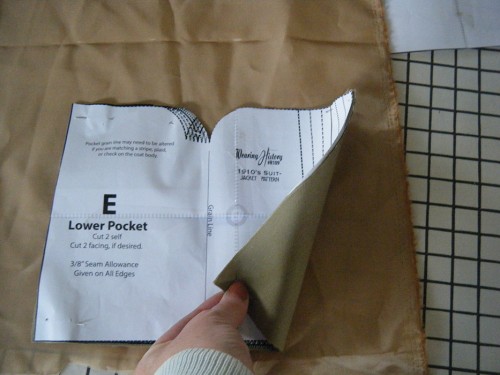
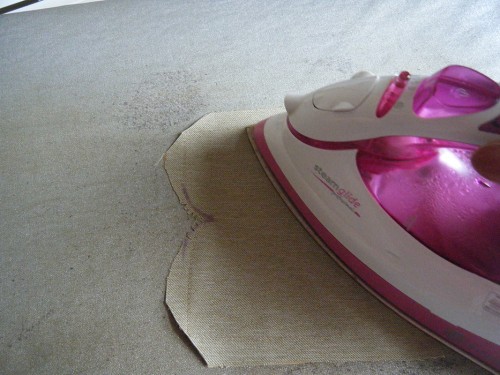
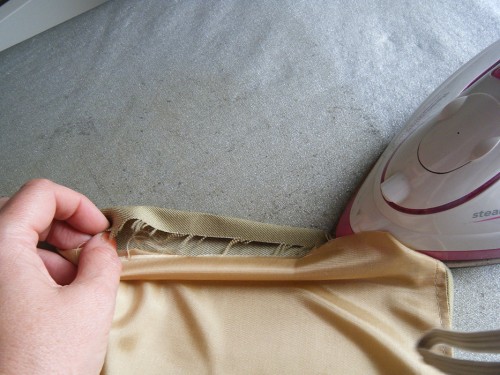
Since the iron was already set up, I even gave the pieces a little iron at this stage and then pinned right sides together around the 2 side edges and the curved top edge. I am going to leave the bottom side open to turn later.

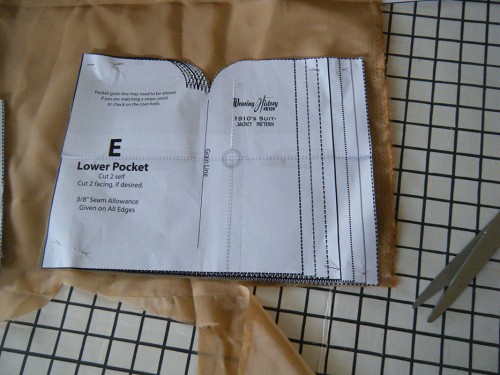
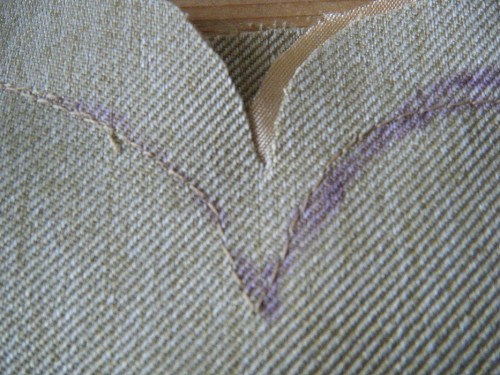
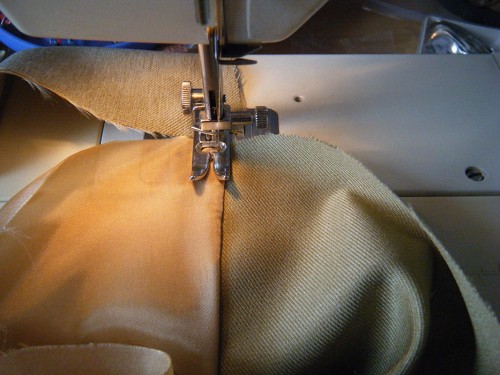
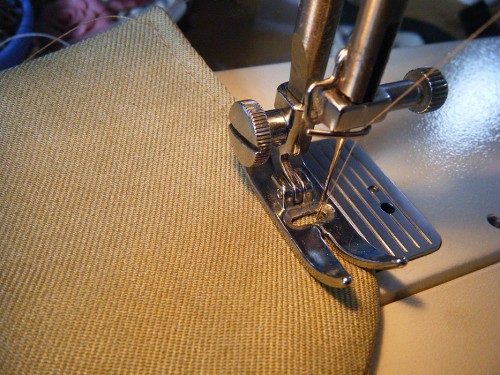
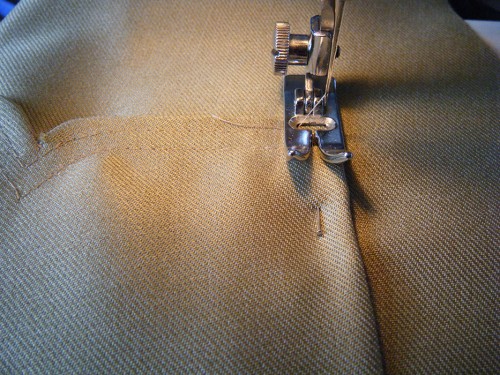
Start sewing at a bottom corner pivot at the top corners, leave the needle in, lift foot and turn material, but I’m sure you all know that, and then take it slow around the curved edge. This is where I came a cropper first time as I was carefully staying the same distance away from the edge all the way round the curve, but then somehow ended up a lot lower and now in the centre. You’ll see what I mean.
So I stopped and undid that bit of sewing and then marked up where I wanted to sew with my disappearing ink pen, which I just love, but be warned wash out reside even if you can’t see it if you want to make an heirloom. Or just use it on things that are for normal use, as I do.
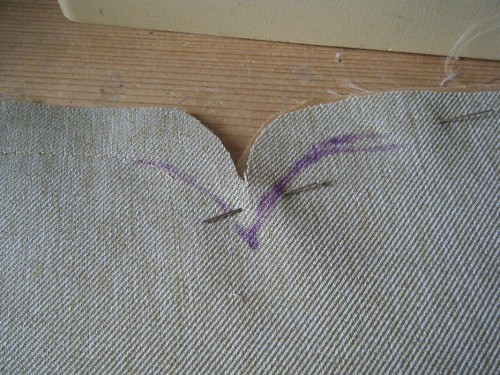
Then I re-sewed following the line instead, much easier.
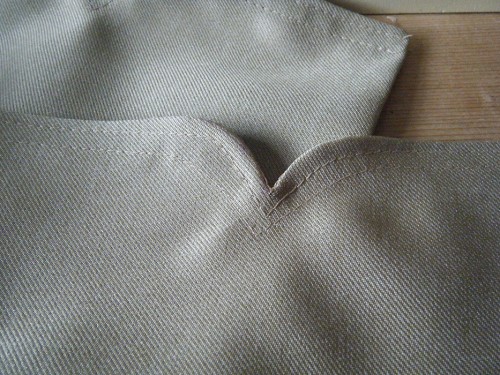
Next stage is important if you want a nice smooth curve, because you can sew a lovely curve but without clipping and ironing it won’t look good when turned. So carefully clip the edge around the curve getting as close as you can without cutting the sewing thread. (If you do re-sew that part just a little further in).
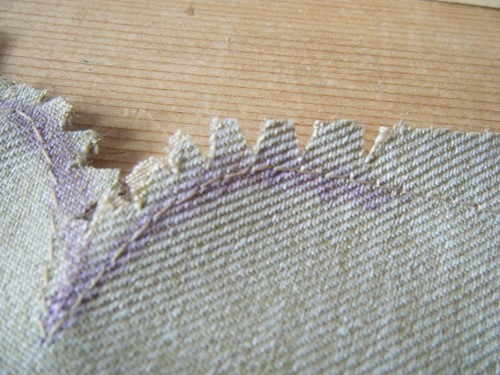
Cut down to the point in the centre and also cut the corners off

and then give it a good iron before turning as this sets the thread in place somehow.
I like to under stitch anything like this to stop any chance of the lining fabric showing. So next stage for me was to under stitch, the side seams as far as I could. Under stitching is sewing the lining to the seam allowance.
Under stitched hem
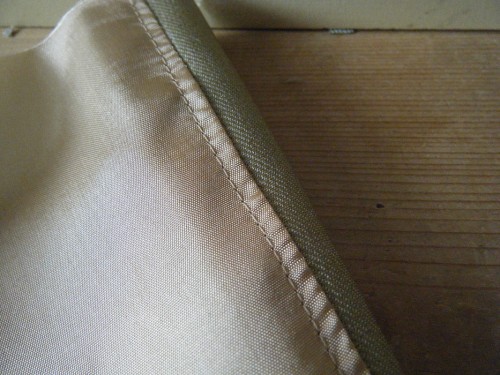
You can see the natural tendency is for the edge that has been under stitched to lie so the lining isn’t showing
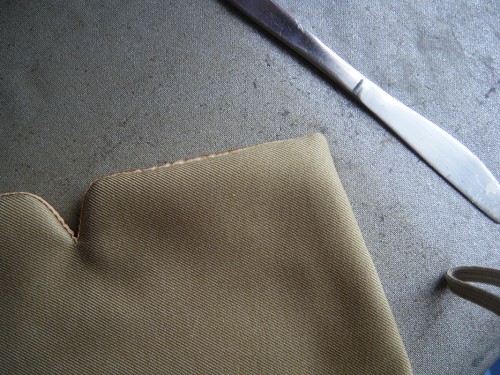
The rest I help out with my sewing knife, a blunt curve that can be held in the curve under the iron to help the whole flattening process. I now have 1 raw edge remaining at the bottom and I fold it under so the raw edges are inside the ‘bag’ area and iron flat, then when it is sewn onto the jacket there will be no raw edges to think about at all.
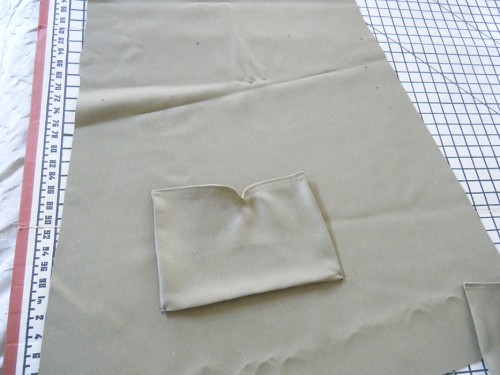
Furnished pocket ready to go.

I also decided to topstitch the top of the pocket with two rows of stitching to match the stitching to the jacket and stop any chance of the lining moving.
Here they are ready to go on to the jacket.
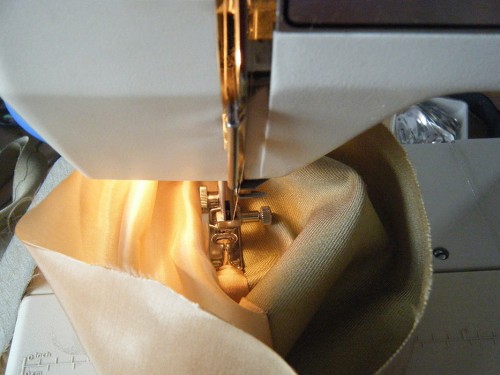
I sewed them in place first before doing anything else to the front pieces, even ironing, well you know me. So mark where your pockets should be and the pin in the pockets place.
and then sew on.
I sewed around the outside first with the needle set to the right hand position, down one side across the bottom and then up the other side. Without cutting thread or anything I then sewed 2 stitches across the top of the pocket and pivoted the material so I was then coming down the side I just sewed up. Then I followed the line of stitch and repeated leaving the needle at the right hand side. Without having a 2 needle facility on my machine, this is the best way I have come up with for doing this, if anyone has any better please let me know. [picture 21]

So here are my pockets in place and I’m ready for the next step.
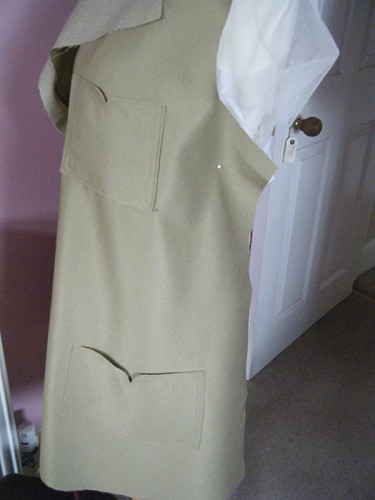
Did you notice my mistake, not reading the instructions first I sewed my top pocket onto the left hand side, so used to doing men’s vintage shirts I guess. Well I’m not moving it now.
Hope all that might help some of you, and I look forward to getting to the collars stage next. Can’t wait to see all your creations too.
Hugs and Kisses
Ally
Rhonda Netzley
August 11, 2014 at 8:33 pm (10 years ago)How can I buy old patterns apron