
I’m finally able to pick up the Suit A Long again! If you’re wondering what it is, or missed any prior posts, you can find them here.
I’m starting on my jacket. I picked a fabric that’s slightly too heavy, so please bear with me!
– – INITIAL PATTERN MARKING – –
On a jacket, the markings are pretty important, and this jacket is no exception. The markings show you where the collar should fold back, where the center front should be for figuring out fastenings, it shows the bottom of the pockets for alignment, and other things you may need.
To mark, I’m using a chalk rotary marker (usually in the quilting section at the fabric store) and Japanese cotton basting thread. Regular thread in a contrasting color will do, if you don’t have this on hand.
– IMPORTANT – Test your marking method on a scrap first, to make sure it will come out when your garment is laundered. One time when I was working in an opera house, we made these amazing tailored white wool waistcoats with the most beautiful welt pockets. Well, someone neglected to test if the yellow markings would come out, so those waistcoats looked yellow in all the seams. What a waste of hard work! Don’t do that to yourself. Always test before you commit to your marking method.
– ALSO IMPORTANT- We’re marking the WRONG SIDE. When you cut, place right sides together, so the wrong sides are facing out and easier to mark
This is my “cheater” method for marking. With pins, I mark the critical points I need to mark, and then connect the dots. If you’ve worked with original perforated (unprinted) patterns before, this will probably make sense to you.
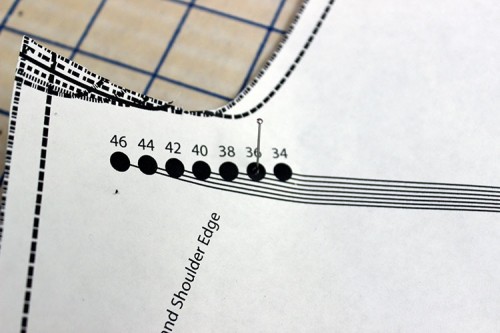 Put a pin in the marking for your size. Flat heads work better than the larger head pins. I sort of wiggle the in around a bit to get a decent hole to pass the pin through. Stab straight down, through all fabric layers. DON’T GO AT AN ANGLE or your markings will be incorrect!
 Peel back the paper pattern, and your pin should still be in place. If you accidentally pick it up, make the hole a little bigger, place it back on the fabric, then stab it again and pull it through. It takes both hands (one to hold the pin, on to remove the paper).
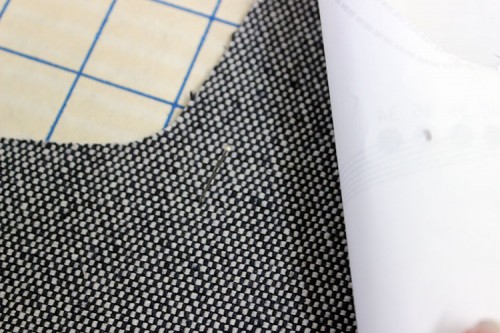
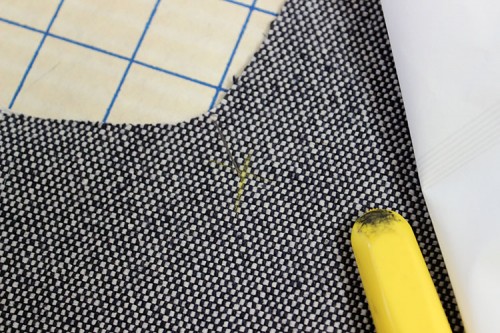 Now I draw an X mark where the pin was, with the center of the X as the place the pin was. DON’T REMOVE THE PEN YET. In fact, carefully pick up the fabric at this point, and push pin all the way through the fabric…
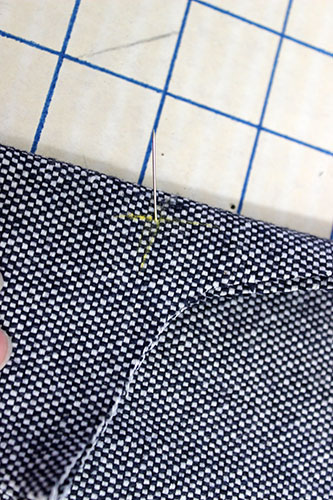 … and here on the back side, you can see the point. Mark another X there, so both front pieces of the jacket are marked.
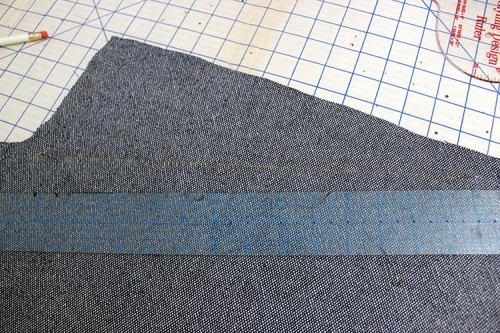
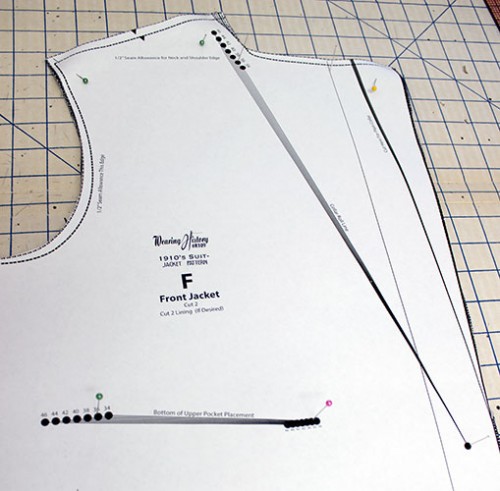
After you’ve marked all the critical points, connect the dots using a ruler and your marking method. Use the original pattern piece as reference for placement.
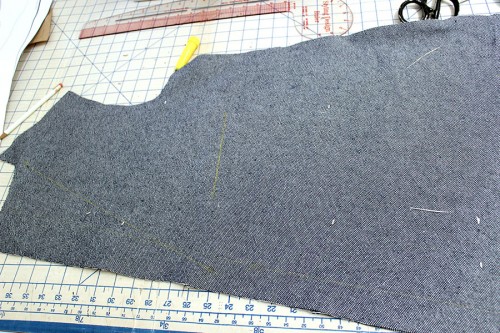
Here’s the pattern piece, all marked out.
Keep reading below for the next step…
– – THREAD MARKING – –
Now, with jacket making, it’s important that the markings be transferred to the RIGHT SIDE of the jacket. But we don’t want all those tacky looking chalk lines visible, so we are going to mark the jacket properly with contrasting thread.
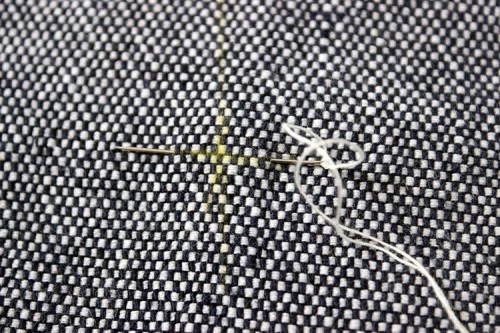
With traditional thread marking, you need to mark a cross mark at the beginning and end of a stitch line. It’s also used to mark notches, but I don’t think we need that with this jacket. So, first up, mark a cross line by going in and out. Leave a tail sticking out the end (no knots in thread marking! Makes them harder to pull out later).
Then, go in and out of the same stitch (so it’s marked on both sides.
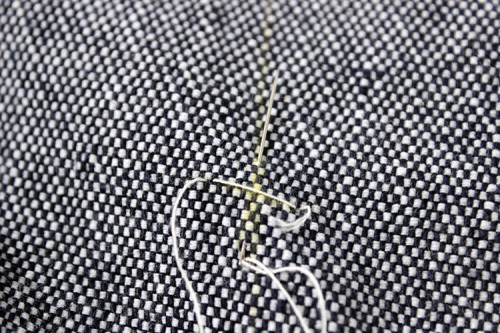
Next, you’re going to start your basting line. Go in and out.
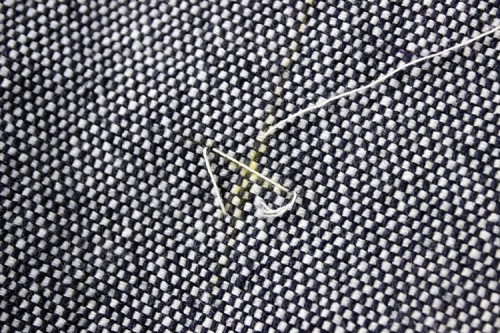
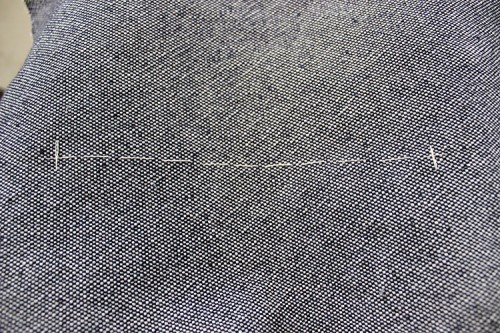
When pulled through, there should be a diagonal line. Don’t pull it tight!
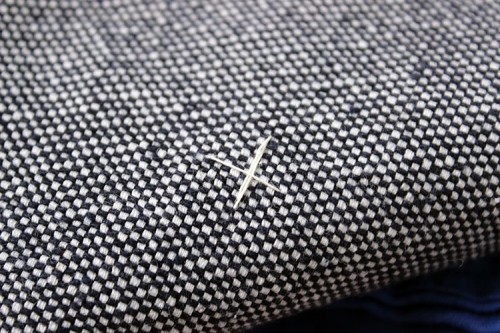
Here’s what it looks like from the RIGHT SIDE of the garment. See your nice little cross mark?
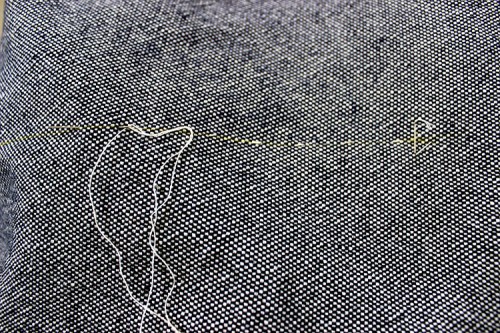
Continue the basting line. I make smaller stitches on the back side, so the markings on the outside are longer and easier to see. Sort of like “narrow- long- narrow- long- narrow- long”, not an even running stitch. I hope that makes sense.
Don’t forget to do a cross mark the end! See, above, we have the markings to line up the bottom of the pockets.
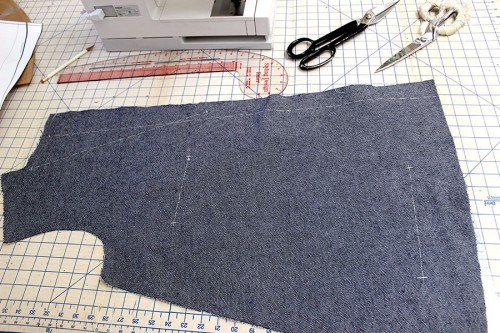 Here’s one front all marked. You can see I marked the roll line, center front, and both pockets. Do the same to both sides.
Next up, we’ll start on the pockets.
Hope this helps you with your marking!
Have an alternate method? Please let us know in the comments!