
Well Hello Everyone I’m Ally from Honey Pot Creations, primarily a milliner, but a dabbler in anything and everything sewing based. I’m so pleased to be able to write this guest post. When Lauren put out the call for help with the sew-along I was a little nervous and at first didn’t put myself forward but then I thought well why not, what’s the worst that could happen, and to be honest it will really spur me on to complete the sew-along if I’m involved in both sides if you see what I mean. Do bear in mind though that this is my first guest blog and be a little forgiving on me if I make any blunders. Well I thought I would help Lauren out by taking 3 small sections of the construction. I picked
- Hemming the skirt
- Pockets on the jacket
- Collar options
to write the blog posts for and very kindly Lauren agreed. So today is all about hemming and we will get to the jacket all in good time. The original instructions that came with the pattern tell us to “underface skirt 3 inches” and Lauren goes on to explain this as; ‘No hem is allowed for skirt. The longer length will work for earlier periods, since it is quite long. You can either turn up the hem, if you desire shorter than the pattern is given for, or face the hem.’ She goes on to say that she likes to face in a stiffer fabric to give extra body to the hem and I have to agree with this and will be using this method on my skirt, but for the sake of completeness we will cover both methods. As the skirt we are dealing with is not straight, we will have to look at fullness with whatever hem style we choose, so let’s look at that first. Some fabrics can be shrunk in a little and some will just need to be pressed as flat as possible, either way starts by marking your hem line. The easiest method I find is just to run a very large running stitch around the hem line in contrasting cotton. 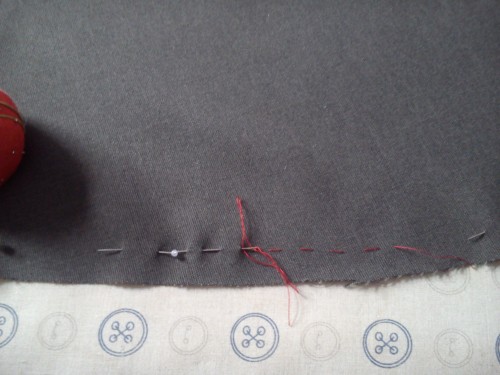
 This thread will be removed later. Also run a gathering stitch close to the end of the fabric (the white one in the pictures) Turn up the hem and baste (or pin if you are lazy like me) close to the turn.
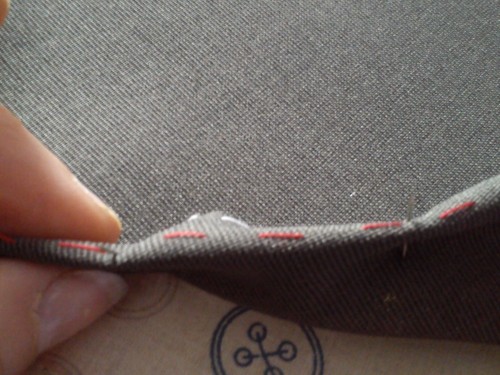
 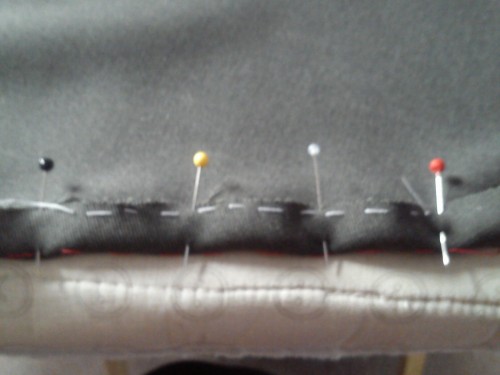 Next pull up the gathering thread to fit the curve, on a skirt as big as this, you will find it easier to do this in sections possibly each quarter.
 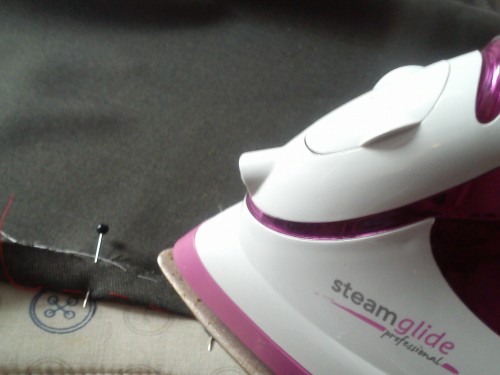 Once all the gathers are evenly distributed you can iron. Don’t slide the iron along the hem line, as this can stretch it, instead lower the iron onto one area, steam and then lift the iron and move along to the next area. This advice is good whichever style of hemming you choose.
 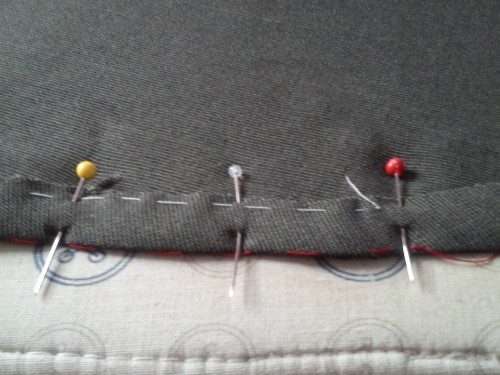 To finish, overcast the raw edges and blind stitch the hem up. With this skirt though, I chose to underface the hem by this method.
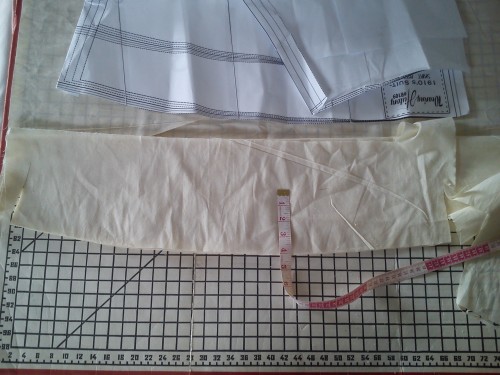
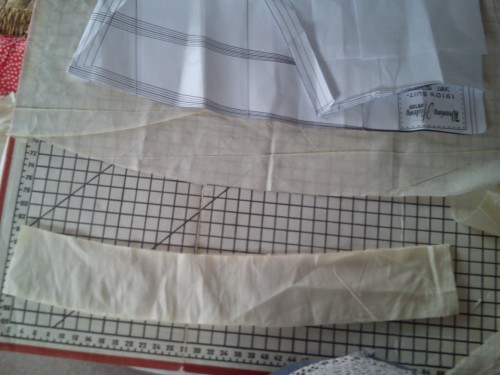
- Cut the underfacing to size. By using the bottom of the pattern piece you draw round the outline on your facing material, I chose calico for a medium stiffness.
- Draw the bottom line and 4 inches up the sides.
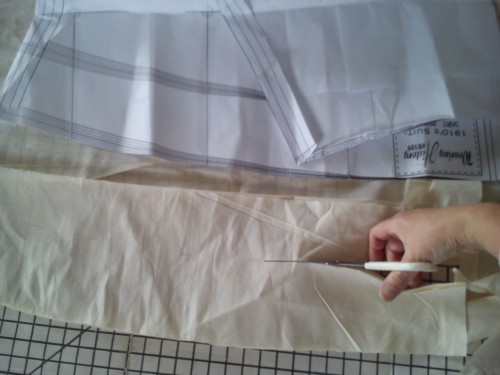
- Move the pattern piece and then measuring up 4 inches from the bottom line draw another line parallel to it making a curving rectangle shape.
- Cut around the shape to give you your facing.
- (Rather late in the day I got round to ironing the calico, I did say I was lazy) Turn over a short hem on the top edge of the facing.
- Now I chose not to join these strips together instead preferring to attach them to the skirt in separate pieces that overlap and then if there is any problem with the sizing I can increase or decrease the size of the overlap to compensate, so iron down the short edges on two of the pieces.

- If you would rather join the facing together and then sew it on to the skirt just sew up the short sides and continue as before.
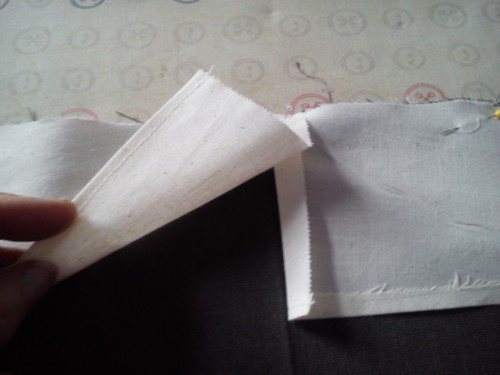
- Pin the facing to the skirt right sides together, placing one of the folded over edges down first.
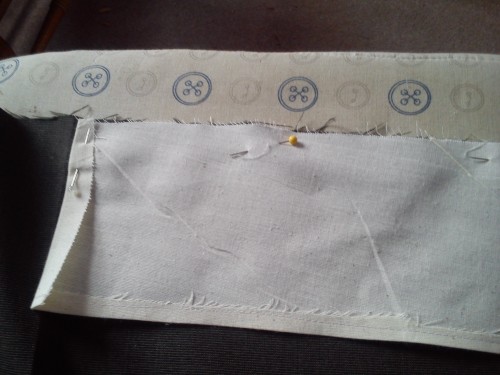
- Place the next facing over lapping this piece and pin in place, when they are turned back over the neat side will be showing.
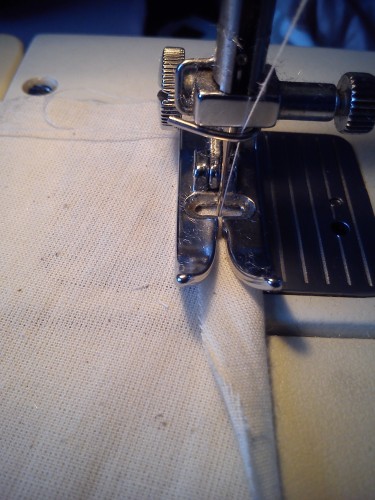
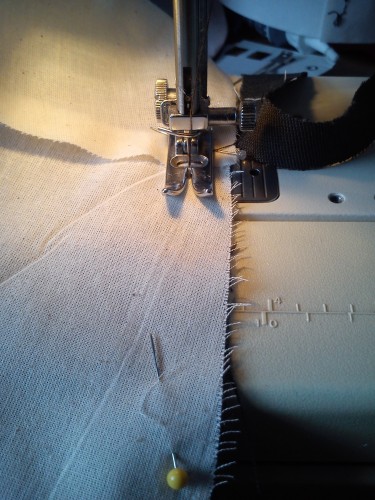
- Sew the facing on to the fabric
 and iron, I always iron the seam as is first and then open, can’t remember who told me but I know it’s important.
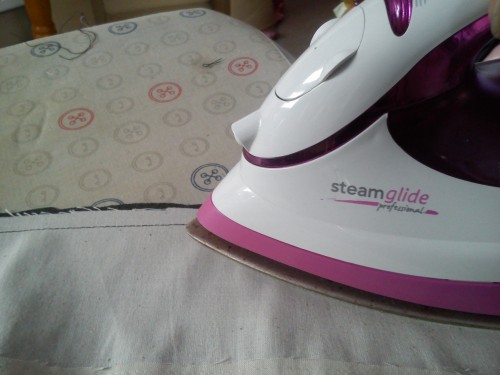
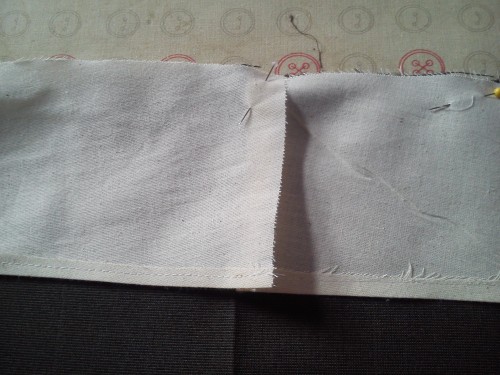
- Turn the facing to the inside and press again. I like to roll it in a little further so you can see a little of the skirt fabric on the inside.

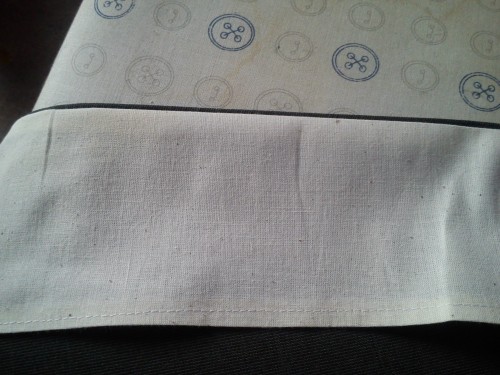
- Blind stitch in place.
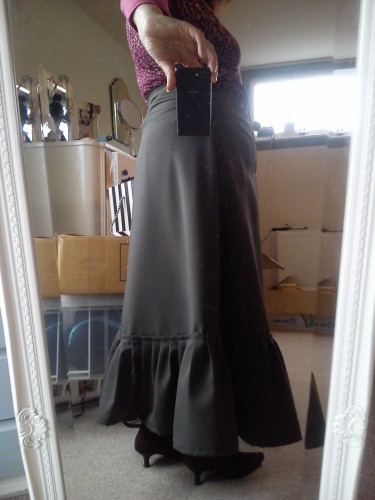
Ok this is where I need to make a confession, you may be thinking that I was using a cream facing on a dark fabric to make it easy to see in the photos and I probably would have dyed the facing if I thought it might be seen, but you see I decided that the skirt was a little too long for me and for some reason I decided 6 inches had to come off, well I did a bad thing and just folded up the pattern pieces to get the reduction. The real problem came when I folded up 6 and down 6 too (not up 3 and down 3), so I end up cutting the pieces 12 inches shorter than the originals, oops. I realised as soon as I held up the cut out fabric. 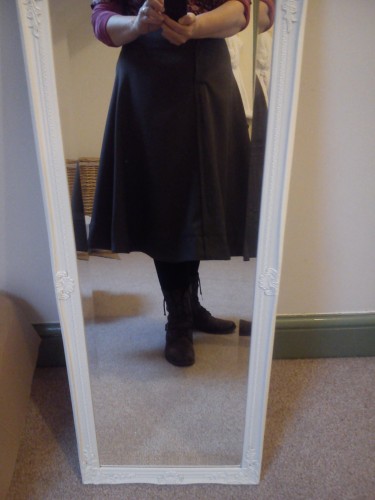 Although the skirt is too short you can see the calico gives a nice fullness. Well there had been a thread in the facebook event page discussing this very problem, and some very clever person suggested putting a ruffle on the bottom, so that is exactly what I decided to do. I cut out 3 straight lengths of the fabric, joined them into a tube, hemmed top and bottom and then attached to the bottom of my skirt with small pleats.
 From this you can also see the other option for hemming which is to turn the raw edge over twice and sew down.
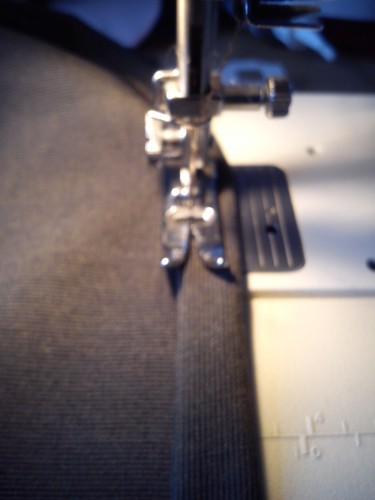
I hope that you may have found something in all that useful, I have to say I enjoyed doing it and it’s interesting thinking about each step, rather than just doing them, so I’m looking forward to the jacket now. Oh and once again thanks Lauren for letting me join in. Hugs and kisses Ally
Thank you so much, Ally, for guest posting and sharing your wonderful sewing skills and technique! Please don’t forget to follow Ally on Facebook as Honey Pot Creations, and follow her blog. You can also shop Honey Pot Creations on Etsy.
WendyBee
June 4, 2014 at 9:57 am (10 years ago)I have not read all the posts of this series, as I am not doing the sew-along. But I am always intrigued by finishing techniques.
I have some questions about hemming this skirt.
I can’t tell where the grain line is but it does appear to be approximately A line. Are the side seams on the bias, and likely to stretch? Would this skirt benefit from hanging a day or two before the exact hemline is determined?
My second question is regarding the instruction to overcast the edge and blindstitch the hem in place. Does this refer to just if you are hemming without a facing? It almost seems like it is an instruction in the part about using a facing, and yet in the picture where the facing is being applied, it looks like it is being applied to a raw edge. And finally, what about using a wide bias strip, instead of cutting a facing on the pattern shape. It seems like a bias strip would accomodate the curve of the lower skirt edge and the upper hem edge very nicely with no gathers or clipping. You could attach the seam binding by putting the seam just inside the basted hemline, and press both hem allowances toward the seam binding, and (optional) topstitch the seam binding to the seam allowances. What do you think?